Kia Stinger CK: Engine Mechanical System / Engine And Transmission Assembly
Kia Stinger (CK) 2018-2023 Service Manual / Engine Mechanical System / Engine And Transmission Assembly
Contents:
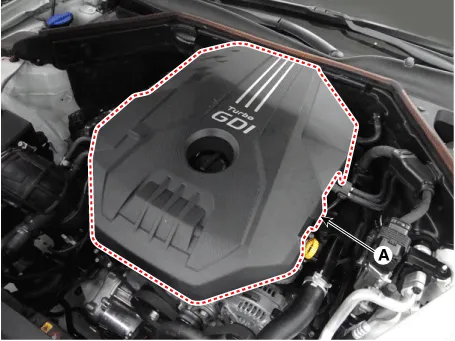
Engine Cover
Repair procedures
| Removal and Installation |
| 1. |
Remove the engine cover (A).
|

| 2. |
Install in the reverse order of removal. |
Engine Room Under Cover ➤
Engine Mounting ➤
Engine And Transmission Assembly ➤


Other information:
Kia Stinger (CK) 2018-2023 Service Manual: Front Suspension System
Components and components location Components Location 1. Front stabilizer bar 2. Steering gear box 3. Front strut assembly 4. Front axle 5. Compression arm 6. Lateral armKia Stinger (CK) 2018-2023 Service Manual: Windshield defrosting and defogging
WARNING - Windshield heating Do not use the or position during cooling operation in extremely humid weather. The difference between the temperature of the outside air and the windshield could cause the outer surface of the windshield to fog up, causing loss of visibility. In this case, set the mode selection to the position and fan speed control to the lower speed.Categories
- Manuals Home
- Kia Stinger Owners Manual
- Kia Stinger Service Manual
- New on site
- Most important about car
Contents

Copyright © 2026 www.kstinger.com 0.0111