Kia Stinger: Hood / Hood Assembly
Components and components location
| Component Location |
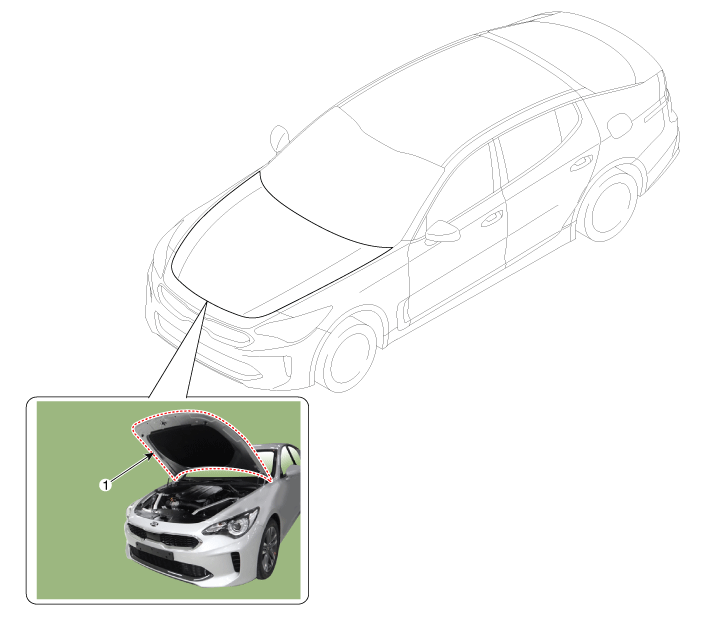
| 1. Hood assembly |
Repair procedures
| Replacement |
Be careful not to damage the hood and body. |

When removing and installing the hood, work in a group of two or more. |

| 1. |
After loosening the hood hinge (A) mounting bolts, remove the hood assembly (B).
|
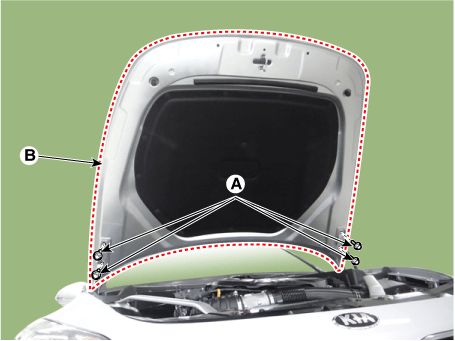
| 2. |
Install in the reverse order of removal.
|
 Hood
Hood
Repair procedures
Adjustment
1.
After loosening the hinge (A) mounting bolt, adjust the hood (B) by moving
it up and down, or right and left.
2.
...
 Hood Seal Weatherstrip
Repair procedures
Replacement
1.
Detach the clip and then remove the hood seal weatherstrip (A).
...
Other information:
Kia Stinger CK 2018-2025 Service Manual: Towing
General information Towing If the vehicle needs to be towed, call a professional towing service. Never tow a vehicle just on a rope or chain as this is extremely dangerous. [Front] [Rear] Emergency Towing There are three popular methods of towing a vehicle: †...
Kia Stinger CK 2018-2025 Service Manual: Auto Light Sensor
Repair procedures Inspection Check if the auto light control operates like a timing chart shown below. Tail lamp output and head lamp (Low) output is controlled based on the auto light sensor's input (illumination intensity) when the Auto Light Switch in Multi-Function Switch ...
Copyright © www.kstinger.com 2015-2025
