Kia Stinger CK: Driveshaft and axle / Rear Axle Assembly
Components and components location
| Components |
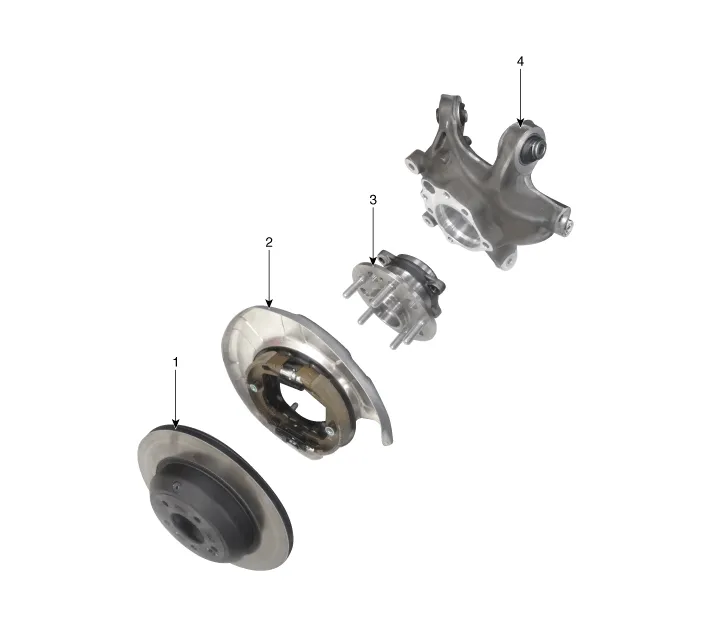
| 1. Rear brake disc 2. Hub assembly |
3. Dust cover 4. Rear knuckle |
Repair procedures
| Removal |
| 1. |
Remove wheel nuts, rear wheel and tire (A) from rear hub.
|


| 2. |
Remove the rear brake caliper. (Refer to Brake System - "Rear Disc Brake") |
| 3. |
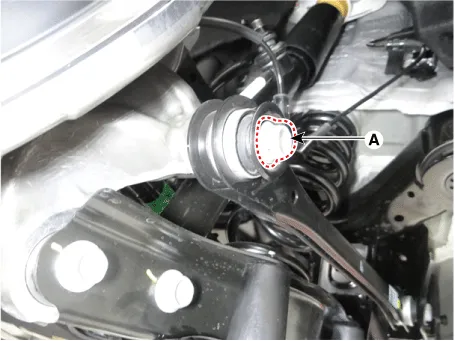
Remove the split pin (A) from the rear hub and loosen the hub nut (B).
|

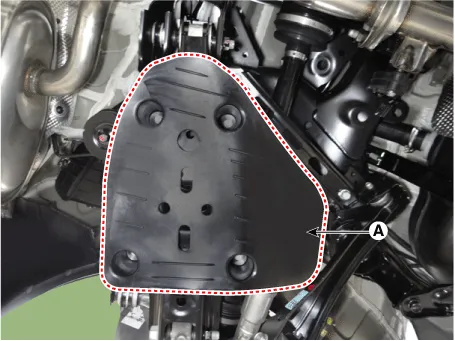
| 4. |
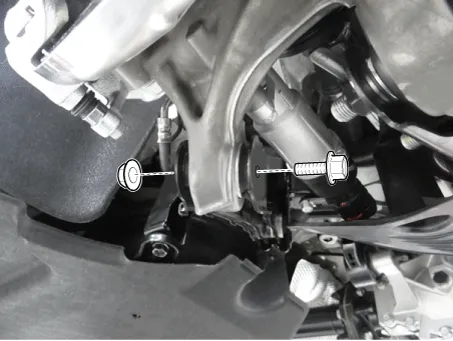
Remove the rear lower arm cover (A).
|
| 5. |
Remove the wheel speed sensor.
|

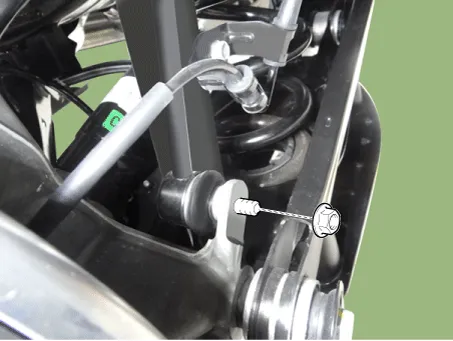
| 6. |
Loosen the stabilizer link nut and then separate the rear axle.
|
| 7. |
Loosen the rear lower arm bolt & nut and then separate the rear lower arm from the rear axle.
|
| 8. |
Loosen the nut & bolt and then separate the trailing arm from the rear axle.
|
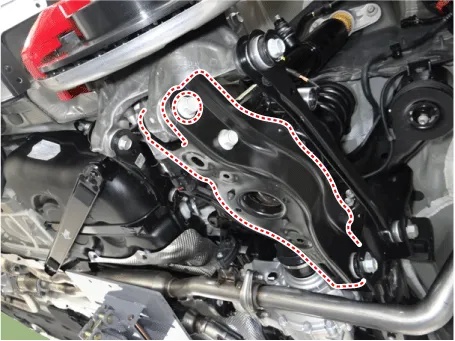
| 9. |
Loosen the bolt (A) and then separate the rear assist arm from the rear axle.
|
| 10. |
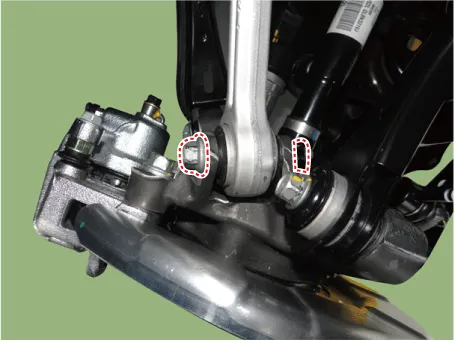
Loosen the bolt & nut and then remove the rear upper arm rear from the rear axle.
|
| 11. |
Loosen the rear upper arm rear bolt & nut (A) and then separate the rear upper arm rear.
|
| 12. |
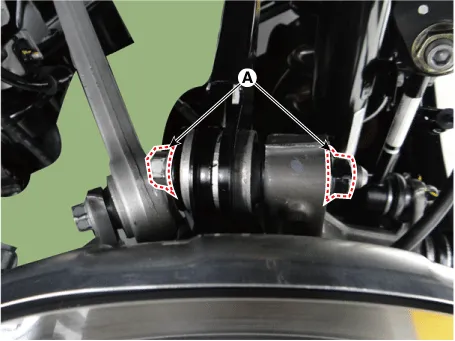
Separate the rear drive shaft from the knuckle.
|

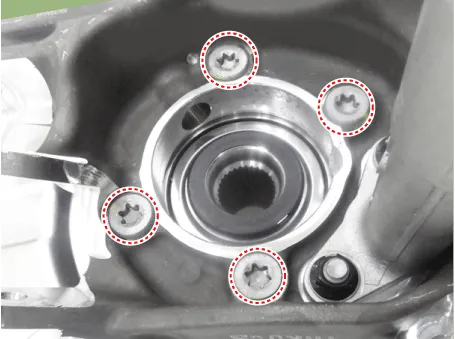
| 13. |
Loosen the bolts and then remove the rear hub assembly.
|
| 14. |
Install in the reverse order of removal. |
| 15. |
Check the rear alignment. (Refer to Suspension System - "Alignment") |
| Inspection |
| 1. |
Check the hub for cracks and the splines for wear. |
| 2. |
Check the rear axle carrier for cracks. |


Other information:
Components and components location Components (1) [General Type] 1. Roof trim 2. Sunvisor 3. Assist handle bracket Components (2) [Panorama Sunroof Type] 1. Roof trim 2. Sunvisor 3. Assist handle bracketDescription and operation Description BI-FUNCTION 1. Definition – A headlamp with integrated functions of high and low beam – The light is controlled by rotating the shield inserted to the lens. (A solenoid is adopted.) [Halogen Type] [LED Type] 2.Categories
- Manuals Home
- Kia Stinger Owners Manual
- Kia Stinger Service Manual
- New on site
- Most important about car
