
Kia Stinger CK: Lubrication System / Oil Level Gauge & Pipe
Repair procedures
| Removal and Installation |
| 1. |
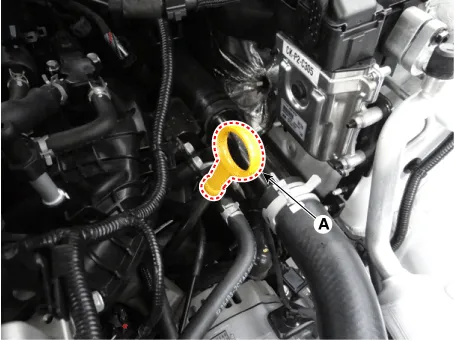
Remove the oil level gauge (A).
|
| 2. |
Remove the engine room front under cover and LH side cover. (Refer to Engine and Transmission Assembly - "Engine Room Under Cover") |
| 3. |
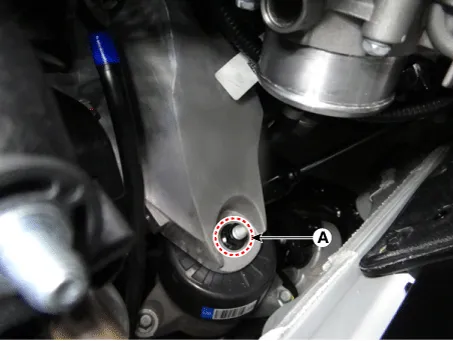
Remove the LH engine mounting support bracket nut (A).
|
| 4. |
Remove the alternator. (Refer to Engine Electrical System - "Alternator") |
| 5. |
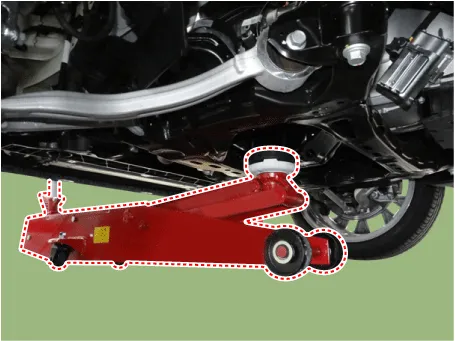
Install the jack to the edge of upper oil pan to support the engine.
|

| 6. |
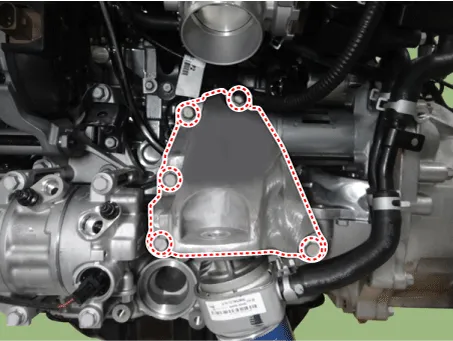
Remove the LH engine support bracket (A).
|
| 7. |
Remove the oil level pipe (A).
|
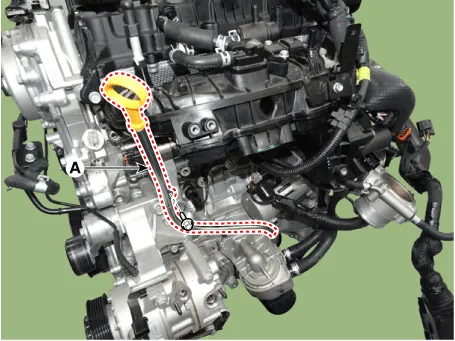
| 8. |
Install in the reverse order of removal. |


Other information:
Kia Stinger (CK) 2018-2023 Service Manual: Front Seat Back Cover
Components and components location Component Location 1. Front seat back cover Repair procedures Replacement Put on gloves to protect your hands. • Use a plastic panel removal tool to remove interior trim pieces without marring the surface.Kia Stinger (CK) 2018-2023 Service Manual: Filler-Neck Assembly
Repair procedures Removal 1. Switch "OFF" the ignition and disconnect the negative (-) battery terminal. 2. Remove the fuel filler cap after opening the fuel filler door. 3. Lift the vehicle. 4. Remove the rear-left wheel & tire and wheel house cover.Categories
- Manuals Home
- Kia Stinger Owners Manual
- Kia Stinger Service Manual
- New on site
- Most important about car
