Kia Stinger: Rear Suspension System / Rear Shock Absorber
Components and components location
| Components |
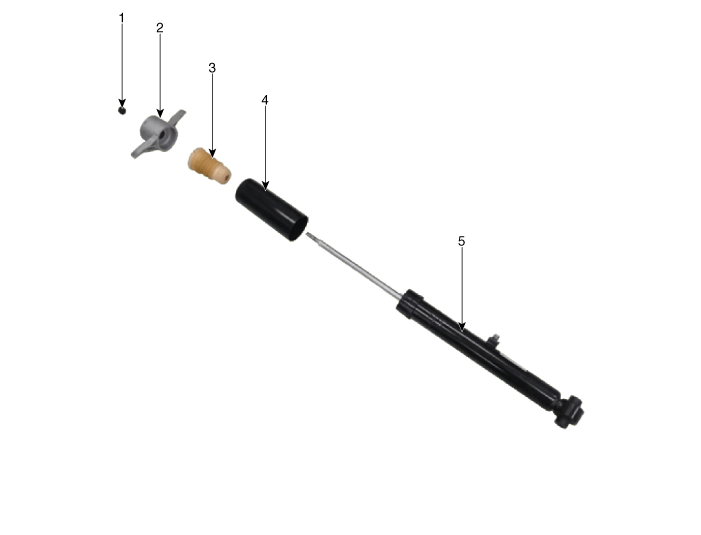
| 1. Lock nut 2. Rear insulator 3. Bumper stopper |
4. Dust cover 5. Shock absorber |
Repair procedures
| Removal |
| 1. |
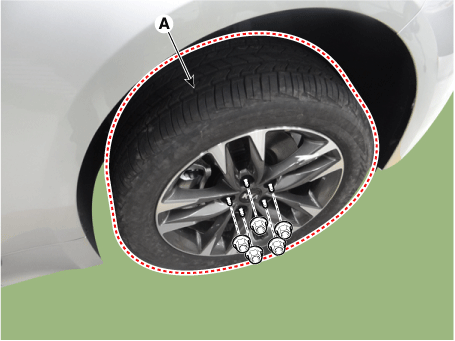
Remove wheel nuts, rear wheel and tire (A) from hub.
|
| 2. |
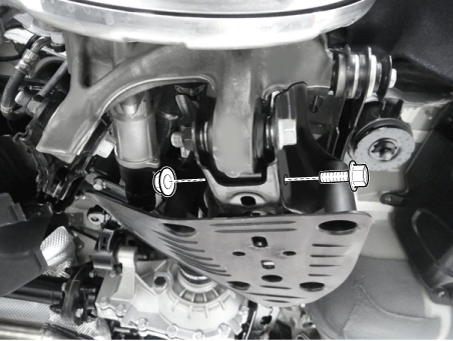
Loosen the rear shock absorber bolt & nut.
|
| 3. |
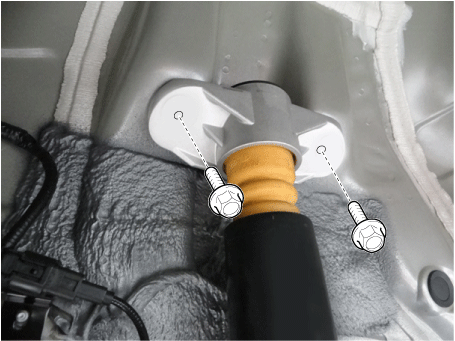
Loosen the rear shock absorber upper bolts and the remove the rear shock absorber.
|
| 4. |
Install in the reverse order of removal.
|
| Disassembly |
| 1. |
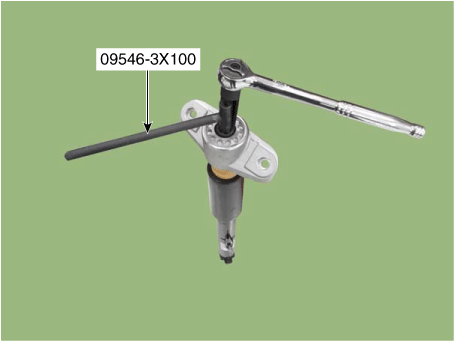
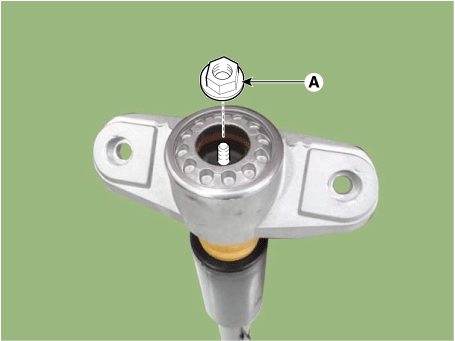
Using SST (09546-3X100), loosen the shock absorber lock nut (A).
|
| 2. |
Install in the reverse order of removal. |
| Inspection |
| 1. |
Check the rubber parts for wear and deterioration. |
| 2. |
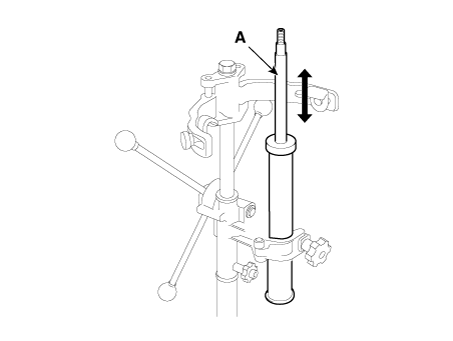
Compress and extend the piston rod (A) and check that there is no abnormal resistance or unusual sound during operation.
|
Disposal
| 1. |
Fully extend the piston rod. |
| 2. |
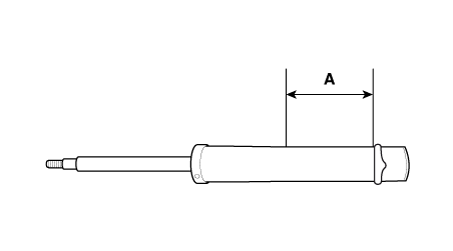
Drill a hole on the (A) section to remove gas from the cylinder.
|
 Rear Suspension System
Components and components location
Components Location
1. Rear upper arm rear
2. Rear upper arm front
3. Rear cross member
4. Rear differential
5. Rear stabi ...
 Rear Upper Arm
Repair procedures
Removal
[Rear upper arm rear]
1.
Remove wheel nuts, wheel and tire (A) from hub.
Tightening torque:
107.9 - 127.5 N·m (11.0 - ...
Other information:
Kia Stinger CK 2018-2025 Service Manual: AVN System
Components and components location Component Location 1 . AVN head unit 2. AVN front monitor 3. External amplifier 4. Multimedia jack 5 . Steering wheel remote control(SWRC) 6 . Hands-free mic 7 . Roof antenna(Radio + GPS + DAB) ...
Kia Stinger CK 2018-2025 Service Manual: DC DC converter
Components and components location Components Location Description and operation Description Due to the considerably more frequent occurrence of starting operations, the electrical load that occurs often leads to voltage dips in the vehicle network.In order to sta ...

