Kia Stinger: Tail Gate / Tail Gate Trim
Components and components location
| Component Location |
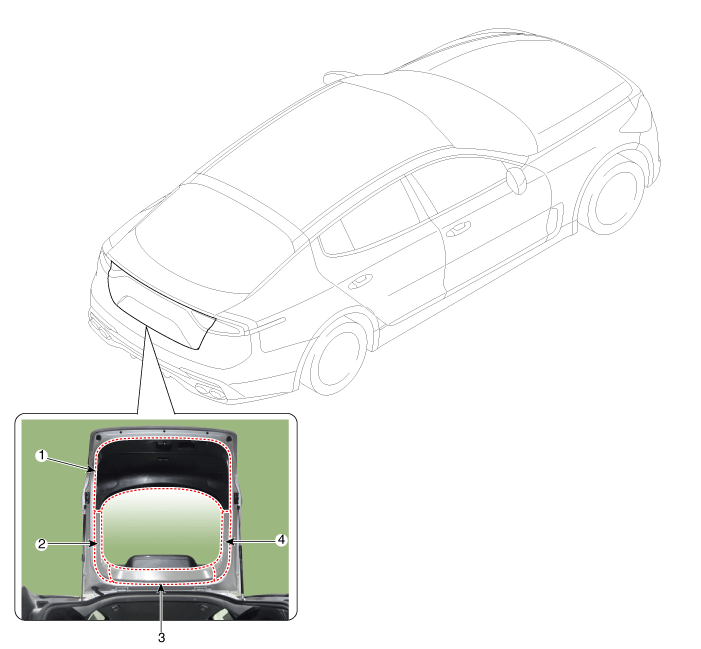
| 1. Tailgate trim 2. Tailgate side trim [LH] |
3. Tailgate upper trim 4. Tailgate side trim [RH] |
Repair procedures
| Replacement |
Wear gloves to protect hands from injury. |
|
| 1. |
Wear gloves to protect hands from injury.
|
| 2. |
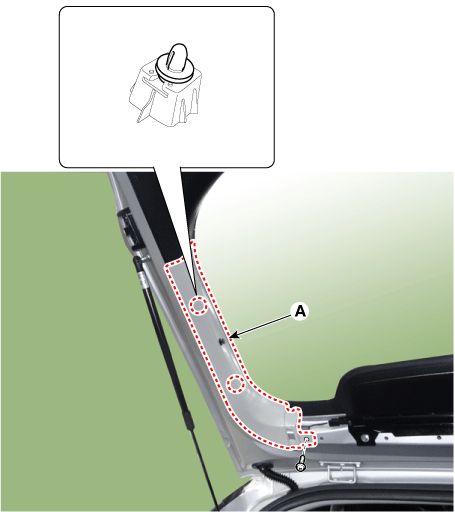
Remove the tailgate side trim (A) after loosening the mounting screw.
|
| 3. |
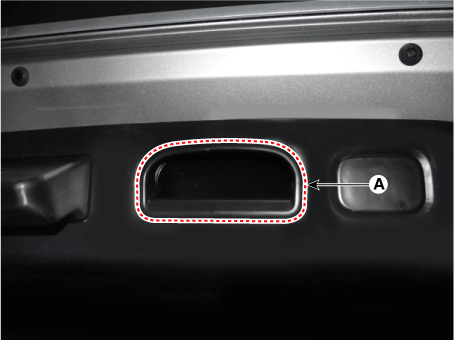
Remove the tailgate inside full handle cap (A) by using a remover.
|
| 4. |
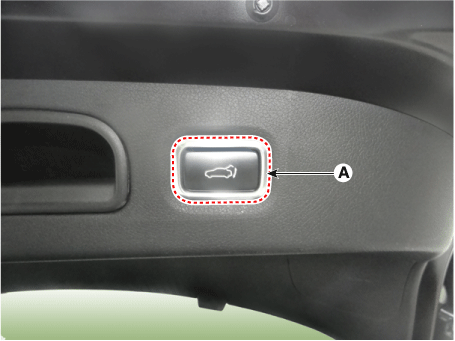
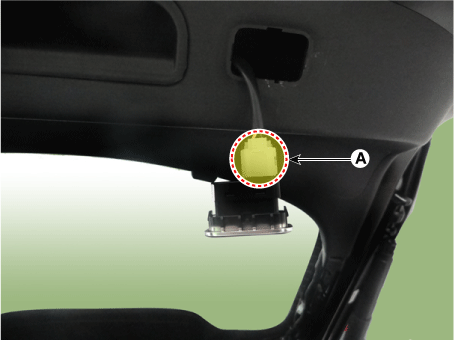
Separate the smart tailgate inner switch (A).
|
| 5. |
Remove the smart tailgate inner switch after disconnecting the connector (A).
|
| 6. |
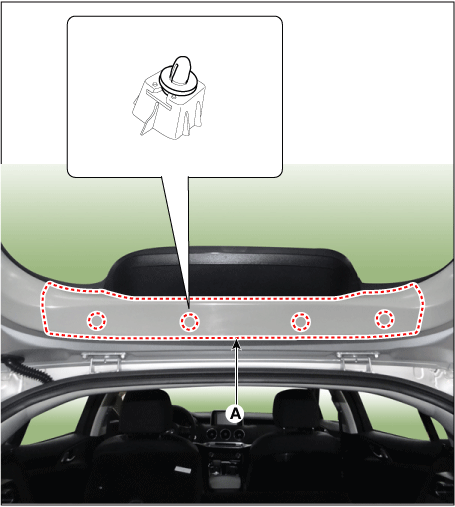
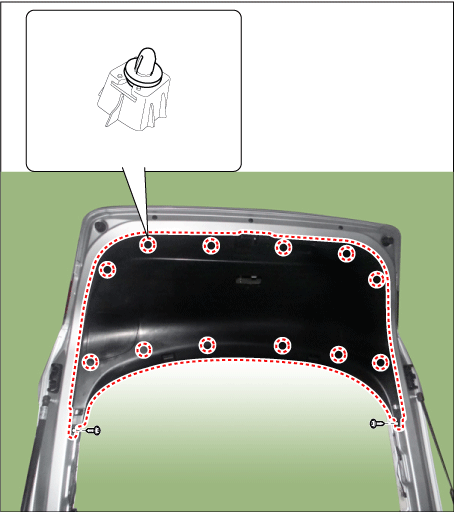
Remove the tailgate trim (A) after loosening the mounting screws.
|
| 7. |
Install in the reverse order of removal.
|
 Tail Gate Assembly
Components and components location
Components Location
1. Tailgate assembly
Repair procedures
Replacement
&nb ...
 Tail Gate Latch
Components and components location
Component Location
1. Tailgate latch assembly
Repair procedures
Replacement
...
Other information:
Kia Stinger CK 2018-2025 Owners Manual: How to use the Smart Liftgate
The liftgate can be opened with notouch activation satisfying all the conditions below. After 15 seconds when all doors are closed and locked Positioned in the detecting area for more than 3 seconds. ✽ NOTICE • The Smart Liftgate does not operate when: - The smart key is detected wi ...
Kia Stinger CK 2018-2025 Service Manual: Water Temperature Control Assembly
Components and components location Components 1. Water temperature control assembly 2. Engine coolant temperature sensor 3. Water outlet hose 4. Heater hose 5. Intake manifold water hose 6. Oil cooler hose Repair procedu ...
Copyright © www.kstinger.com 2015-2025


