
Kia Stinger CK: Mirror / Outside Rear View Mirror
Components and components location
| Component Location |
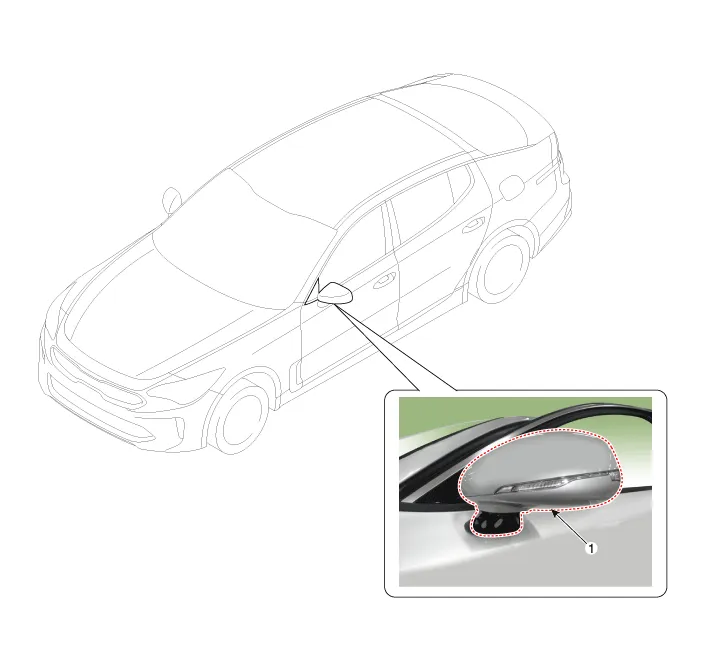
| 1. Outside rear view mirror
|
Repair procedures
| Replacement |
Put on gloves to protect your hands. |

|

| 1. |
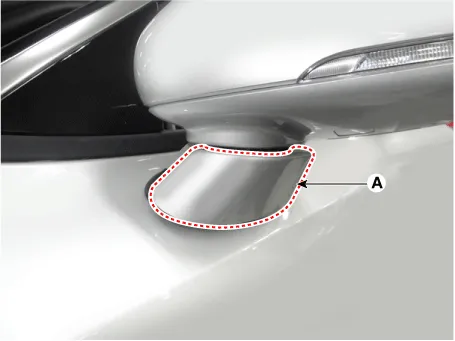
Remove the outside rear view mirror mounting cap (A).
|
| 2. |
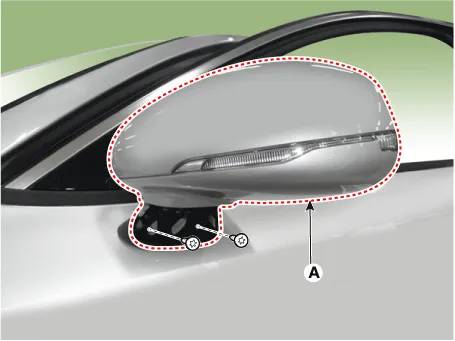
Separate the outside rear view mirror (A) after loosening the mounting screw.
|
| 3. |
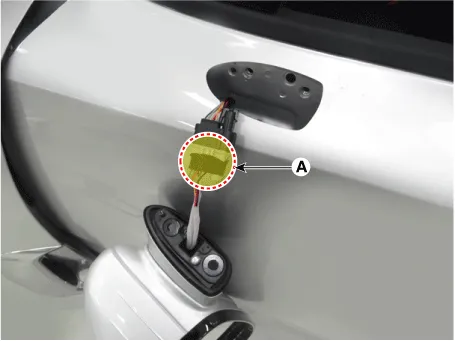
Remove the outside rear view mirror after disconnecting the connector (A).
|
| 4. |
Install in the reverse order of removal.
|
| Disassembly |
[Housing cover]
|
| 1. |
Remove outside rear view mirror assembly. (Refer to Body - "Outside View Mirror") |
| 2. |
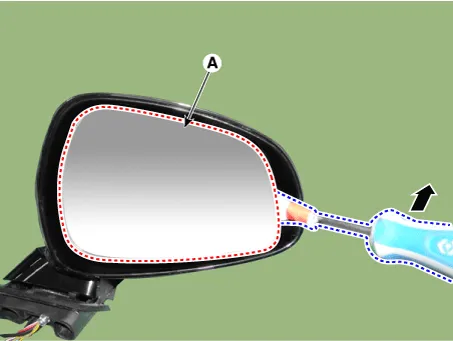
After inserting the flat-bladed screwdriver as shown in the illustration below, remove the mirror (A) by applying a momentary force.
|

| 3. |
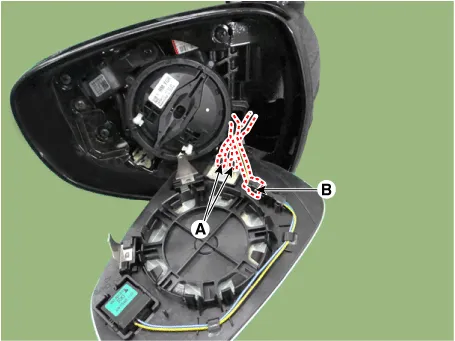
Disconnect the heater connectors (A) and rear corner radar indicator connector (B).
|
| 4. |
Remove the housing cover mounting screw. |
| 5. |
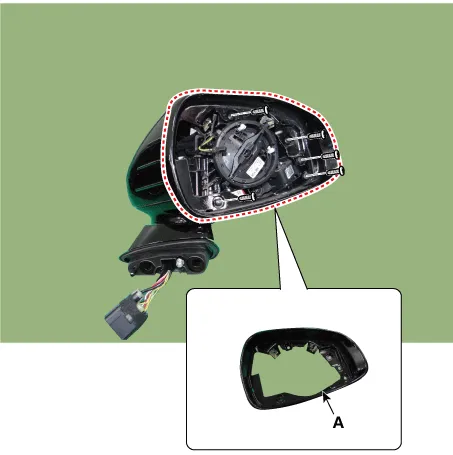
Using a remover and remove the housing cover (A).
|
| 6. |
Reassemble in the reverse order of disassembly. |
[Scalp]
|
| 1. |
Remove outside rear view mirror assembly. (Refer to Body - "Outside View Mirror") |
| 2. |
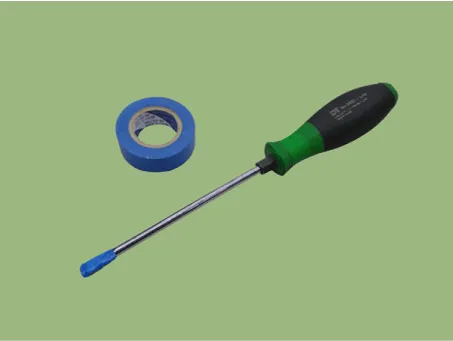
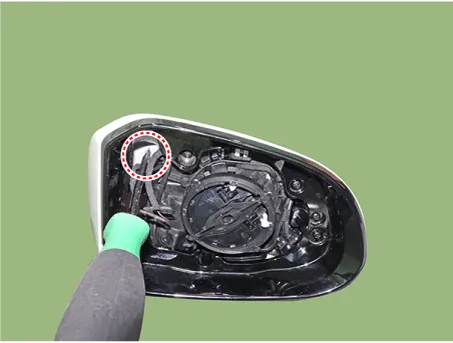
After inserting the flat-bladed screwdriver as shown in the illustration below, remove the mirror (A) by applying a momentary force.
|
| 3. |
Disconnect the heater connectors (A) and rear corner radar indicator connector (B).
|
| 4. |
Remove the scalp.
|

| 5. |
Reassemble in the reverse order of disassembly. |


Other information:
Repair procedures Inspection 1. Connect the battery voltage and check for blower motor operation. 2. If the blower motor does not operate well, substitute with a known-good blower motor and check for proper operation. 3. Replace the blower motor if it is proved that there is a problem with it.Components and components location Components Repair procedures Removal 1. Disconnect the negative (-) battery terminal. 2. Remove the crash pad lower panel. (Refer to Body - "Crash Pad Lower Panel") 3. Remove the crash pad garnish [LH] (A) after loosening the mounting screw.Categories
- Manuals Home
- Kia Stinger Owners Manual
- Kia Stinger Service Manual
- New on site
- Most important about car
