
Kia Stinger CK: Front Bumper / Radiator Grille
Kia Stinger (CK) 2018-2023 Service Manual / Body (Interior and Exterior) / Front Bumper / Radiator Grille
Components and components location
| Component Location |
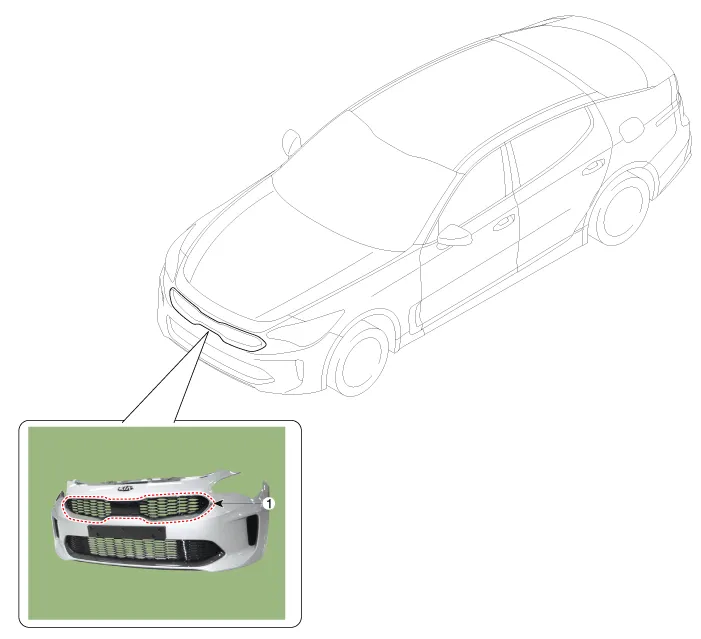
| 1. Radiator grille |
Repair procedures
| Replacement |
Put on gloves to protect your hands. |

|

| 1. |
Remove the front bumper assembly. (Refer to Front Bumper - "Front Bumper Assembly") |
| 2. |
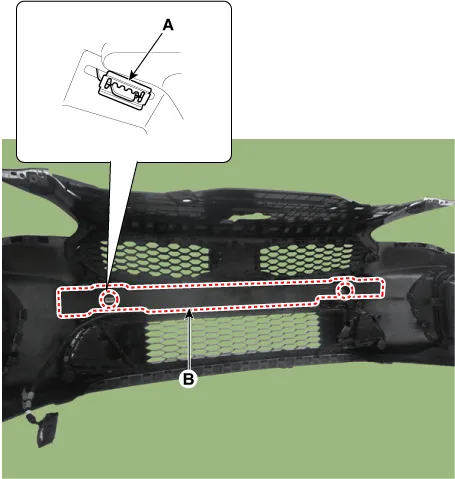
Remove the mounting clip (A) and then remove the front bumper energy absorber (B).
|
| 3. |
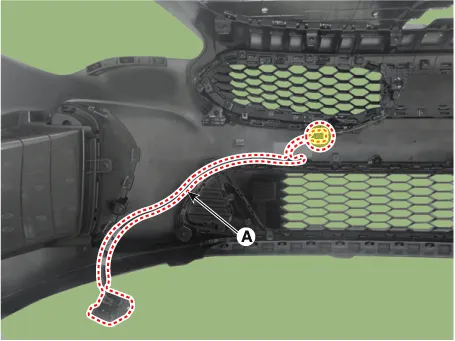
Remove the front bumper wiring (A).
|
| 4. |
Remove the pantoscopic camera (A).
|
| 5. |
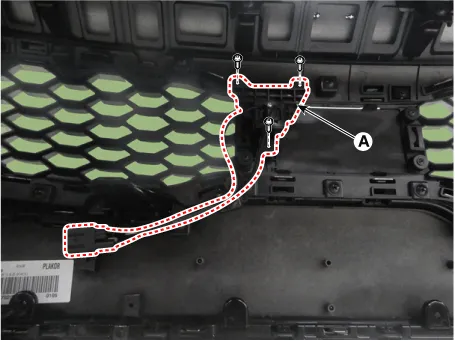
Remove the radiator upper cover (A) after loosening the screws.
|

| 6. |
Remove the radiator grille (A) after loosening the screws.
|
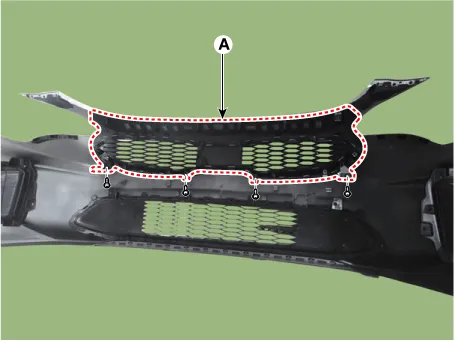
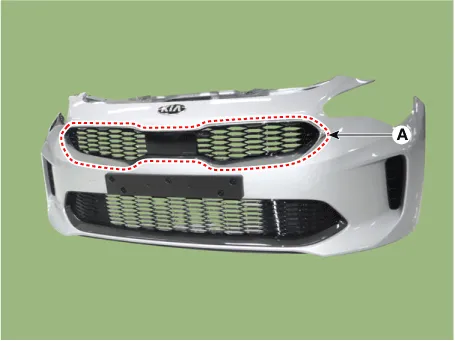
| 7. |
Install in the reverse order of removal.
|


Other information:
Kia Stinger (CK) 2018-2023 Service Manual: Scheduled maintenance service
Follow the Normal Maintenance Schedule if the vehicle is usually operated where none of the following conditions apply. If any of the following conditions apply, follow the Maintenance Under Severe Usage Conditions. Repeated driving short distance of less than 8 km (5 miles) in normal temperature or less than 16 km (10 miles) in freezing temperature Extensive engine idling or low speed driving for long distances Driving on rough, dusty, muddy, unpaved, graveled or salt-spread roadComponents and components location Component Location 1. Sunvisor 2. Repair procedures Replacement Put on gloves to protect your hands. • Use a plastic panel removal tool to remove interior trim pieces without marring the surface.Categories
- Manuals Home
- Kia Stinger Owners Manual
- Kia Stinger Service Manual
- New on site
- Most important about car

Copyright © 2026 www.kstinger.com 0.0059