Kia Stinger CK: Rear Suspension System / Rear Shock Absorber
Components and components location
| Components |
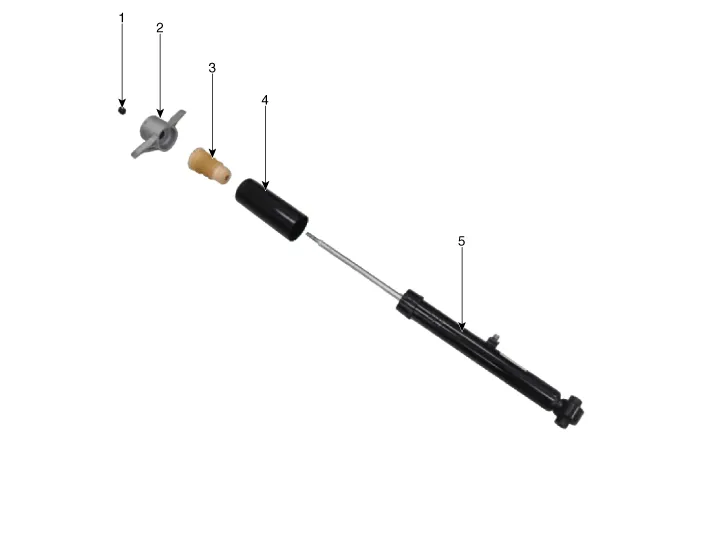
| 1. Lock nut 2. Rear insulator 3. Bumper stopper |
4. Dust cover 5. Shock absorber |
Repair procedures
| Removal |
| 1. |
Remove wheel nuts, rear wheel and tire (A) from hub.
|


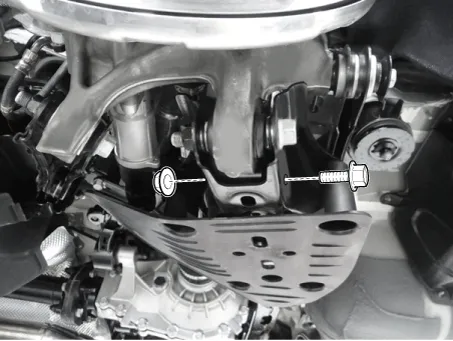
| 2. |
Loosen the rear shock absorber bolt & nut.
|
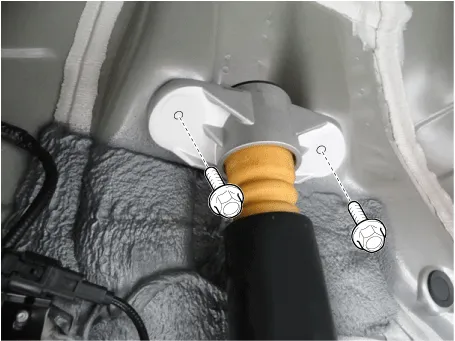
| 3. |
Loosen the rear shock absorber upper bolts and the remove the rear shock absorber.
|
| 4. |
Install in the reverse order of removal.
|
| Disassembly |
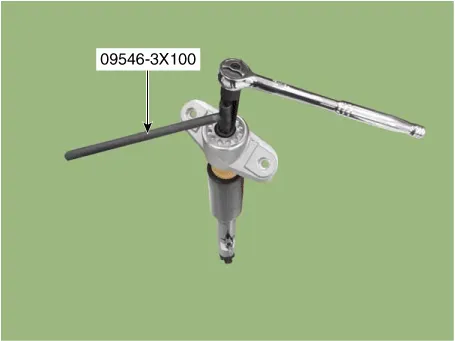
| 1. |
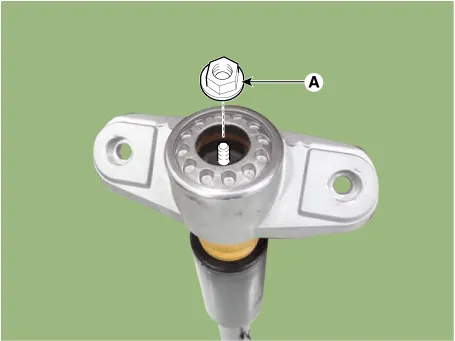
Using SST (09546-3X100), loosen the shock absorber lock nut (A).
|
| 2. |
Install in the reverse order of removal. |
| Inspection |
| 1. |
Check the rubber parts for wear and deterioration. |
| 2. |
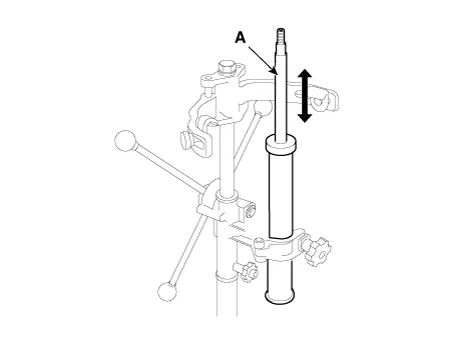
Compress and extend the piston rod (A) and check that there is no abnormal resistance or unusual sound during operation.
|
Disposal
| 1. |
Fully extend the piston rod. |
| 2. |
Drill a hole on the (A) section to remove gas from the cylinder.
|


Other information:
Kia Stinger (CK) 2018-2023 Service Manual: Lane Keeping Assist (LKA)
Components and components location Components 1. LKA ON/OFF switch 2. Instrument cluster 3. LKA Unit (MFC) * MFC : Multi Function Camera – Function : LKA,HBA,ISLW,FCW,SCC Description and operation Description System block diagram System function Camera unit of the LKA processes below function with the video signal inputted 1.Components and components location Component Location 1. Front console armrest Repair procedures Replacement Put on gloves to protect your hands. • Use a plastic panel removal tool to remove interior trim pieces without marring the surface.Categories
- Manuals Home
- Kia Stinger Owners Manual
- Kia Stinger Service Manual
- New on site
- Most important about car
