Kia Stinger CK: Chassis / Steering Gear Rack, Linkage and Boots
Repair procedures
| Inspection |
| 1. |
Check the steering wheel free road.
|
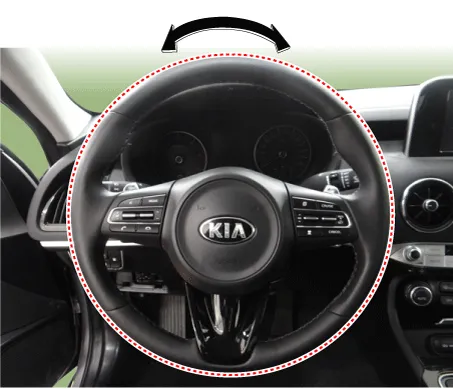
| 2. |
Check the steering linkage for looseness or damage.
|


Other information:
Kia Stinger (CK) 2018-2023 Service Manual: Wireless Power Charging (WPC) Lamp
Components and positions Components Repair procedures Removal • Handling wireless charging system parts by wet hands may cause electric shock. • Put on gloves to protect your hands.Kia Stinger (CK) 2018-2023 Service Manual: Oil Pressure Switch
Repair procedures Removal 1. Disconnect the battery negative terminal. 2. Remove the alternator. (Refer to Engine Electrical System - "Alternator") 3. Disconnect the oil pressure switch connector (A) and then remove the oil pressure switch (B). Tightening torque : 7.Categories
- Manuals Home
- Kia Stinger Owners Manual
- Kia Stinger Service Manual
- New on site
- Most important about car
