Kia Stinger: Interior Trim / Cowl Side Trim
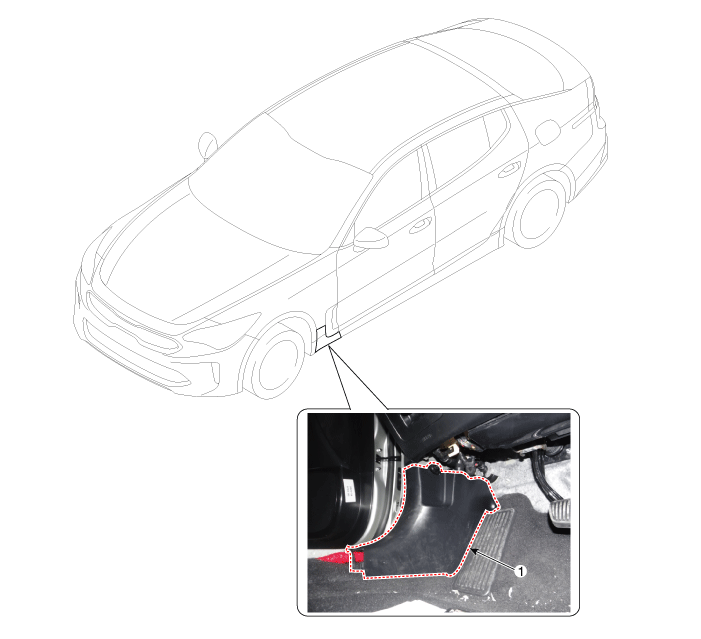
Components and components location
| Component Location |

| 1. Cowl side trim |
Repair procedures
| Replacement |
Put on gloves to protect your hands. |
|
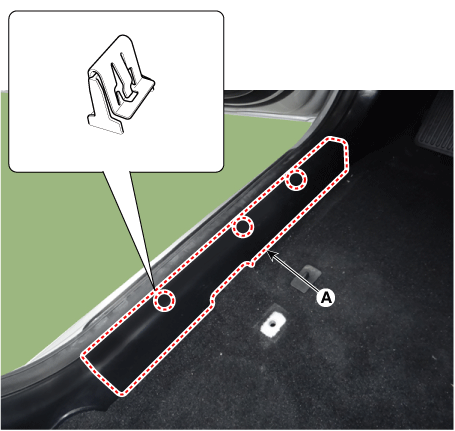
| 1. |
Remove the front door scuff trim (A) by using a remover.
|
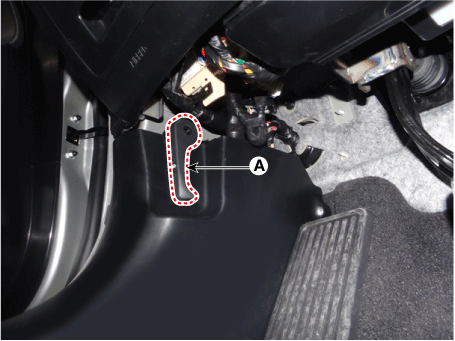
| 2. |
Remove the hood latch release handle (A).
|
| 3. |
Carefully remove the front door body side weather strip. |
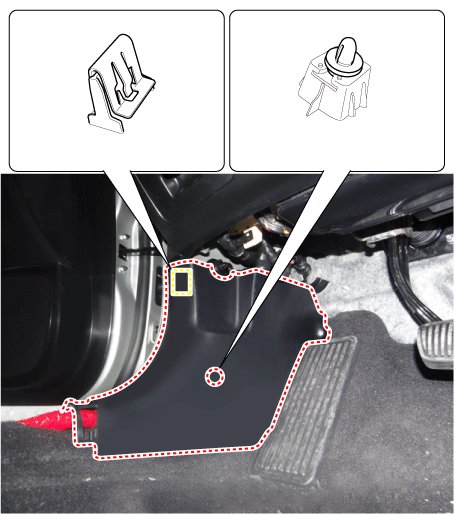
| 4. |
Remove the cowl side trim (A) by using a remover.
|
| 5. |
Install in the reverse order of removal.
|
 Door Scuff Trim
Components and components location
Component Location
1. Front door scuff trim
2. Rear door scuff trim
Repair procedures
Replacement
...
 Front Pillar Trim
Components and components location
Component Location
1. Front pillar trim
Repair procedures
Replacement
...
Other information:
Kia Stinger CK 2018-2025 Service Manual: Seat Ventilation Unit
Components and components location Component Location 1. Seat ventilation blower 2. Seat ventilation unit (Assist seat only) Schematic diagrams Circuit Diagram Repair procedures Removal Seat Ventilation Unit ...
Kia Stinger CK 2018-2025 Service Manual: Side Impact Sensor (SIS)
Description and operation Description • Side Impact Sensor (SIS) system consists of two Pressure Side Impact Sensor (P-SIS) installed at each center of the front door module (LH and RH), two SIS installed at each center pillar nearby (LH and RH) and two rea ...
Copyright © www.kstinger.com 2015-2025


