
Kia Stinger CK: Cooling System / Water Temperature Control Assembly
Components and components location
| Components |
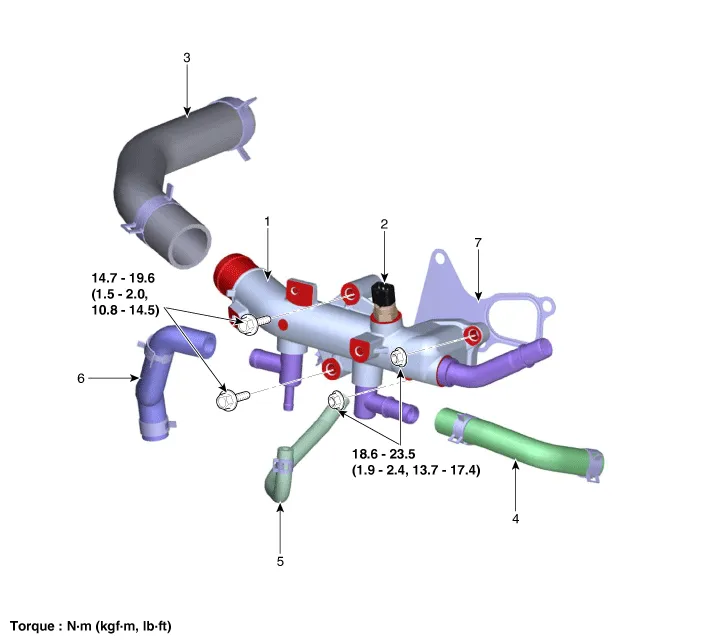
| 1. Water temperature control
assembly 2. Engine coolant temperature sensor 3. Water outlet hose |
4. Heater hose 5. Intake manifold water hose 6. Oil cooler hose |
Repair procedures
| Removal and Installation |
| 1. |
Disconnect the battery negative terminal. |
| 2. |
Remove the engine cover. (Refer to Engine and Transmission Assembly - "Engine Cover") |
| 3. |
Remove the engine room front under cover. (Refer to Engine and Transmission Assembly - "Engine Room Under Cover") |
| 4. |
Drain the coolant. (Refer to Cooling System - "Coolant") |
| 5. |
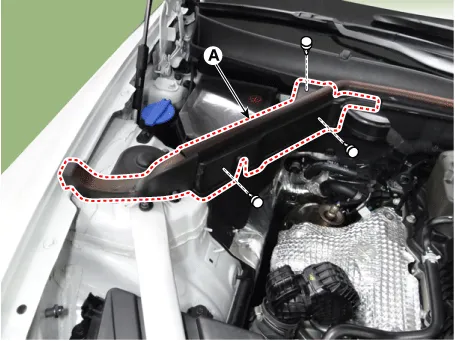
Remove the RH hood sealing cover (A).
|
| 6. |
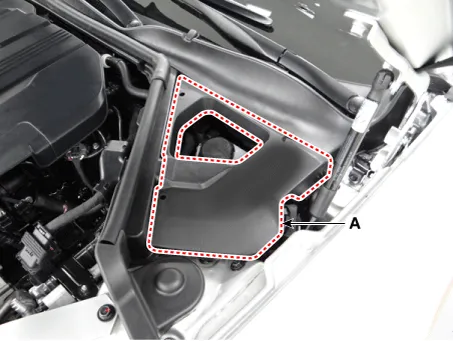
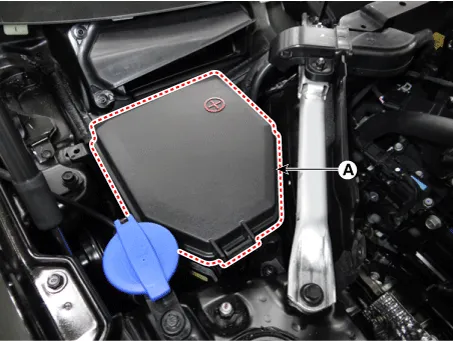
Remove the engine room cover (A).
|
| 7. |
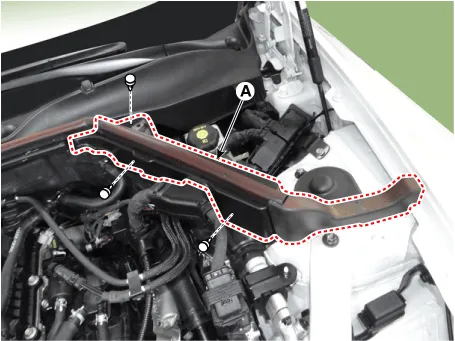
Remove the LH hood sealing cover (A).
|
| 8. |
Remove the cowl top cover. (Refer to Body (Interior and Exterior) -"Cowl Top Cover") |
| 9. |
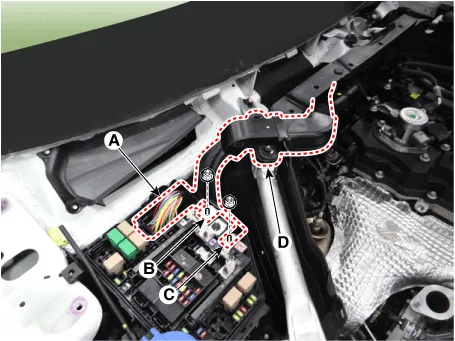
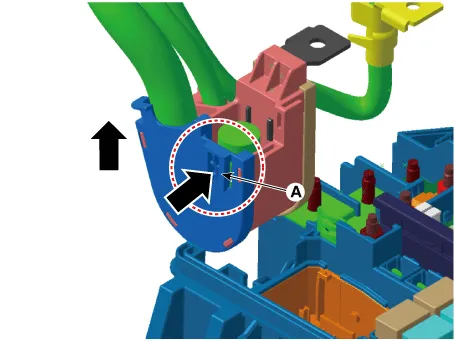
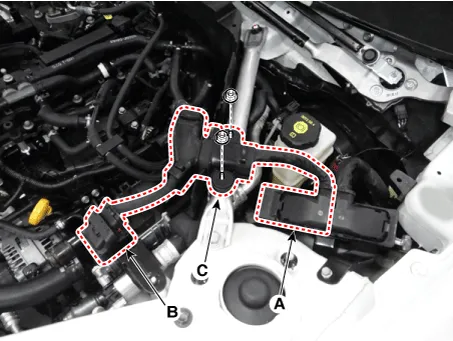
Disconnect the wiring connector and harness from the engine room.
|

| 10. |
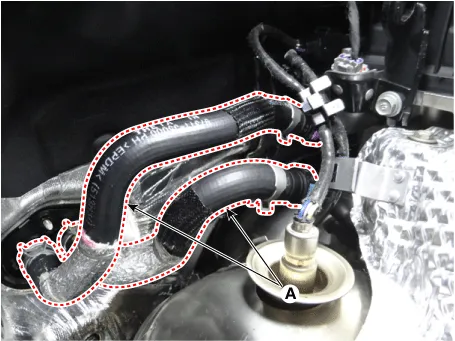
Disconnect the heater hoses (A).
|
| 11. |
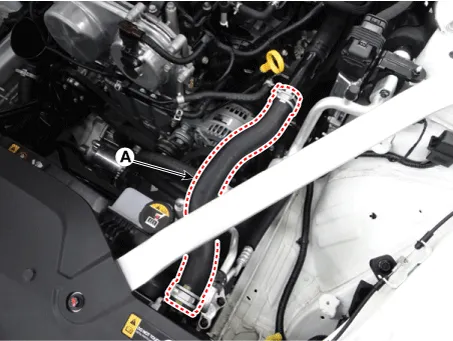
Disconnect the radiator upper hose (A).
|
| 12. |
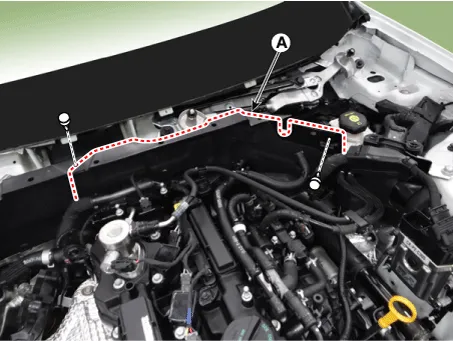
Remove the engine room panel (A).
|
| 13. |
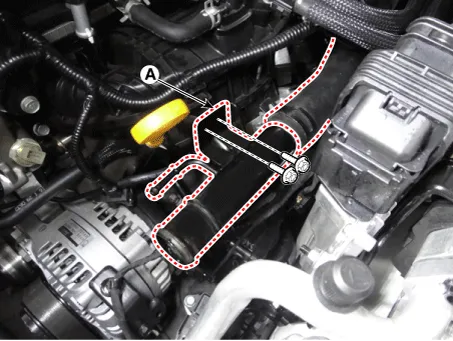
Remove the water outlet pipe (A).
|
| 14. |
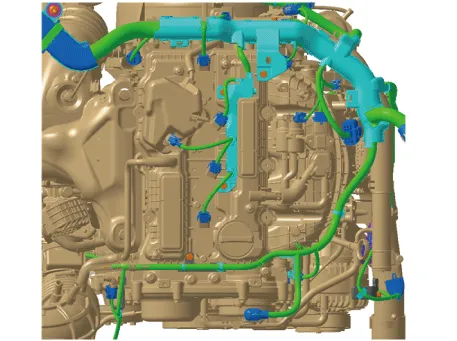
Disconnect the wiring connectors and harness clamps and remove the wiring protector around the water temperature control assembly.
|
| 15. |
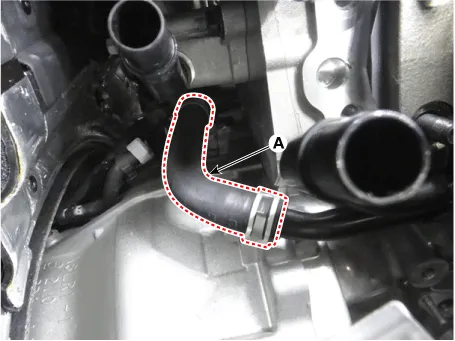
Disconnect the bypass hose (A).
|
| 16. |
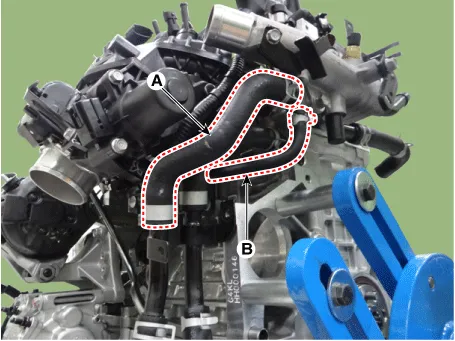
Disconnect the oil cooler hose (A) and electric throttle body control (ETC) module water hose (B).
|
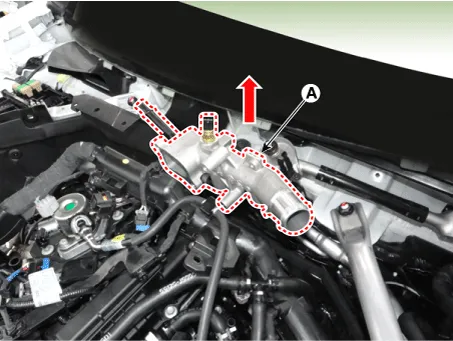
| 17. |
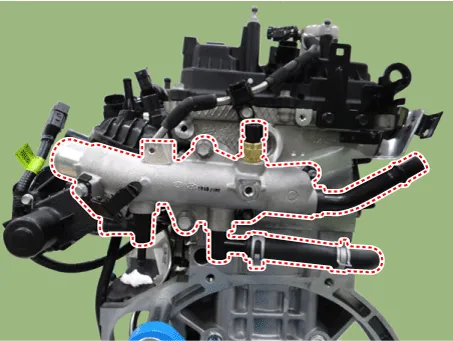
Remove the water temperature control assembly (A) with gasket.
|

| 18. |
Install the other parts in the reverse order of removal. |
| 19. |
Fill the coolant. (Refer to Cooling system - "Coolant") |
| 20. |
Start engine and check for leaks. |
| 21. |
Recheck engine coolant level. |


Other information:
Kia Stinger (CK) 2018-2023 Service Manual: Smart Cruise Control (Stop & Go) (SCC) Switch
Components and components location Components 1. Left Remote Control Switch (Audio + Bluetooth + Voice) 2. Right Remote Control Switch (Trip Computer + ACC + SCC) Schematic diagrams Circuit Diagram [Audio + Bluetooth + Voice] [Trip + ACC] [Trip + ACC + SCC] Repair procedures Inspection 1.Specifications Lubricant Item Defined lubricant Capacity Transfer oil Exclusive oil for transfer case ATF SHELL TF0870B 0.820L (0.217 U.S gal., 0.87 U.S.qt., 0.72 Imp.qt.) Repair procedures Inspection Prohibition on checking, refilling and replacing the transfer case oil – Do not check, refill and replace the transfer case oil because transfer case (ATF SHELL TF0870B) is filled when coming out of the factory.Categories
- Manuals Home
- Kia Stinger Owners Manual
- Kia Stinger Service Manual
- New on site
- Most important about car
