Kia Stinger CK: Crash Pad / Center Fascia Panel
Components and components location
| Component Location |
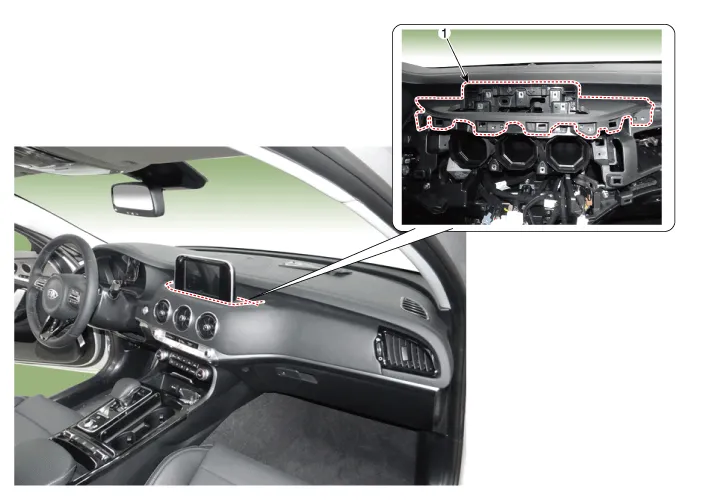
| 1. Monitor fascia panel |
Repair procedures
| Replacement |
Put on gloves to protect your hands. |

|

| 1. |
Remove the crash pad side cover [RH] (A) by using a remover.
|
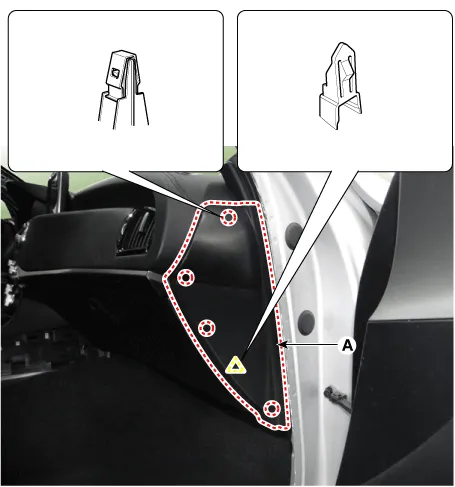
| 2. |
Remove the crash pad garnish [RH] (A) after loosening the mounting screws.
|
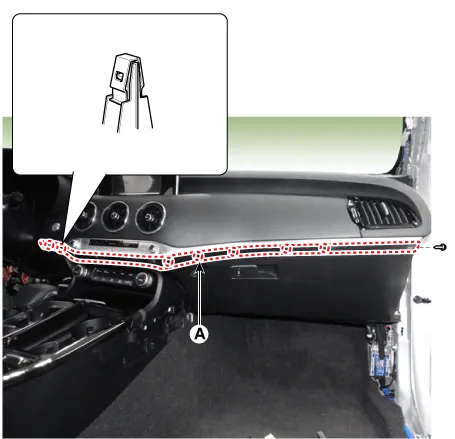
| 3. |
Separate the crash pad passenger side panel (A) after loosening the mounting screws.
|
| 4. |
Disconnect the start/stop button connector (A) and then remove the crash pad garnish.
|
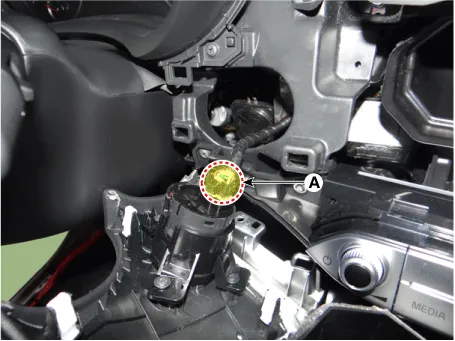
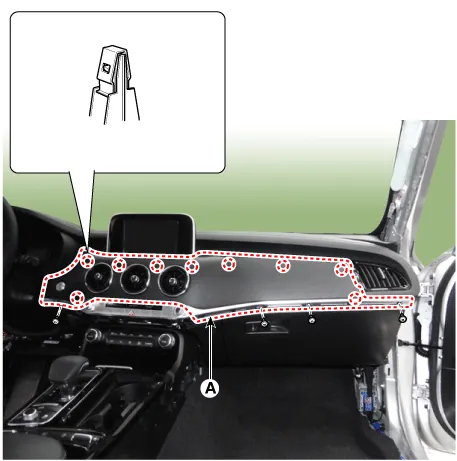
| 5. |
Separate the monitor assembly (A) after loosening the mounting screws.
|
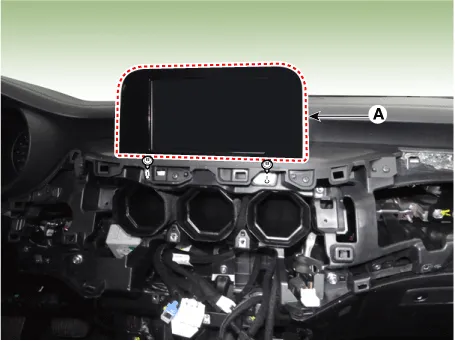
| 6. |
Remove the monitor assembly (A) after disconnect the connectors.
|
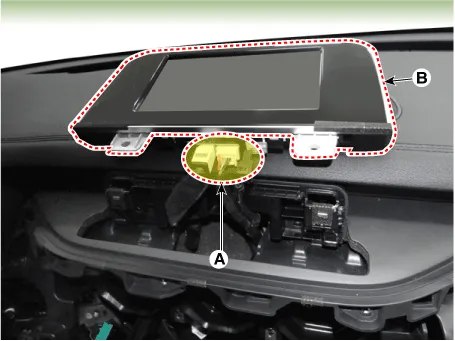
| 7. |
Remove the monitor fascia panel (A) after loosening the mounting screws.
|
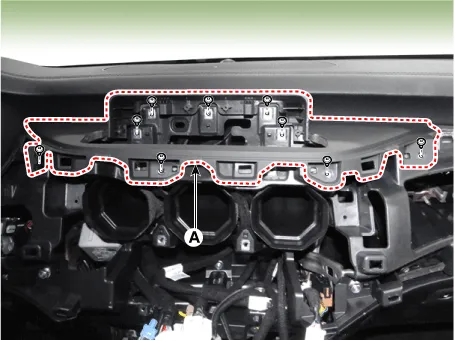
| 8. |
Install in the reverse order of removal.
|


Other information:
Specifications Specification Item Specification Type SILZKR8H9G Gap 0.8 - 0.9 mm (0.0314 - 0.0354 in.) Electrode Material Iridium Description and operation Description A spark plug is a device for delivering electric current from an ignition system to the combustion chamber of a spark-ignition engine to ignite the compressed fuel/air mixture therein by means of an electric spark, while containing combustion pressure within the engine.Repair procedures Removal [2WD] 1. Remove wheel nuts, front wheel and tire (A) from hub. Tightening torque: 107.9 - 127.5 N·m (11.0 - 13.0 kgf·m, 79.6 - 94.0 lb·ft) Be careful not to damage the wheel bolts when removing the wheel and tire (A).Categories
- Manuals Home
- Kia Stinger Owners Manual
- Kia Stinger Service Manual
- New on site
- Most important about car
