Kia Stinger CK: Crash Pad / Crash Pad Lower Panel
Kia Stinger (CK) 2018-2023 Service Manual / Body (Interior and Exterior) / Crash Pad / Crash Pad Lower Panel
Components and components location
| Component Location |
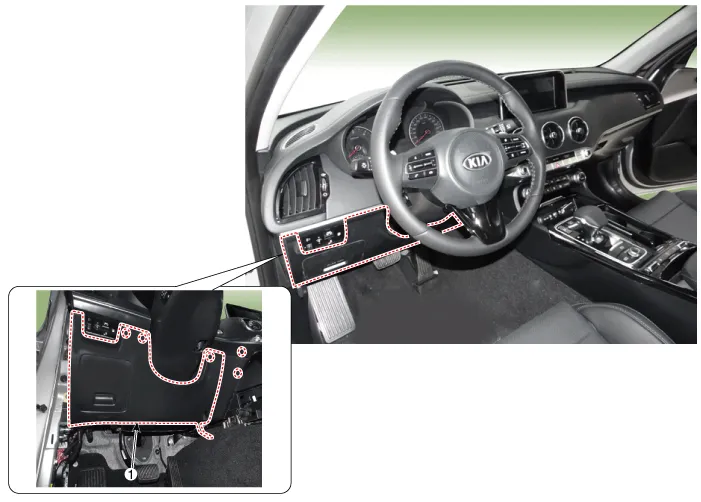
| 1. Crash pad lower panel |
Repair procedures
| Replacement |
Put on gloves to protect your hands. |

|

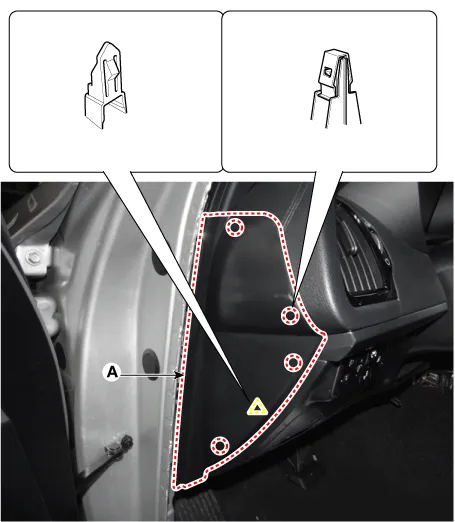
| 1. |
Remove the crash pad side cover [LH] (A) by using a remover.
|
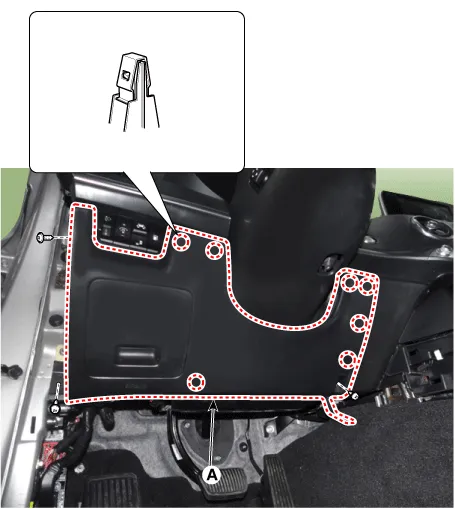
| 2. |
Separate the crash pad lower panel (A) after loosening the bolts and screws.
|
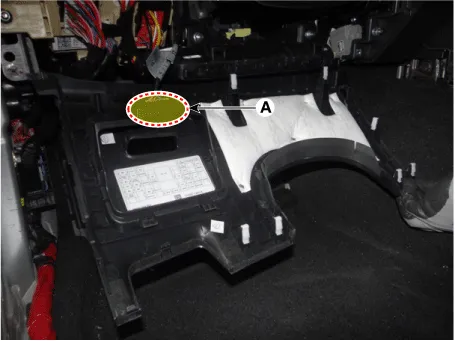
| 3. |
Disconnect the crash pad lower switch connector (A).
|
| 4. |
Install in the reverse order of removal.
|


Other information:
Repair procedures Tire Wear • Using tires and wheels other than the recommended sizes can cause unusual handling characteristics and poor vehicle control, resulting in a serious accident. 1. Measure the tread depth of the tires.Specifications Specification Item Specification Coil Resistance (Ω) 1.4 - 1.6 [20°C(68°F)] Description and operation Description The GDI injector is similar to a standard injector, but sprays fuel at a much higher pressure directly into the combustion chamber and has a swirl disc to get the fuel swirling as it exits the nozzle.Categories
- Manuals Home
- Kia Stinger Owners Manual
- Kia Stinger Service Manual
- New on site
- Most important about car

Copyright © 2026 www.kstinger.com 0.0098