Kia Stinger CK: Crash Pad / Steering Column Shroud Panel
Components and components location
| Component Location |

| 1. Steering column shroud upper
panel |
2.Steering column shroud lower
panel |
Repair procedures
| Replacement |
Put on gloves to protect your hands. |

|

| [Steering column shroud upper panel] |
| 1. |
Remove the crash pad side cover [LH] (A) by using a remover.
|
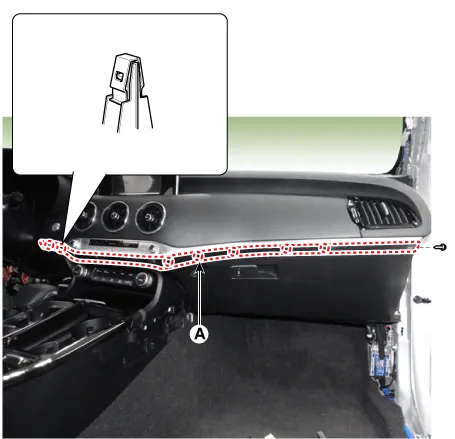
| 2. |
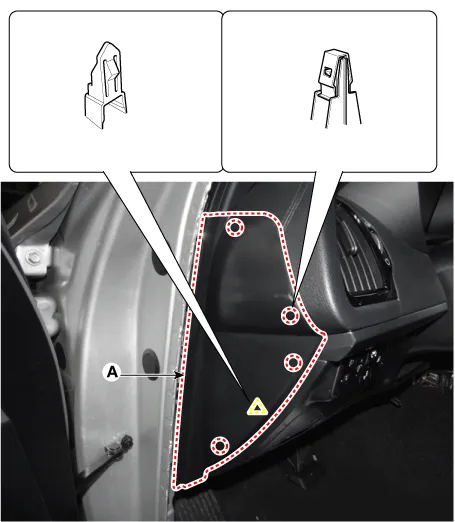
Separate the crash pad lower panel (A) after loosening the bolts and screws.
|
| 3. |
Disconnect the crash pad lower switch connector (A).
|
| 4. |
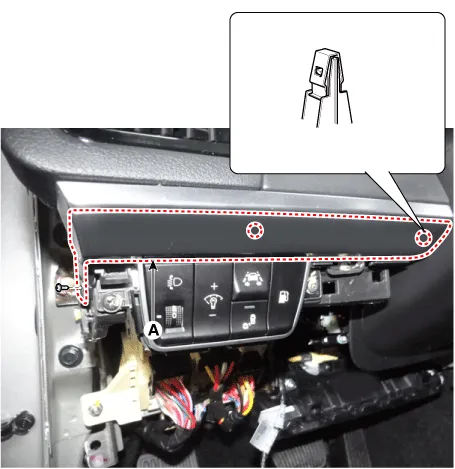
Remove the crash pad garnish [LH] (A) after loosening the mounting screws.
|
| 5. |
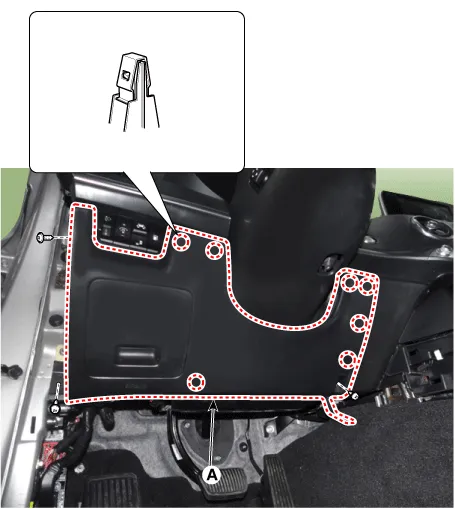
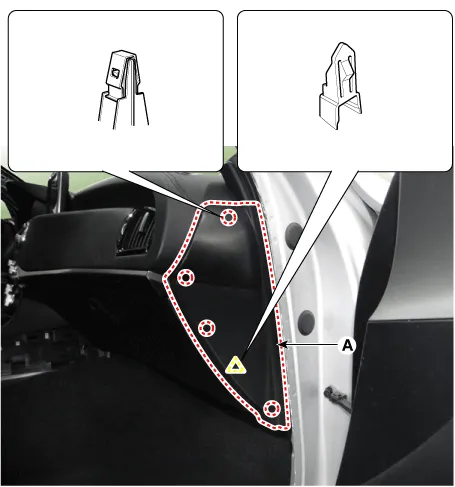
Remove the crash pad driver side panel (A) after loosening the mounting screws.
|

| 6. |
Remove the crash pad side cover [RH] (A) by using a remover.
|
| 7. |
Remove the crash pad garnish [RH] (A) after loosening the mounting screws.
|
| 8. |
Separate the crash pad passenger side panel (A) after loosening the mounting screws.
|
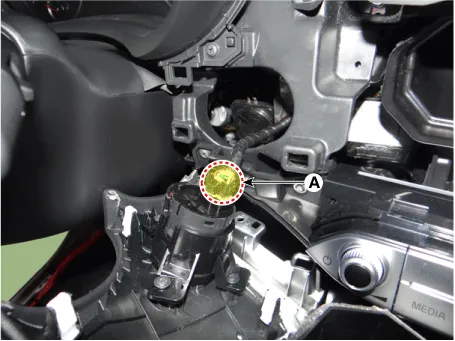
| 9. |
Disconnect the start/stop button connector (A) and then remove the crash pad garnish.
|
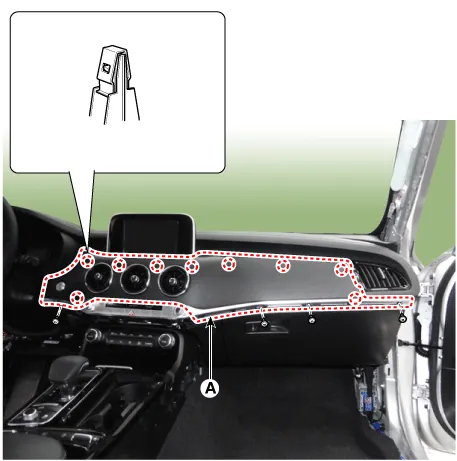
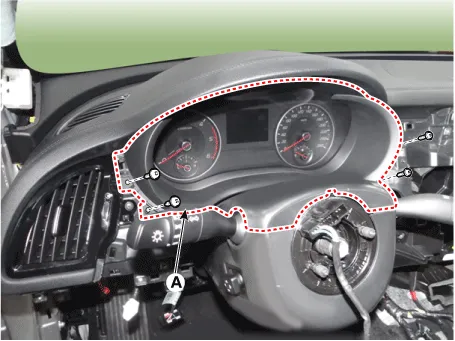
| 10. |
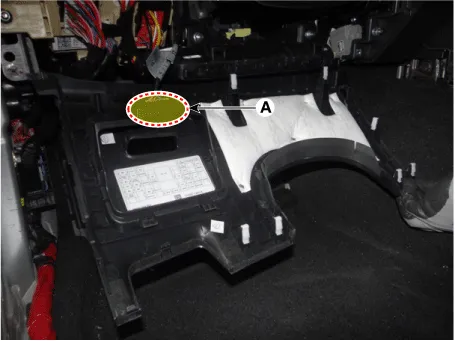
Remove the cluster fascia panel (A) by using a remover.
|
| 11. |
Install in the reverse order of removal.
|
| [Steering column shroud lower panel] |
| 1. |
Remove the crash pad upper panel. |
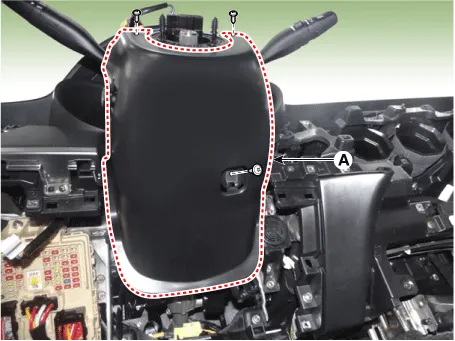
| 2. |
Remove the steering column shroud lower panel (A) after loosening the mounting screws.
|
| 3. |
Install in the reverse order of removal.
|


Other information:
Kia Stinger (CK) 2018-2023 Service Manual: ATF Warmer
Description and operation Description • Engine coolant is used for circulating heat in order to heat and cool the transmission oil. • Rapidly elevates the transmission oil temperature during the initial cold start of the engine. • Prevents over heating of the transmission oil while the vehicle is moving.Kia Stinger (CK) 2018-2023 Service Manual: Main components of the occupant detection system
An detection device located within the front passenger seat cushion. An electronic system which determines whether the passenger air bag systems should be activated or deactivated. An indicator light located on the instrument panel which illuminates the words PASSENGER AIR BAG “OFF” indicates the front passenger air bag system is deactivated.Categories
- Manuals Home
- Kia Stinger Owners Manual
- Kia Stinger Service Manual
- New on site
- Most important about car
