
Kia Stinger CK: Front Seat / Front Seat Cushion Cover
Components and components location
| Component Location |
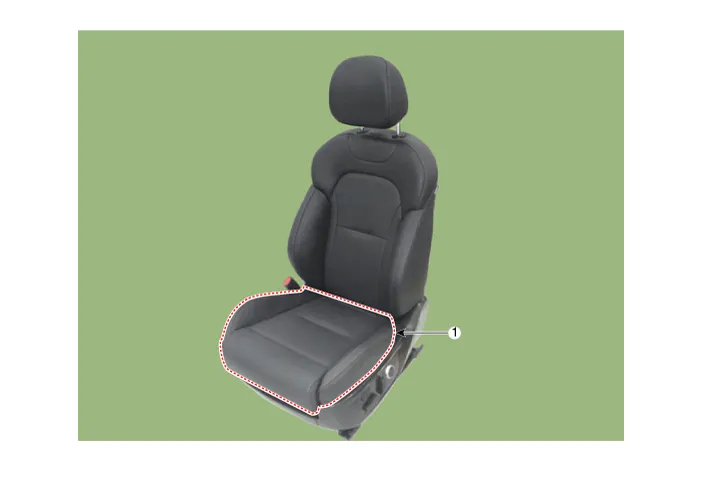
| 1. Front seat cushion cover
|
Repair procedures
| Replacement |
Put on gloves to protect your hands. |

|

| 1. |
Remove the front seat assembly. (Refer to Front Seat - "Front Seat Assembly") |
| 2. |
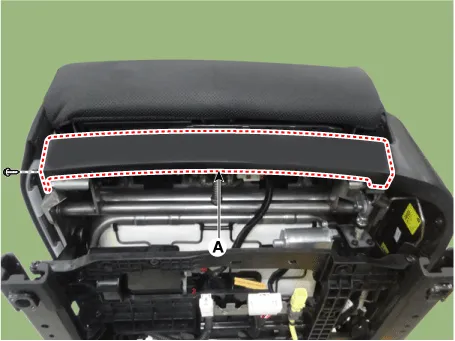
Remove the front seat forward extension cover (A).
|
| 3. |
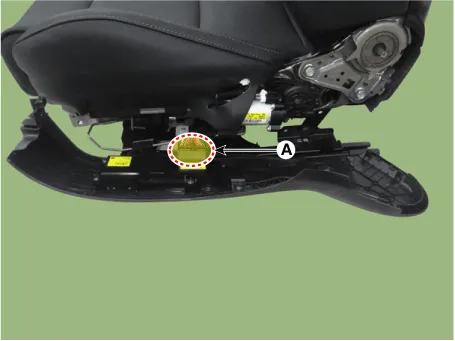
Remove the front seat outer shield cover (A) by using a remover.
|


| 4. |
Disconnect the front seat power switch connector (A).
|
| 5. |
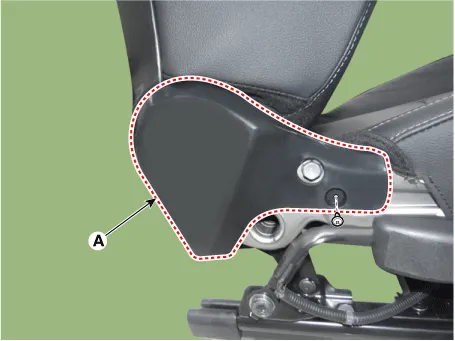
Remove the front seat shield inner cover (A) after loosening the mounting screw.
|
| 6. |
Remove the front seat back board lower protector (A).
|
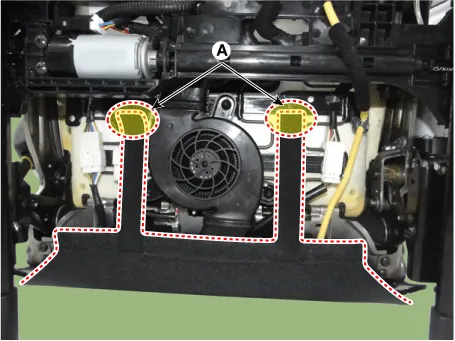
| 7. |
Disconnect the front seat cushion connectors & wiring mounting clip (A).
|
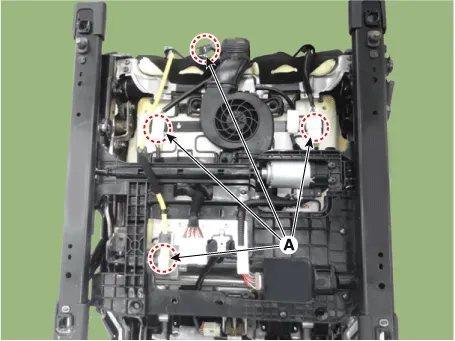
| 8. |
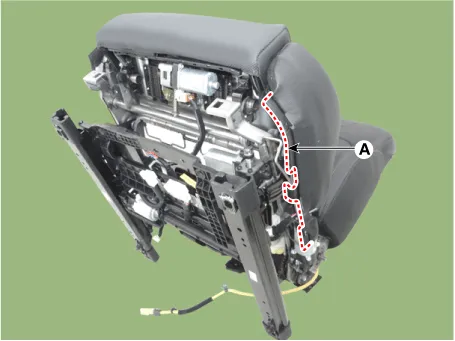
Pull out the protectors (A), and then front seat cushion cover from the front seat cushion frame. [Rear]
[RH]
[LH]
|
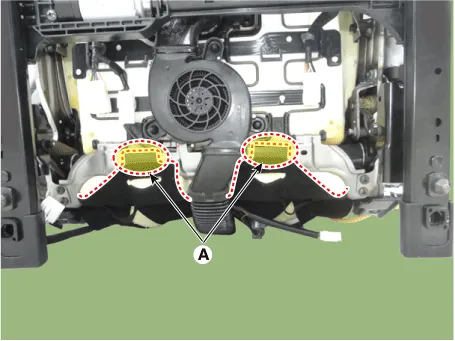
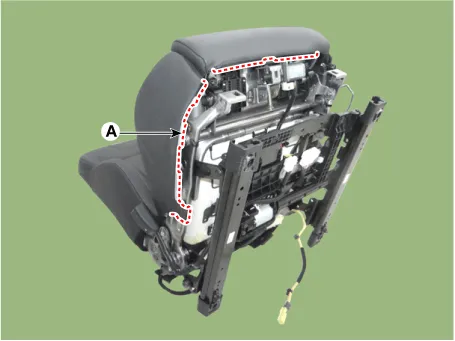
| 9. |
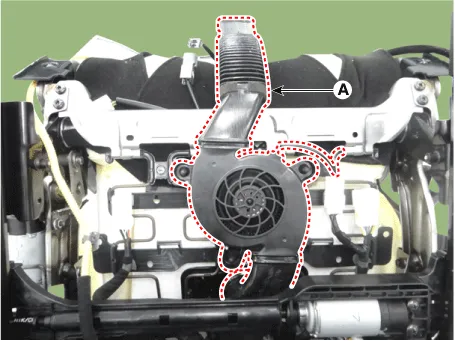
Remove the front seat blower motor (A).
|
| 10. |
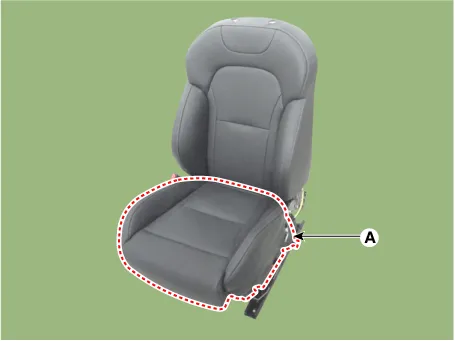
Remove the front seat cushion cover (A) from the front seat cushion frame.
|
| 11. |
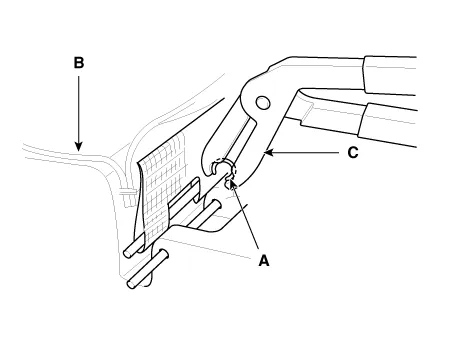
Remove the front seat cushion cover (C) from the front the seat cushion frame after removing the velcro tape (A) and hog-ring clips (B).
|

| 12. |
Install in the reverse order of removal.
|


Other information:
Kia Stinger (CK) 2018-2023 Service Manual: Driver Airbag (DAB) Module and Clock Spring
Description and operation Description Driver Airbag (DAB) is installed in the steering wheel and electrically connected to SRSCM via the clock spring. It protects the driver by deploying the airbag when frontal crash occurs. The SRSCM determines deployment of the Driver Airbag (DAB). Never attempt to measure the circuit resistance of the airbag module (squib) even if you are using the specified tester.Kia Stinger (CK) 2018-2023 Service Manual: Parking Brake & Brake Fluid Warning Light
This warning light illuminates: Once you set the Engine Start/Stop Button to the ON position. - It illuminates for approximately 3 seconds When the parking brake is applied, the warning light will remain on. When the brake fluid level in the reservoir is low. - If the warning light illuminates with the parking brake released, it indicates the brake fluid level in reservoir is low.Categories
- Manuals Home
- Kia Stinger Owners Manual
- Kia Stinger Service Manual
- New on site
- Most important about car
