Kia Stinger CK: Front Seat Belt / Fuel Filler Door

Components and components location
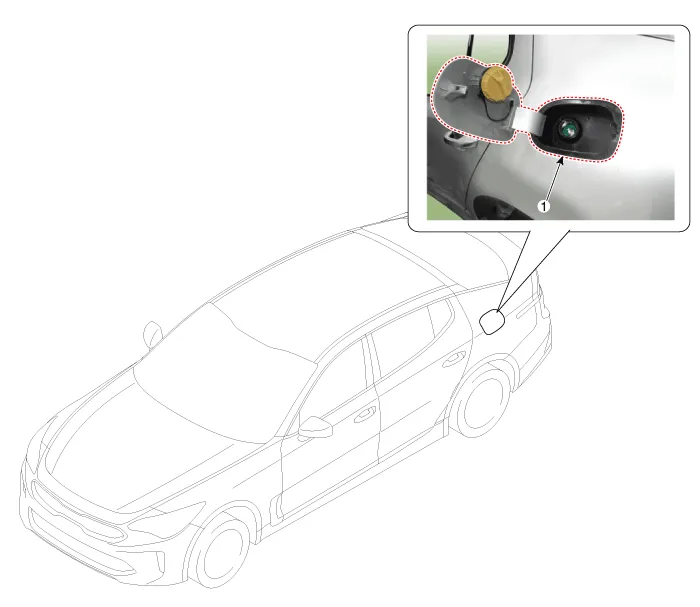
Component Location

1. Fuel filler door


Repair procedures
Replacement
  

Put on gloves to protect your hands.


Use a plastic panel removal tool to remove interior trim pieces without marring the surface.

Take care not to bend or scratch the trim and panels.

1.

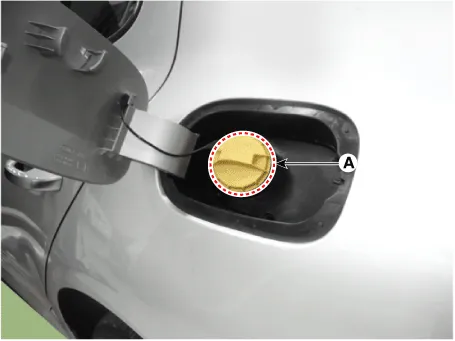
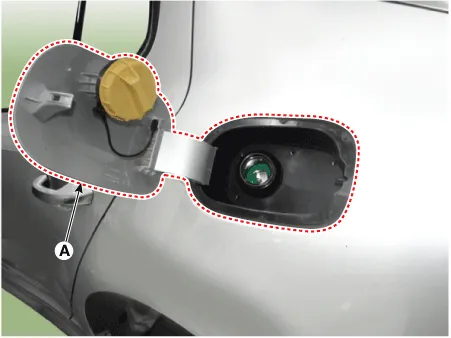
Open the fuel filler door cap (A).

2.

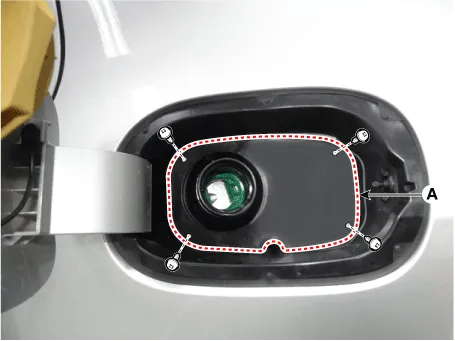
Remove the fuel filler door parking (A) after loosening mounting screws.

3.

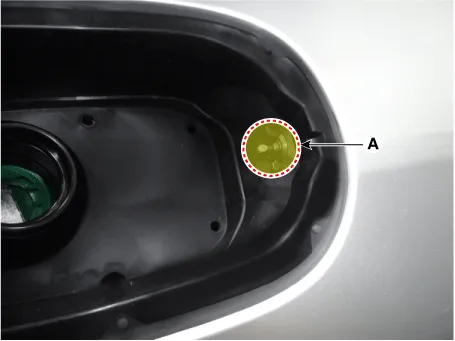
Remove the fuel filler door fixing pin (A).

4.

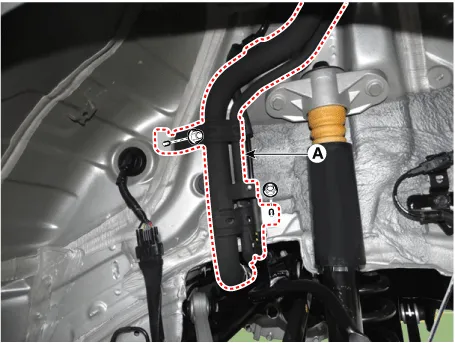
Separate the filler neck (A) after loosening the mounting nuts.

5.

After loosening the mounting bolts, remove the fuel filler door (A).


Pull out from inside of the packing part when removing the fuel filler door housing.

6.

Install in the reverse order of removal.


Make sure that the fuel filler door locks/unlocks and opens/closes properly.

Replace any damaged clips.

Other information:

Kia Stinger (CK) 2018-2023 Service Manual: Injector

Specifications Specification Item Specification Coil Resistance (Ω) 1.4 - 1.6 [20°C(68°F)] Description and operation Description The GDI injector is similar to a standard injector, but sprays fuel at a much higher pressure directly into the combustion chamber and has a swirl disc to get the fuel swirling as it exits the nozzle.

Kia Stinger (CK) 2018-2023 Service Manual: Air Conditioner Refrigerant/Compressor

Repair procedures Refrigerant Recovery When removing HFC-134a (R-134a) from the air conditioning system, use only U.L.-listed service equipment certified to meet the requirements of SAE J2210.    • Air conditioning refrigerant or lubricant vapor can irritate your eyes, nose, or throat.

Categories

 
Copyright © 2026 www.kstinger.com 0.0077