Kia Stinger CK: Front Seat Belt / Quarter Fixed Glass
Components and components location
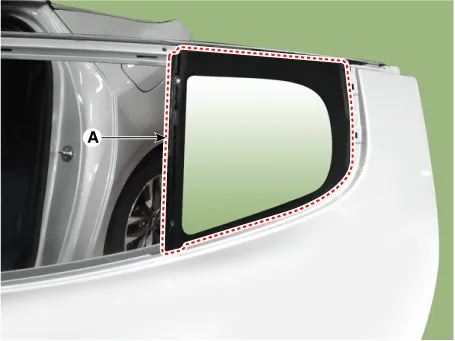
| Components Location |
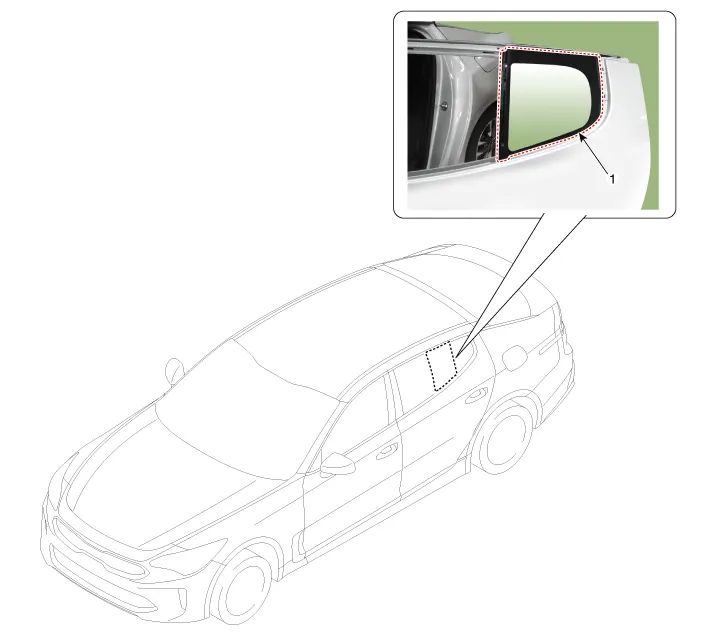
| 1. Quarter fixed glass |
Repair procedures
| Replacement |
Put on gloves to protect your hands. |

|

| 1. |
Remove the rear door trim. (Refer to Rear Door - "Rear Door Trim") |
| 2. |
Remove the rear door frame inner cover (A) by using a remover.
|

| 3. |
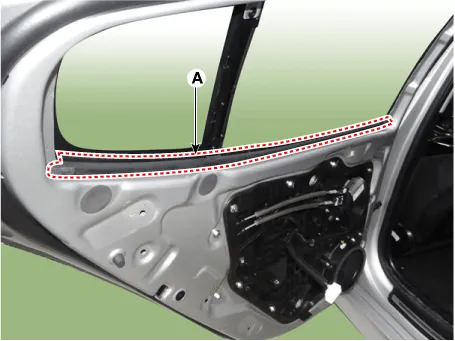
Remove the rear door belt inside weatherstrip (A).
|
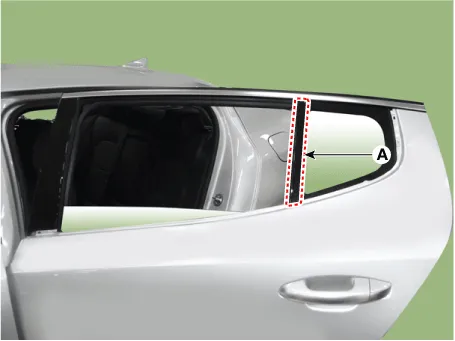
| 4. |
Remove the rear door belt outside weatherstrip (A) by using a remover.
|
| 5. |
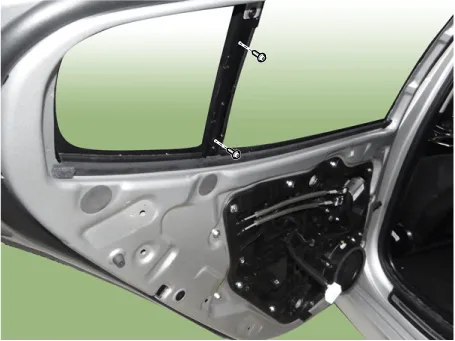
Remove the rear door drive channel (A) after loosening the mounting screws.
|
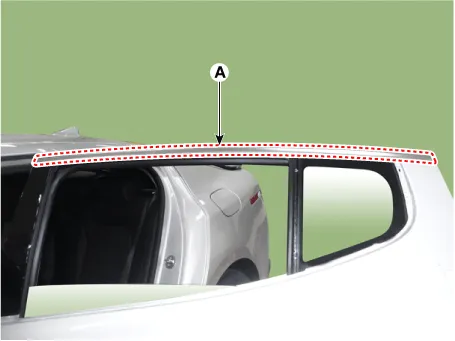
| 6. |
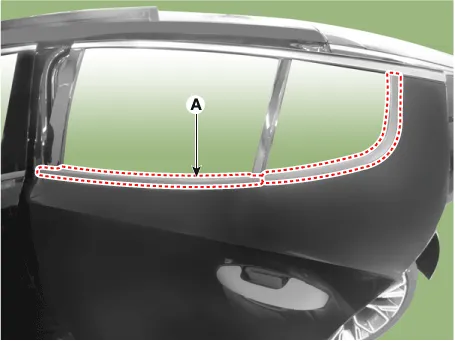
Remove the rear door frame molding (A) by using a remover.
|
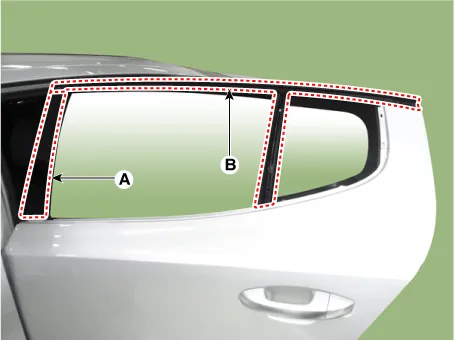
| 7. |
Remove the rear door frame garnish (A) and glass run.
|
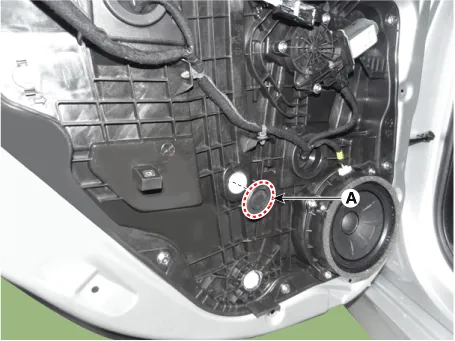
| 8. |
Remove the rear door window glass mounting hole plug (A).
|
| 9. |
Loosen the mounting bolt, and pull out the rear door window glass (B) by tilting it sideways.
|

| 10. |
Remove the screen cap and then loosen the fixed glass mounting bolts.
|

| 11. |
Remove the fixed glass (A) from the rear door panel.
|
| 12. |
Install in the reverse order of removal.
|


Other information:
Kia Stinger (CK) 2018-2023 Service Manual: Smart Key
Repair procedures Smart Key Smart Key Code Saving 1. Connect the DLC cable of KDS to the data link connector (16 pins) in driver side crash pad lower panel, turn the power on KDS. 2. Select the vehicle model and then do "Smart key code saving". 3.Kia Stinger (CK) 2018-2023 Service Manual: Care of seat belts
Seat belt systems should never be disassembled or modified. In addition, care should be taken to assure that seat belts and belt hardware are not damaged by seat hinges, doors or other abuse. WARNING - Pinched seat belt Make sure that the webbing and/or buckle does not get caught or pinched in the rear seat when returning the rear seatback to its upright position.Categories
- Manuals Home
- Kia Stinger Owners Manual
- Kia Stinger Service Manual
- New on site
- Most important about car
