Kia Stinger CK: Rear Bumper / Rear Bumper Assembly
Components and components location
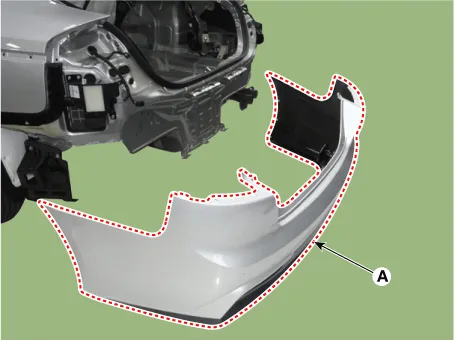
| Component Location |
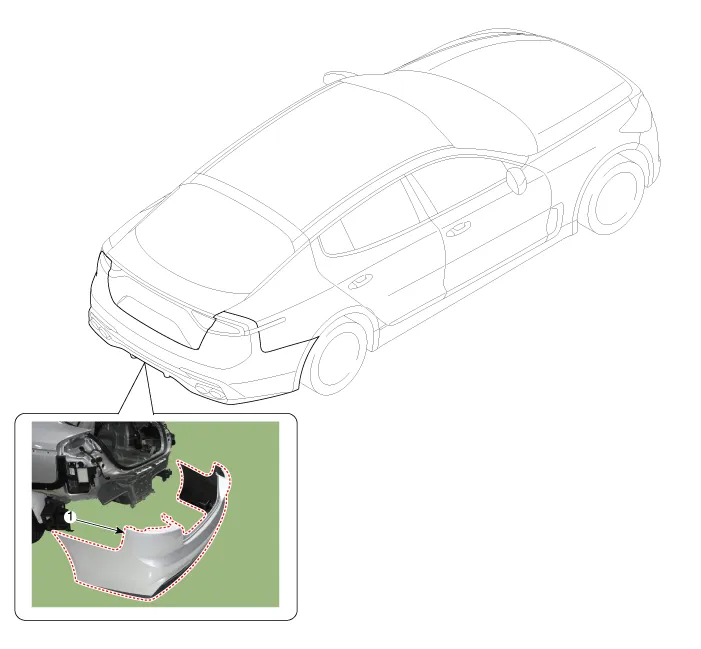
| 1. Rear bumper cover |
Repair procedures
| Replacement |
Put on gloves to protect your hands. |

|

| 1. |
Remove the rear seat assembly. (Refer to Rear Seat - "Rear Seat Assembly") |
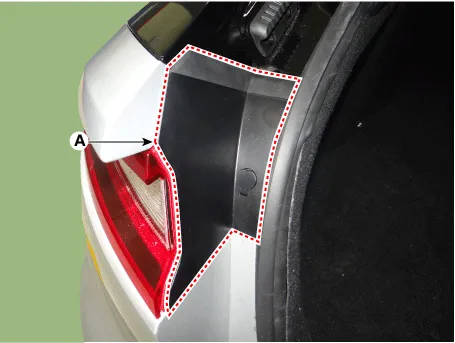
| 2. |
Remove the rear combination lamp cover (A).
|
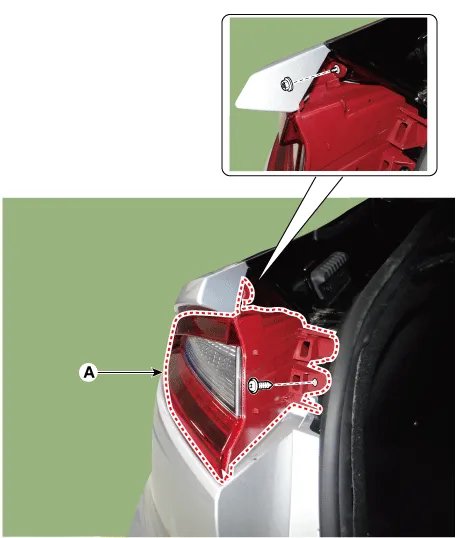
| 3. |
Remove the rear combination lamp (A) after loosening the mounting nut and screw.
|
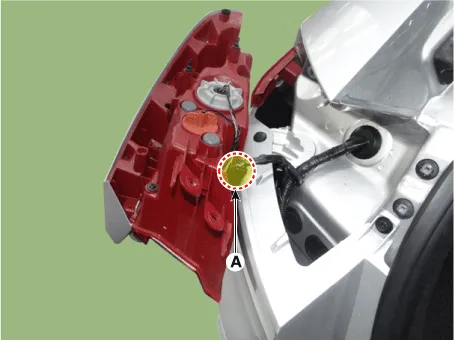
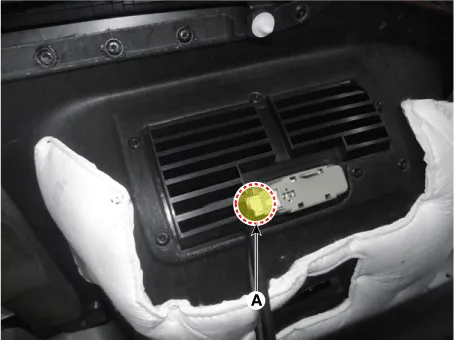
| 4. |
Disconnect the rear combination lamp connector (A).
|
| 5. |
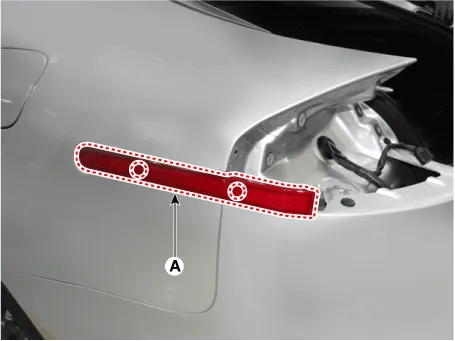
Remove the rear combination lamp deflector (A).
|
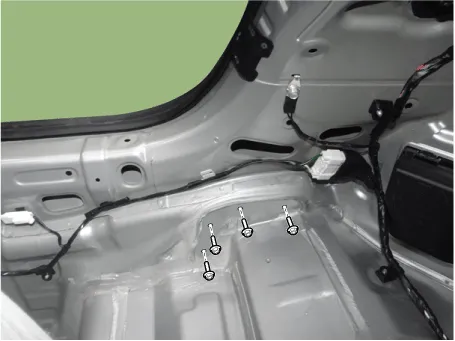
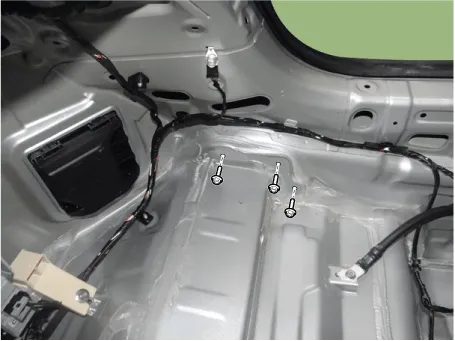
| 6. |
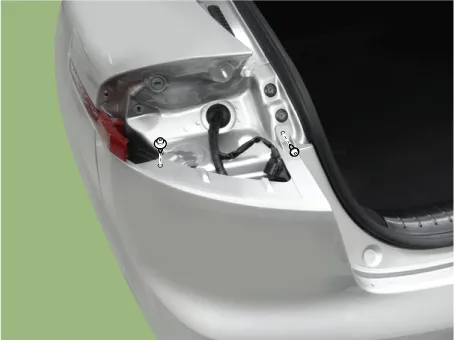
Loosen the rear bumper upper mounting fastener and screw.
|
| 7. |
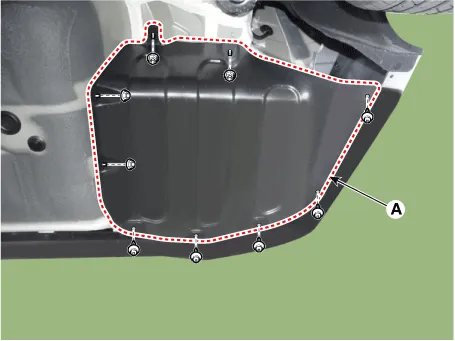
Remove the rear bumper side under cover (A) after loosening the mounting nuts and clips.
|
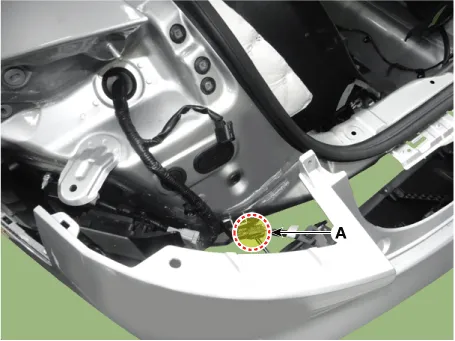
| 8. |
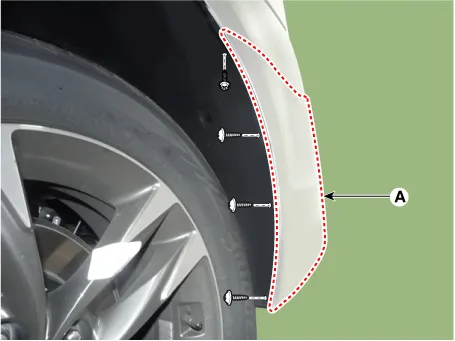
Separate the bumper (A) side after loosening the mounting screws and clip.
|
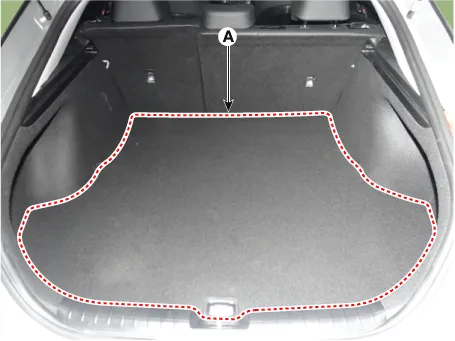
| 9. |
Remove the luggage covering mat(A).
|
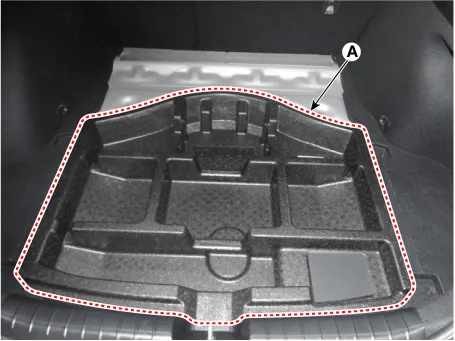
| 10. |
Remove the center tray (A).
|
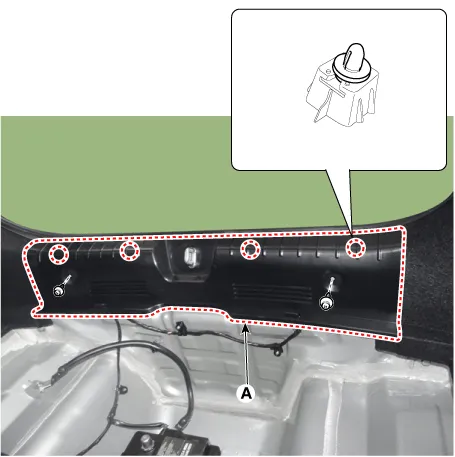
| 11. |
Remove the rear transverse trim (A).
|
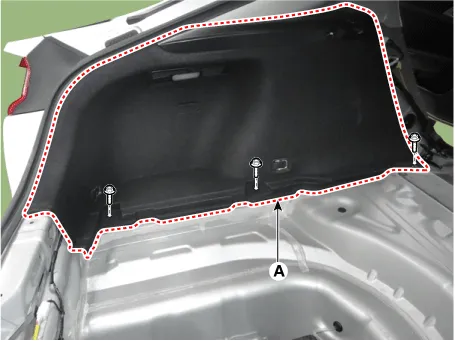
| 12. |
Separate the luggage side trim (A) after loosening the mounting screws.
|
| 13. |
Remove the luggage side trim after disconnecting the luggage lamp connector (A).
|
| 14. |
Loosen the rear bumper beam mounting bolts. [LH]
[RH]
|
| 15. |
Disconnect the rear bumper main connector (A).
|
| 16. |
Remove the rear bumper cover (A).
|
| 17. |
Install in the reverse order of removal.
|


Other information:
Components and components location Components Location 1. Front door latch Repair procedures Replacement Put on gloves to protect your hands. • When prying with a flat-tip screwdriver or using a prying trim tool, wrap protective tap around the tool and related parts to prevent damage.Components and components location Components 1. Console complete 2. Floor console tray 3. Console upper complete 4. Lever boots 5. Console storage box matCategories
- Manuals Home
- Kia Stinger Owners Manual
- Kia Stinger Service Manual
- New on site
- Most important about car
