Kia Stinger CK: Front Door / Front Door Latch
Components and components location
| Components Location |
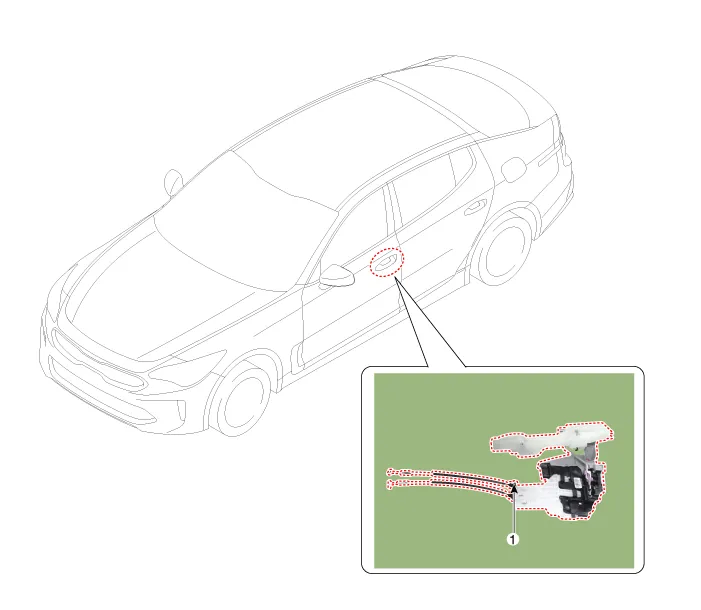
| 1. Front door latch |
Repair procedures
| Replacement |
Put on gloves to protect your hands. |

|

| 1. |
Remove the front door window glass. (Refer to Front Door - "Front Door Window Glass") |
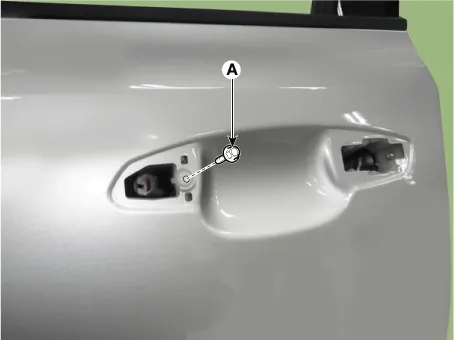
| 2. |
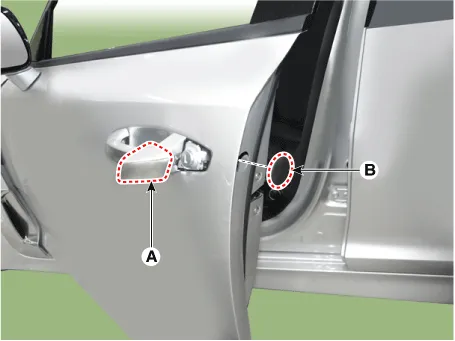
Remove the front door lock cover (A) and cap (B).
|
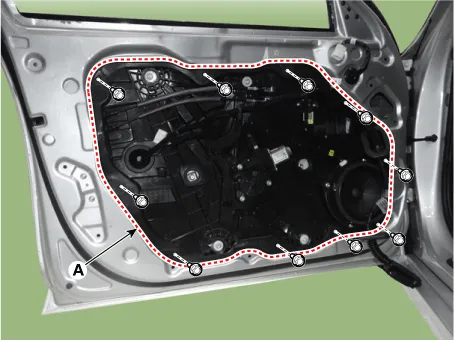
| 3. |
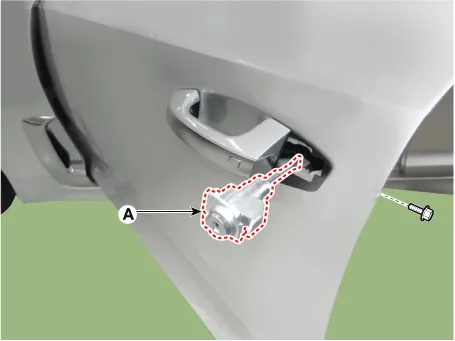
Remove the front door lock (A) after loosening the mounting bolt.
|
| 4. |
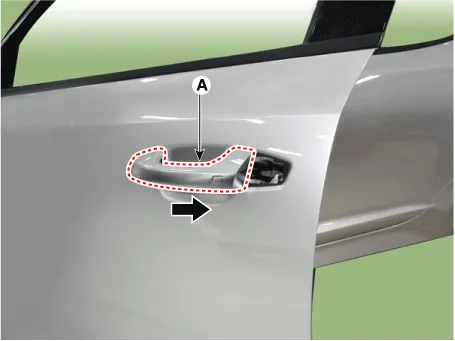
Remove the front door outside handle (A) by sliding it rearward.
|
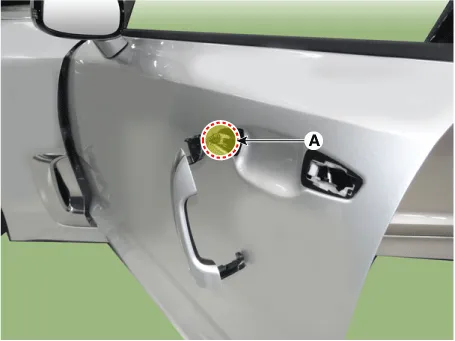
| 5. |
Disconnect the front door outside handle connector (A).
|
| 6. |
Remove the front door outside handle pad (A).
|
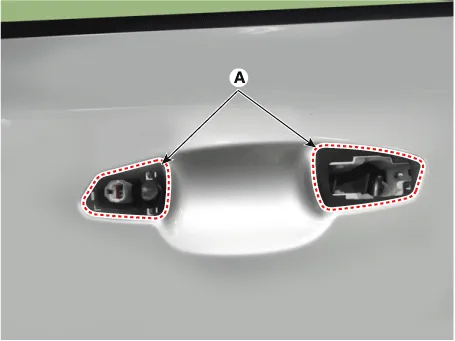
| 7. |
Loosen the front door outside handle base mounting screw (A).
|
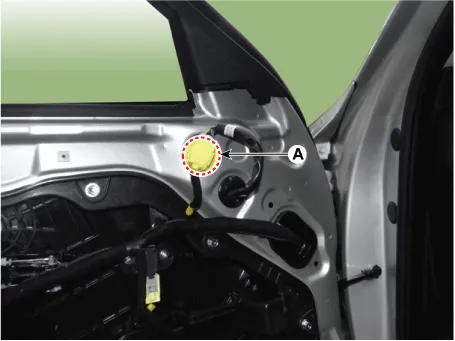
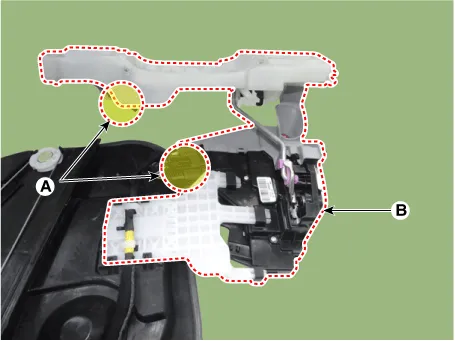
| 8. |
Disconnect the outside rear view mirror connector (A).
|
| 9. |
Disconnect the front door main wiring connector (A).
|
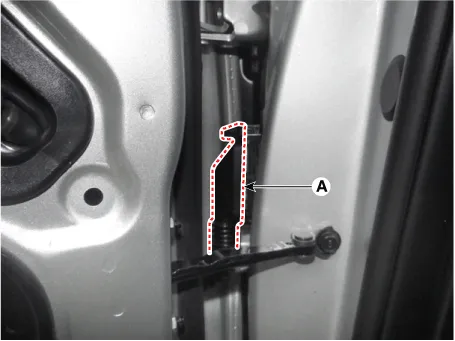
| 10. |
Loosen the front door latch mounting screws (A).
|

| 11. |
Remove the front door latch (A) after loosening the mounting bolts.
|
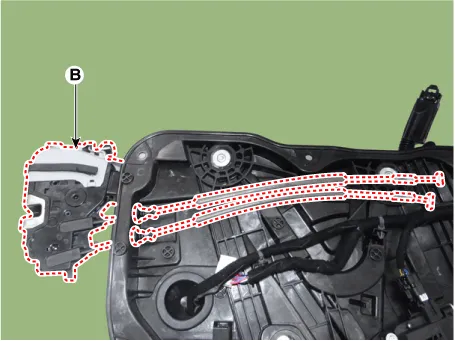
| 12. |
Remove the front door latch (B) after disconnecting the connector (A).
|
| 13. |
Install in the reverse order of removal.
|


Other information:
Kia Stinger (CK) 2018-2023 Service Manual: To keep locks from freezing
To keep the locks from freezing, squirt an approved de-icer fluid or glycerine into the key opening. If a lock is covered with ice, squirt it with an approved de-icing fluid to remove the ice. If the lock is frozen internally, you may be able to thaw it out by using a heated key. Handle the heated key with care to avoid injury. Use approved window washer anti-freeze in system To keep the water in the window washer system from freezing, add an approved window washer anti-freeze solution in accordance with instructions on the container.Kia Stinger (CK) 2018-2023 Service Manual: Mode Control Actuator
Description and operation Description Located in the heater unit, the mode control actuator adjusts the position of the mode door by operating the mode control actuator according to the signal from the A/C control unit. Pressing the mode select switch shifts the mode control actuator in the order of Vent → Bi-Level → Floor → Mix.Categories
- Manuals Home
- Kia Stinger Owners Manual
- Kia Stinger Service Manual
- New on site
- Most important about car
