Kia Stinger CK: Rear Suspension System / Rear Lower Arm
Repair procedures
| Removal |
| 1. |
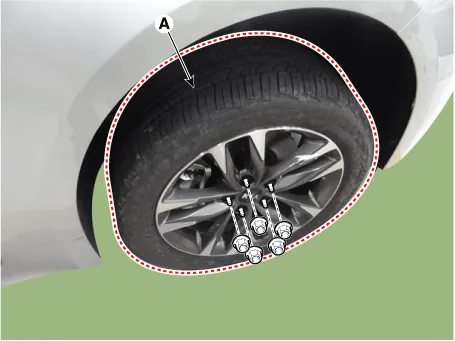
Remove wheel nuts, wheel and tire (A) from hub.
|
| 2. |
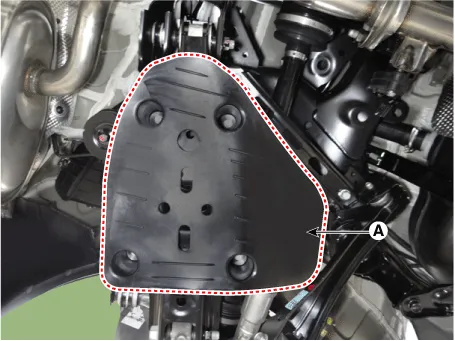
Remove the rear lower arm cover (A).
|
| 3. |
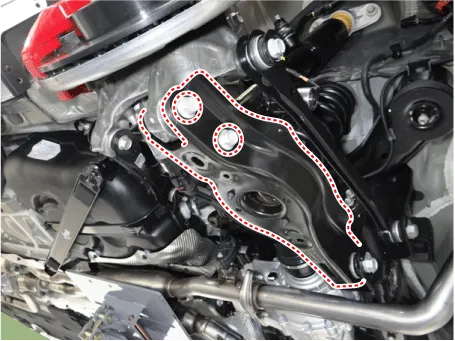
Loosen the rear lower arm bolt & nut and then separate the lower arm from the rear axle.
|
| 4. |
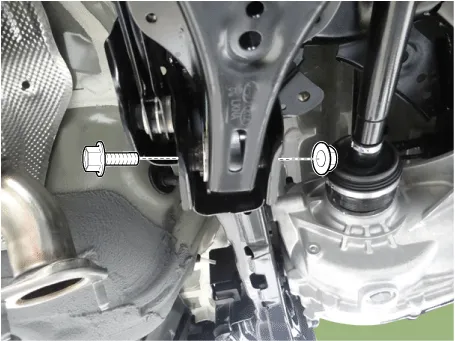
Loosen the bolt & nut and then remove the rear lower arm.
|
| 5. |
Install in the reverse order of removal.
|
| 6. |
Check the alignment. (Refer to Suspension System - "Alignment") |
| Inspection |
| 1. |
Check the bushing for wear and deterioration. |
| 2. |
Check the rear lower arm for deformation. |
| 3. |
Check the coil spring and spring pad for deterioration and deformation. |
| 4. |
Check for all bolts and nuts. |
Other information:
Kia Stinger (CK) 2018-2023 Service Manual: Cooling Fan
Components and components location Components [BLDC (Brushless DC) motor type] 1. Radiator 2. Cooling fan assembly 3. Reservoir tank [DC motor type] 1. Cooling fan 2. Cooling fan motor 3. Cooling fan shroud 4. Cooling fan controller 5. Reservoir tank Description and operation Description The cooling fan operates in 2 stages (HIGH/LOW).Kia Stinger (CK) 2018-2023 Service Manual: Line Pressure Control Solenoid Valve (LINE_VFS)
Specifications Specifications Item Specification Control type N/L (Normal Low) Control pressure kpa (kgf/cm², psi) 0 - 519.75 (0 - 5.3, 0 - 75.38) Current (mA) 0 - 850 Coil resistance (Ω) 5.Categories
- Manuals Home
- Kia Stinger Owners Manual
- Kia Stinger Service Manual
- New on site
- Most important about car


