Kia Stinger CK: Interior Trim / Center Pillar Trim
Components and components location
| Component Location |
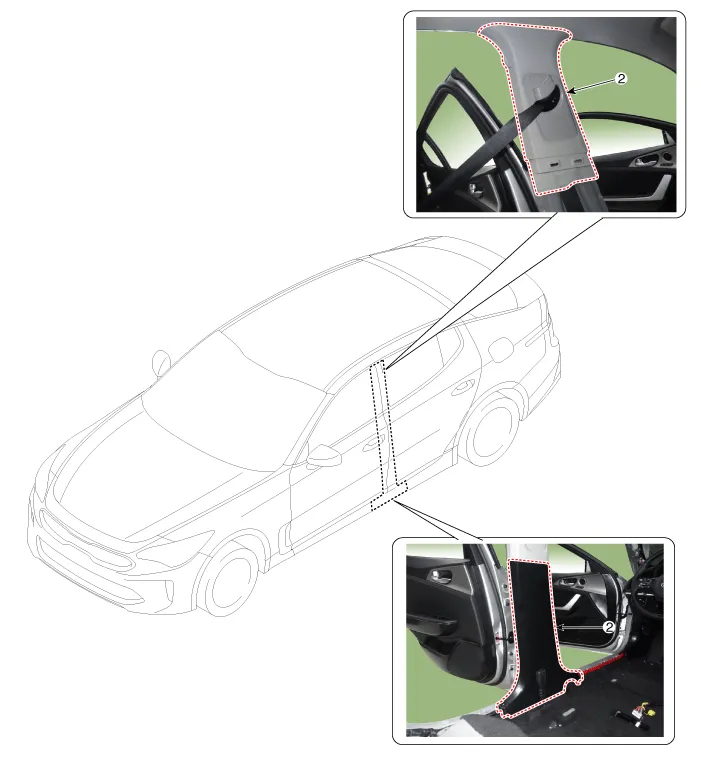
| 1. Center pillar lower trim
|
2. Center pillar upper trim
|
Repair procedures
| Replacement |
Put on gloves to protect your hands. |

|

| 1. |
Remove the front door scuff trim (A) by using a remover.
|
| 2. |
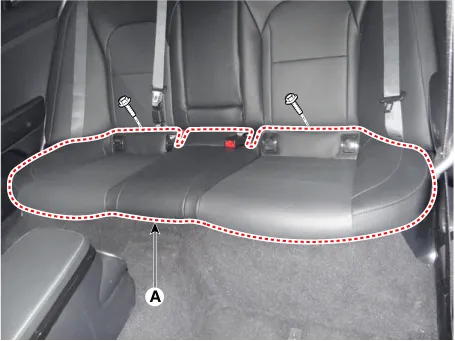
Separate the rear seat cushion (A) after loosening the mounting bolts.
|
| 3. |
Remove the rear seat cushion after disconnecting the heater connector (A).
|

| 4. |
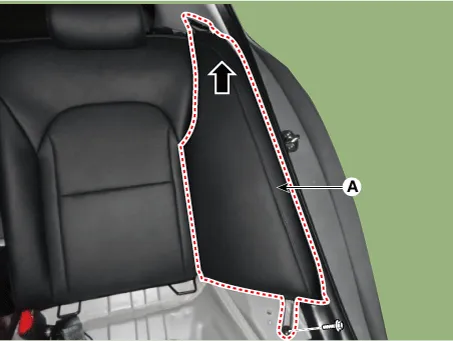
Remove the rear back side seat (A) by pulling it up after loosening the mounting bolts.
|
| 5. |
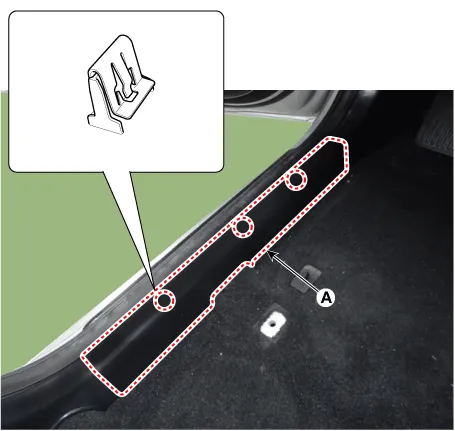
Remove the rear door scuff trim (A) after removing the mounting clip.
|
| 6. |
Remove the seat belt (B) from the EFD system (A) by using the SST (0K888-D4200).
|
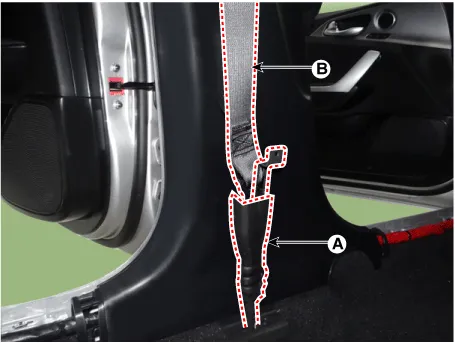
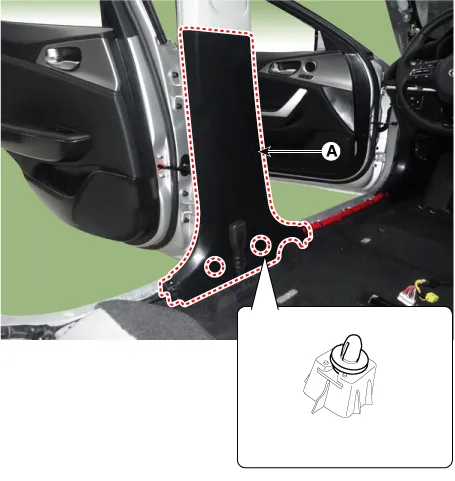
| 7. |
Remove the center pillar lower trim (A).
|
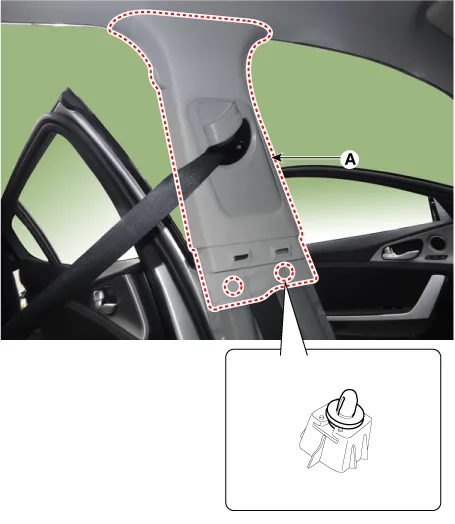
| 8. |
Remove the center pillar upper trim (A).
|
| 9. |
Install in the reverse order of removal.
|


Other information:
Kia Stinger (CK) 2018-2023 Service Manual: Securing a child restraint with a lap/shoulder belt
When not using the LATCH system, all child restraints must be secured to a vehicle rear seat with the lap part of a lap/shoulder belt. Automatic locking mode Since all passenger seat belts move freely under normal conditions and only lock under extreme or emergency conditions (emergency locking mode), you must manually pull the seat belt all the way out to shift the retractor to the “Automatic Locking” mode to secure a child restraint.Kia Stinger (CK) 2018-2023 Service Manual: Side Sill Molding
Repair procedures Replacement Put on gloves to protect your hands. • Use a plastic panel removal tool to remove interior trim pieces without marring the surface.Categories
- Manuals Home
- Kia Stinger Owners Manual
- Kia Stinger Service Manual
- New on site
- Most important about car
