
Kia Stinger CK: Fuel Delivery System / Delivery Pipe
Repair procedures
| Removal |
| 1. |
Release the residual pressure in fuel line. (Refer to the Fuel Delivery System - "Release Residual Pressure in Fuel Line") |
| 2. |
Switch "OFF" the ignition and disconnect the negative (-) battery terminal. |
| 3. |
Remove the intake manifold. (Refer to Engine Mechanical System - “Intake Manifold”) |
| 4. |
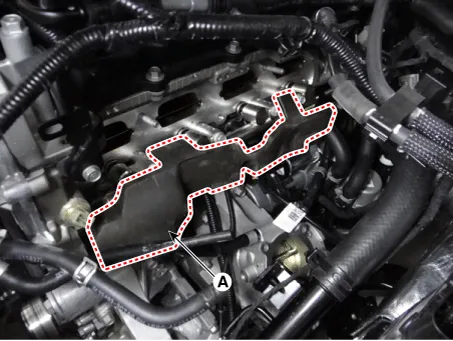
Remove the delivery pipe foam (A).
|
| 5. |
Remove the cowl top cover assembly. (Refer to Body (Interior and Exterior) - Cowl Top Cover") |
| 6. |
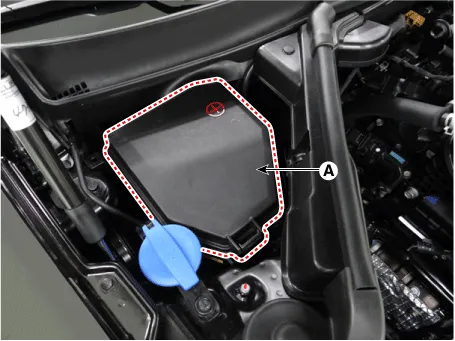
Remove the engine box cover (A).
|
| 7. |
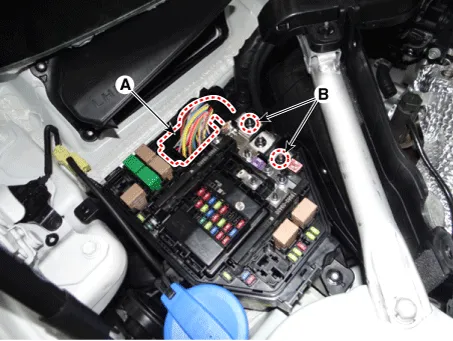
Disconnect the front control connector (A). |
| 8. |
Remove the groune terminal nuts (B).
|
| 9. |
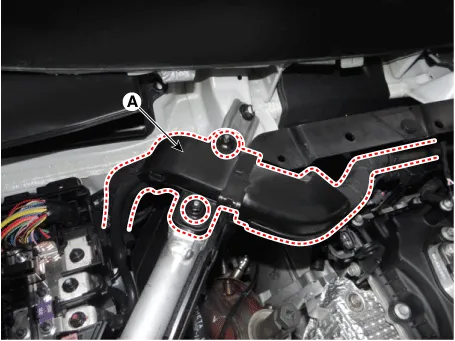
Remove the wiring protector (A).
|
| 10. |
Remove the high pressure fuel pipe.
|
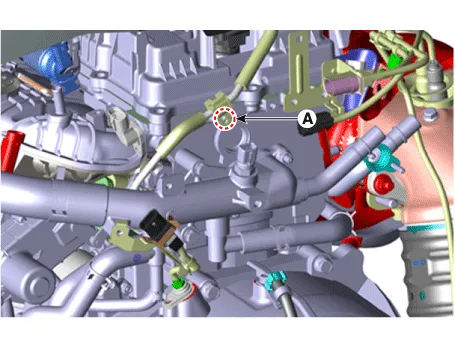
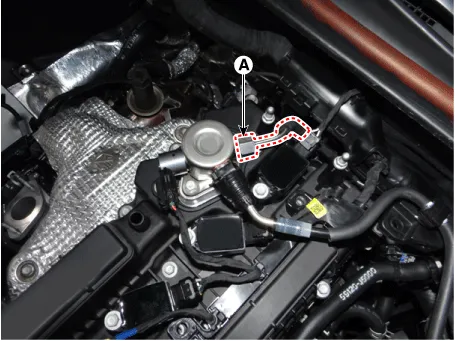
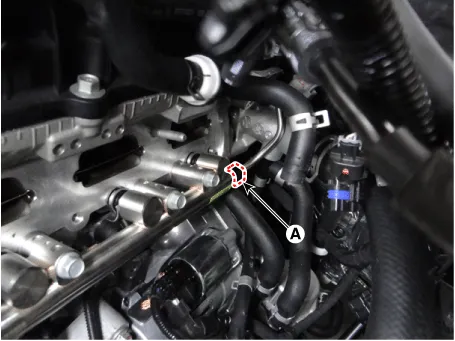
| 11. |
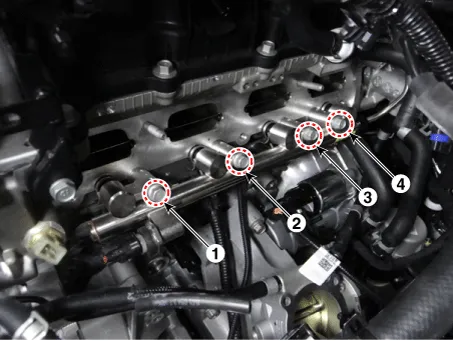
Remove the mounting bolts (A), and then remove the delivery pipe & injector assembly from the engine.
|
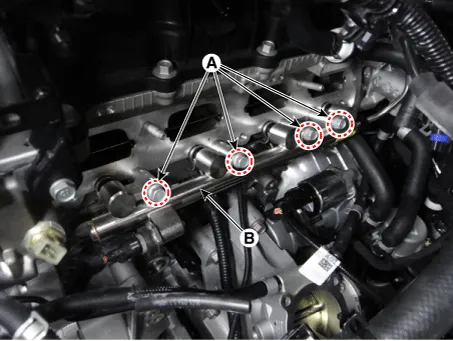
| 12. |
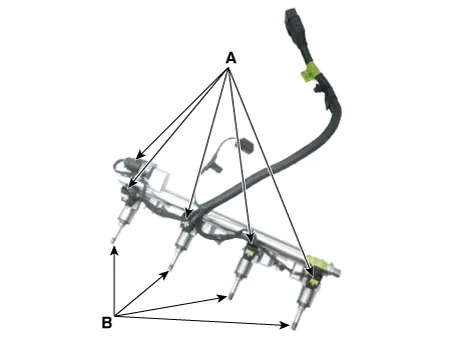
Disconnect the injector & rail pressure sensor connector (A). |
| 13. |
Remove the injector (B) from the delivery pipe.
|
| Installation |
|

|
| 1. |
Install in the reverse order of removal. |


Other information:
Kia Stinger (CK) 2018-2023 Service Manual: General Service Information
General information Identification Number Locations Protection of the Vehicle Always be sure to cover fenders, seats, and floor areas before servicing. Insert the supportive rod into the hole at the edge of the hood whenever inspecting the engine compartment to prevent the hood from falling and causing possible injury.The Compass can be turned ON and OFF and will remember the last state when the ignition is cycled. To turn the display feature ON/OFF: 1. Press and release the button to turn the display feature OFF. 2. Press and release the button again to turn the display back ON. Additional options can be set with press and hold sequences of the button and are detailed below.Categories
- Manuals Home
- Kia Stinger Owners Manual
- Kia Stinger Service Manual
- New on site
- Most important about car
