Kia Stinger CK: Tail Gate / Tail Gate Trim
Components and components location
| Component Location |
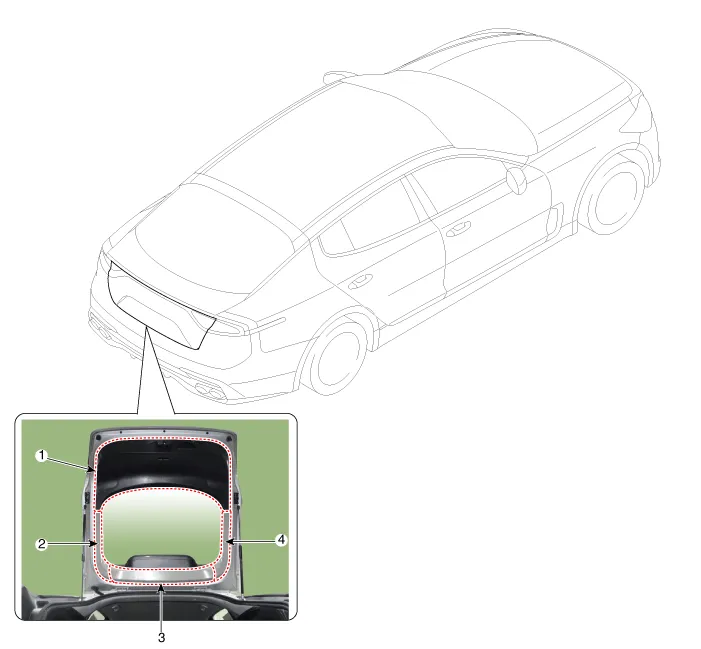
| 1. Tailgate trim 2. Tailgate side trim [LH] |
3. Tailgate upper trim 4. Tailgate side trim [RH] |
Repair procedures
| Replacement |
Wear gloves to protect hands from injury. |

|

| 1. |
Wear gloves to protect hands from injury.
|
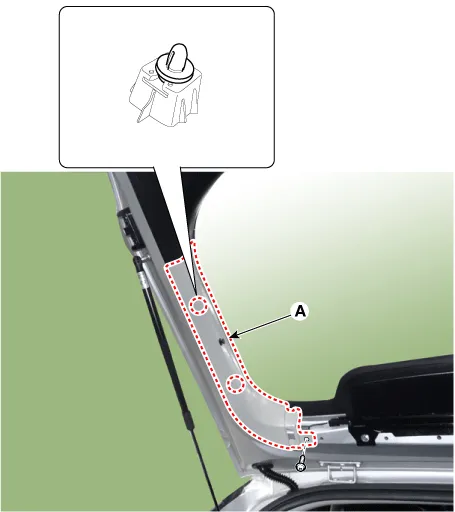
| 2. |
Remove the tailgate side trim (A) after loosening the mounting screw.
|
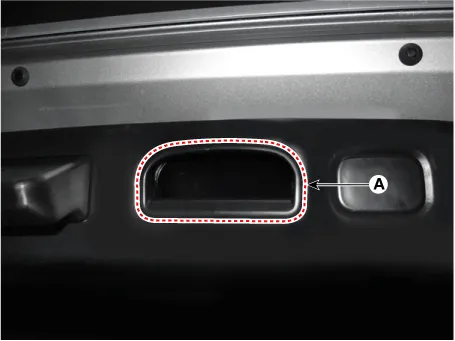
| 3. |
Remove the tailgate inside full handle cap (A) by using a remover.
|
| 4. |
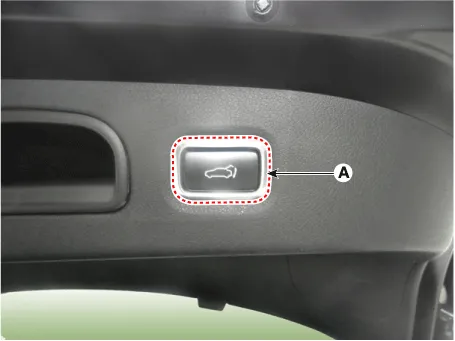
Separate the smart tailgate inner switch (A).
|
| 5. |
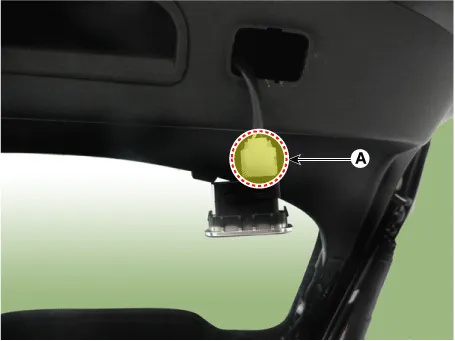
Remove the smart tailgate inner switch after disconnecting the connector (A).
|
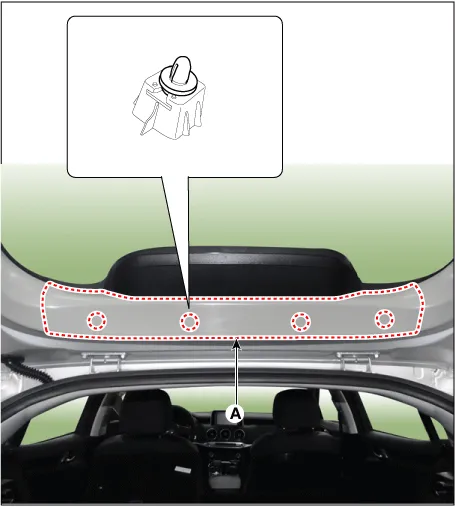
| 6. |
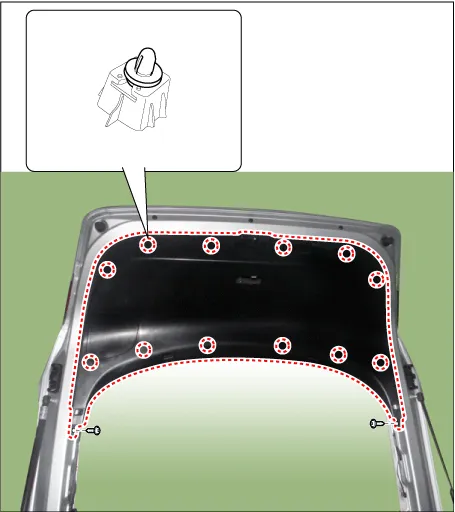
Remove the tailgate trim (A) after loosening the mounting screws.
|
| 7. |
Install in the reverse order of removal.
|


Other information:
Components and components location Components Appearance of E-CVVT is similar to that of hydraulic CVVT. Connector that drives DC motor and protection cover that protects the motor are mounted on the upper part. DC motor that drives the CVVT is mounted inside and covering part is sealed in order to protect oil from flowing inside.Components and components location Component Location [Engine Room] 1. Engine room junction block [Interior Fuse & Relay] 1. Integrated central control unit (ICU) 2. Rear sub junction block (RSJB)Categories
- Manuals Home
- Kia Stinger Owners Manual
- Kia Stinger Service Manual
- New on site
- Most important about car

Copyright © 2026 www.kstinger.com 0.0148