Kia Stinger CK: Tail Gate / Tail Gate Latch
Components and components location
| Component Location |
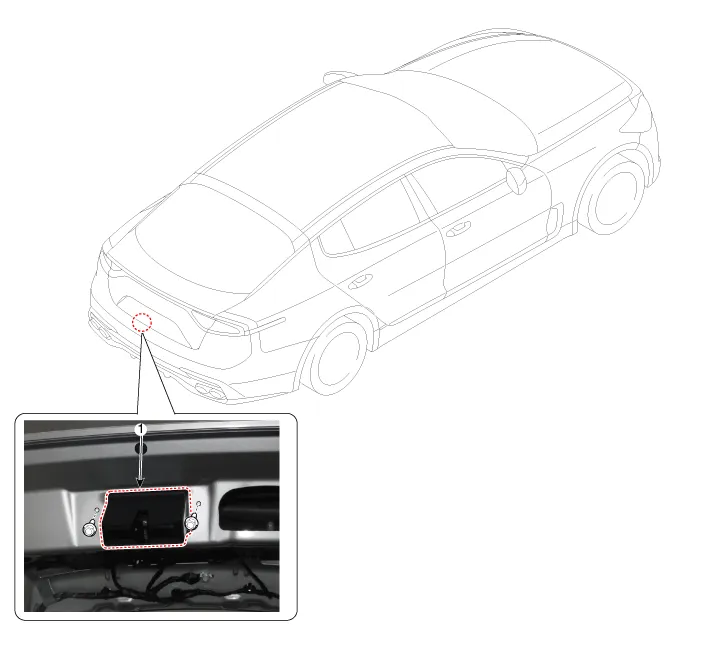
| 1. Tailgate latch assembly
|
Repair procedures
| Replacement |
Wear gloves to protect hands from injury. |

|

| 1. |
Remove the tailgate trim. (Refer to tailgate - "tailgate Trim") |
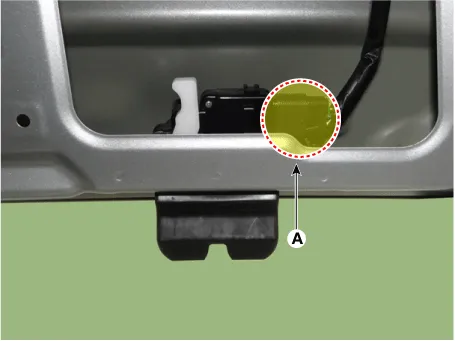
| 2. |
Disconnect the tailgate latch connector (A).
|
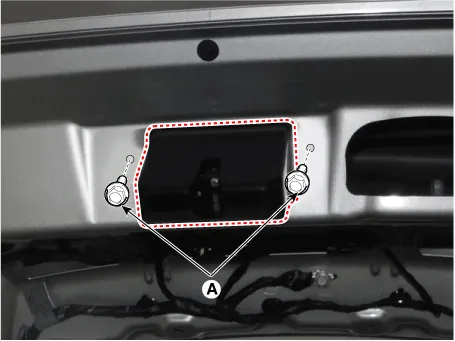
| 3. |
Remove the tailgate latch assembly after loosening the mounting bolts (A).
|
| 4. |
Install in the reverse order of removal.
|


Other information:
Kia Stinger (CK) 2018-2023 Service Manual: Radiator Grille
Components and components location Component Location 1. Radiator grille Repair procedures Replacement Put on gloves to protect your hands. • Use a plastic panel removal tool to remove interior trim pieces without marring the surface.Kia Stinger (CK) 2018-2023 Service Manual: Parking Brake Assembly
Repair procedures Removal 1. Turn ignition switch OFF and disconnect the negative (-) battery cable. 2. Remove the crash pad lower panel. (Refer to Body - "Crash Pad Lower Panel") 3. Remove the knee airbag. (Refer to Restraint - "Knee airbag (KAB) module") 4.Categories
- Manuals Home
- Kia Stinger Owners Manual
- Kia Stinger Service Manual
- New on site
- Most important about car

Copyright © 2026 www.kstinger.com 0.012