Kia Stinger CK: Air Conditioning System / Evaporator Core
Repair procedures
| Replacement |
| 1. |
Disconnect the negative (-) battery terminal. |
| 2. |
Remove the heater unit. (Refer to Heater - "Heater Unit") |
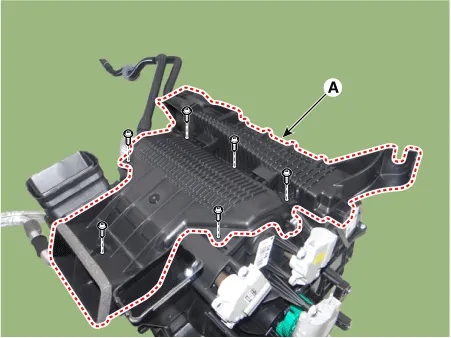
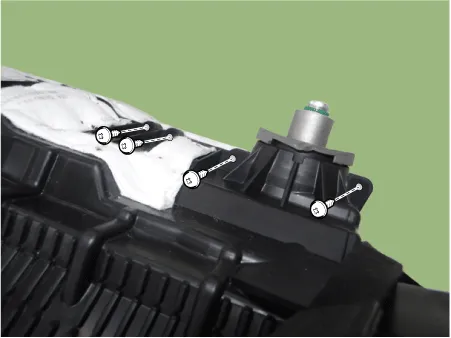
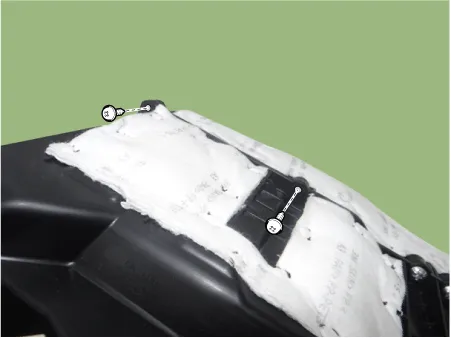
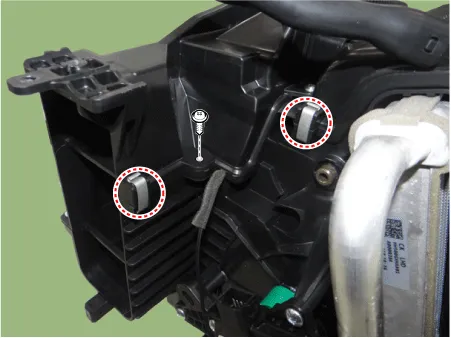
| 3. |
Remove the heater unit lower case (A) after loosening the screws.
|
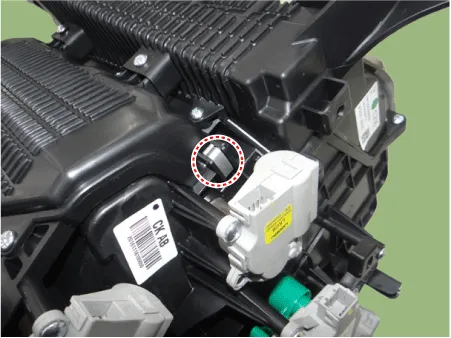
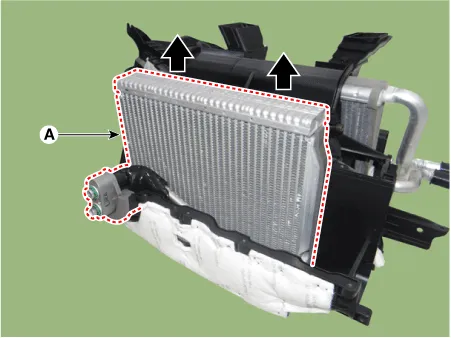
| 4. |
Remove the evaporator core (A) from the heater unit.
|

| 5. |
Install in the reverse order of removal.
|


Other information:
Kia Stinger (CK) 2018-2023 Service Manual: Turn Signal Lamp
Repair procedures Removal Door Mirror Turn Signal Lamp 1. Disconnect the negative (-) battery terminal. 2. Remove the outside rear view mirror. (Refer to Body - "Outside Rear View Mirror") 3. Remove mirror (A) to the direction as shown in the picture using (-) screw driver.Kia Stinger (CK) 2018-2023 Service Manual: Engine Control / Fuel System
Special service tools Special Service Tools Tool Name / Number Illustration Description Fuel Pressure Gauge 09353-24100 Used for measuring the pressure in fuel line Fuel Pressure Gauge Adaptor 0K353-D4100 Used for connecting between high pressure fuel pump and low pressure fuel feed tube to measure the pressure in fuel line ※SST 09353-02100 also can be used Heated Oxygen Sensor Socket Wrench 09392-1Y100 Removal and installation of the heated oxygen sensor ※ SST No.Categories
- Manuals Home
- Kia Stinger Owners Manual
- Kia Stinger Service Manual
- New on site
- Most important about car
