Kia Stinger CK: Lighting System / Turn Signal Lamp
Repair procedures
| Removal |
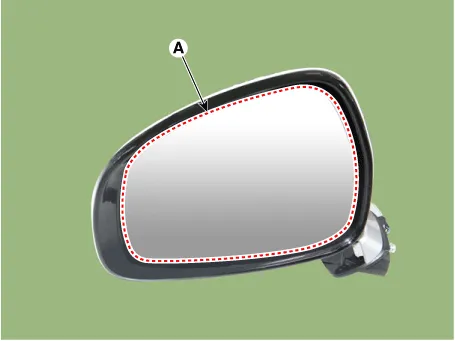
| Door Mirror Turn Signal Lamp |
| 1. |
Disconnect the negative (-) battery terminal. |
| 2. |
Remove the outside rear view mirror. (Refer to Body - "Outside Rear View Mirror") |
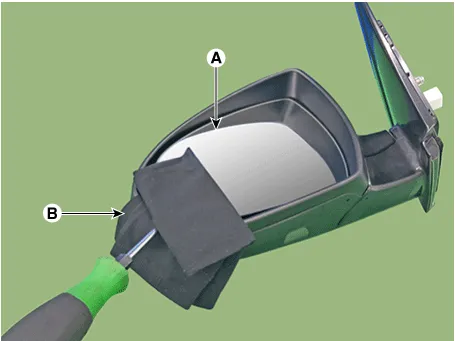
| 3. |
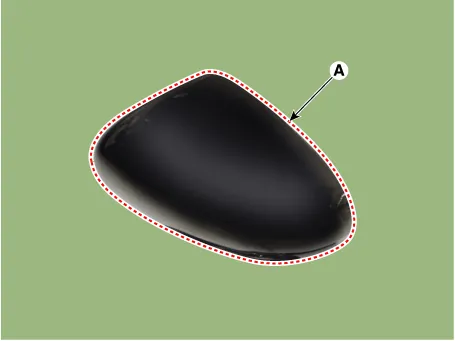
Remove mirror (A) to the direction as shown in the picture using (-) screw driver.
|


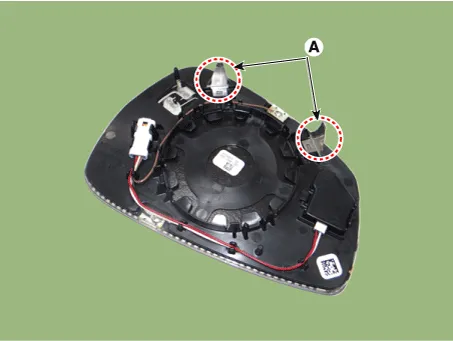
| 4. |
Disconnect the heater connectors (B) and BCW indicator connector (A) from the mirror.
|
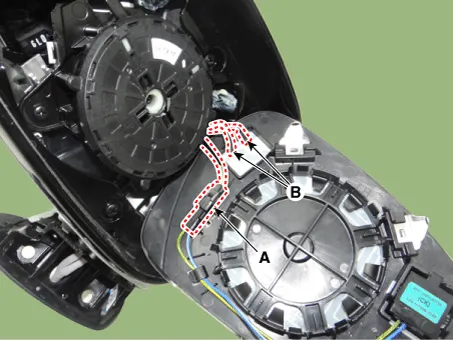
| 5. |
Remove the door mirror housing (A) after loosening the mounting screws.
|
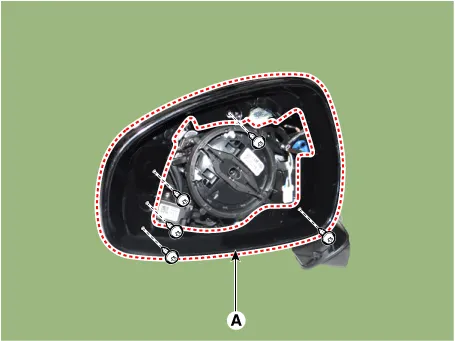
| 6. |
Remove the door mirror back cover (A).
|
| 7. |
Remove the door mirror turn signal lamp (A).
|
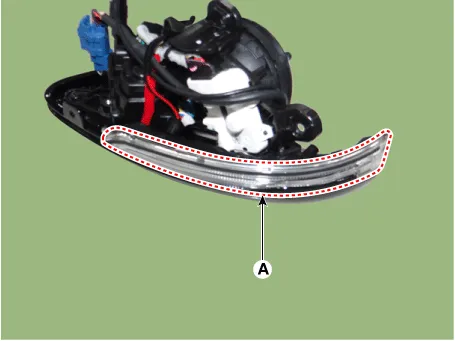
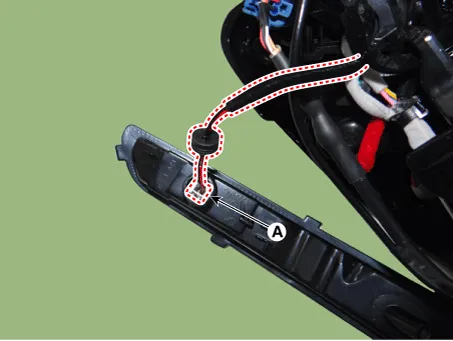
| 8. |
Disconnect the connector (A) from the door mirror turn signal lamp.
|
| Installation |
| Door Mirror Turn Signal Lamp |
| 1. |
Install the door mirror turn signal lamp after connecting the connector. |
| 2. |
Install the door mirror back cover. |
| 3. |
Install the door mirror hoursing. |
| 4. |
Connect the heating connectors and BCW indicator connector. |
| 5. |
Install the mirror. |
| 6. |
Install the outside rear view mirror. |
| 7. |
Connect the negative (-) battery terminal. |


Other information:
Kia Stinger (CK) 2018-2023 Service Manual: Coolant
Repair procedures Refilling And Bleeding Never remove the radiator cap when the engine is hot. Serious scalding could be caused by hot fluid under high pressure escaping from the radiator. When pouring engine coolant, be sure to shut the relay box lid and not to let coolant spill on the electrical parts or the paint.Kia Stinger (CK) 2018-2023 Service Manual: Pantoscopic Camera
Components and components location Components Front View Camera Side View Camera Rear View Camera Repair procedures Removal In case of bad quality or poor focus, be sure to check the camera lense surface condition and foreign materials.Categories
- Manuals Home
- Kia Stinger Owners Manual
- Kia Stinger Service Manual
- New on site
- Most important about car
