Kia Stinger CK: Lubrication System / Oil Level Gauge & Pipe
Kia Stinger (CK) 2018-2023 Service Manual / Engine Mechanical System / Lubrication System / Oil Level Gauge & Pipe
Repair procedures
| Removal and Installation |
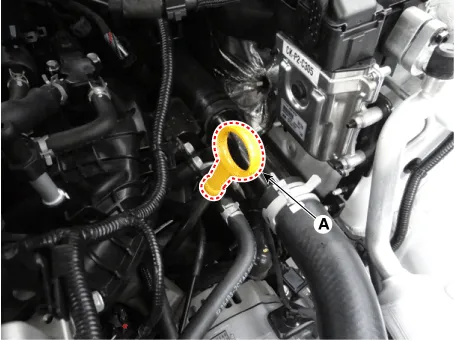
| 1. |
Remove the oil level gauge (A).
|
| 2. |
Remove the engine room front under cover and LH side cover. (Refer to Engine and Transmission Assembly - "Engine Room Under Cover") |
| 3. |
Remove the LH engine mounting support bracket nut (A).
|

| 4. |
Remove the alternator. (Refer to Engine Electrical System - "Alternator") |
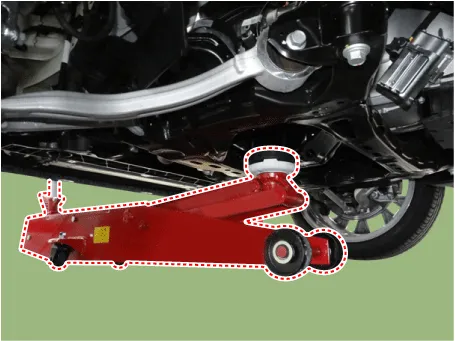
| 5. |
Install the jack to the edge of upper oil pan to support the engine.
|

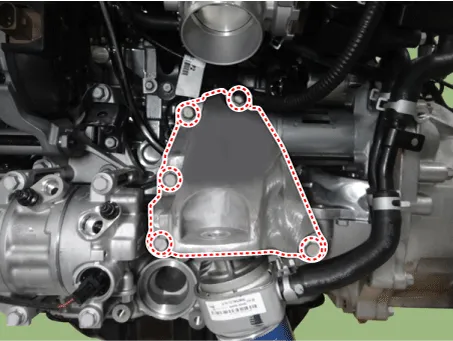
| 6. |
Remove the LH engine support bracket (A).
|
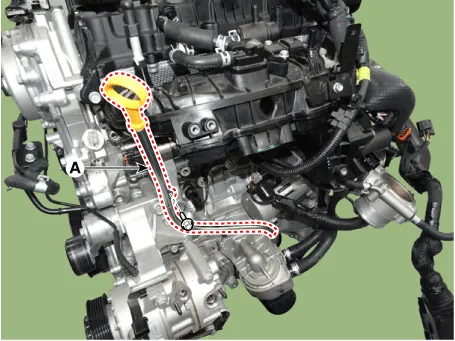
| 7. |
Remove the oil level pipe (A).
|
| 8. |
Install in the reverse order of removal. |


Other information:
Repair procedures Hub nut tightening sequence Tighten the hub nuts as follows. Tightening torque: 107.9 - 127.5 N·m (11.0 - 13.0 kgf·m, 79.6 - 94.0 lb·ft) When using an impact gun, final tightening torque should be checked using a torque wrench.Repair procedures Adjustment 1. After loosening the tailgate hinge (A) mounting bolts, adjust the tailgate by moving it up and down, or right and left. 2. Adjust the tailgate height by turning the tailgate overslam bumpers (B). 3. After loosening the tailgate striker (C) mounting bolts, adjust the tailgate striker by moving it up and down, or right and left.Categories
- Manuals Home
- Kia Stinger Owners Manual
- Kia Stinger Service Manual
- New on site
- Most important about car

Copyright © 2026 www.kstinger.com 0.0073