Kia Stinger CK: Roof Trim / Sunvisor

Components and components location
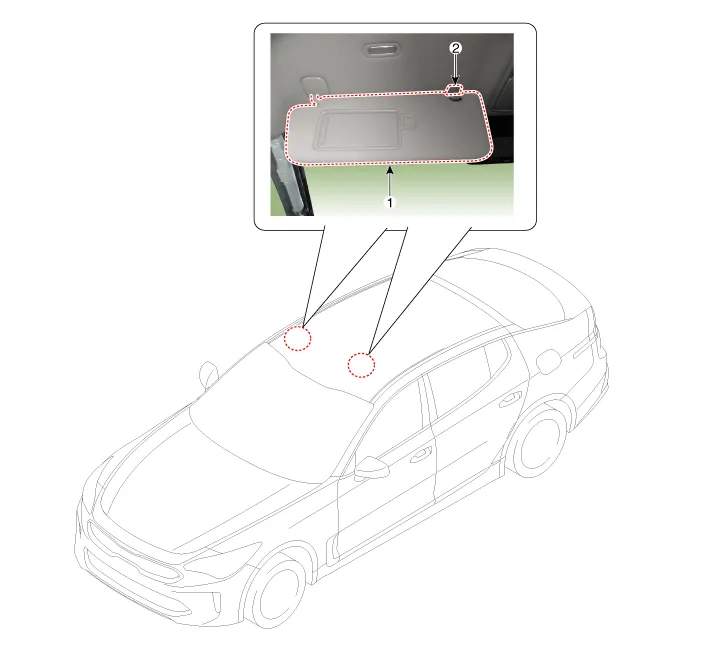
Component Location

1. Sunvisor
2.

Repair procedures
Replacement
  

Put on gloves to protect your hands.


Use a plastic panel removal tool to remove interior trim pieces without marring the surface.

Take care not to bend or scratch the trim and panels.

1.

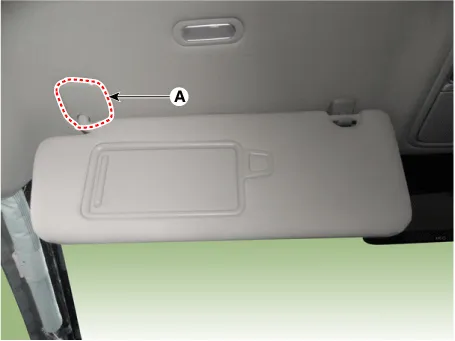
Separate the sunvisor cap (A) by using a remover.

2.

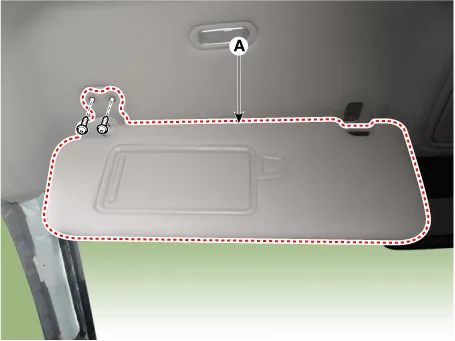
Separate the sunvisor (A) after loosening the mounting screw.

3.

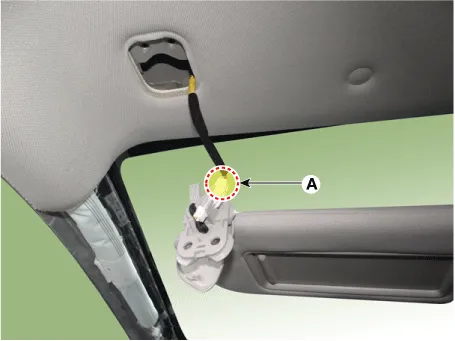
Remove the sunvisor after disconnect the connector (A).

4.

Install in the reverse order of removal.


Replace any damaged clips.

Other information:

Kia Stinger (CK) 2018-2023 Service Manual: Fuse/relay panel description

■ Driver’s side fuse panel ■ Engine compartment fuse panel ■ Rear fuse box panel ■ Battery box fuse panel Inside the fuse/relay panel covers, you can find the fuse/relay label describing fuse/relay name and capacity. ✽ NOTICE Not all fuse panel descriptions in this manual may be applicable to your vehicle. It is accurate at the time of printing.

Kia Stinger (CK) 2018-2023 Service Manual: Good braking practices

Check to be sure the parking brake is not engaged and the parking brake indicator light is out before driving away. Driving through water may get the brakes wet. They can also get wet when the vehicle is washed. Wet brakes can be dangerous! Your vehicle will not stop as quickly if the brakes are wet. Wet brakes may cause the vehicle to pull to one side.

Categories

 
Copyright © 2026 www.kstinger.com 0.0096