Kia Stinger: Interior Trim / Rear Pillar Trim
Components and components location
| Component Location |
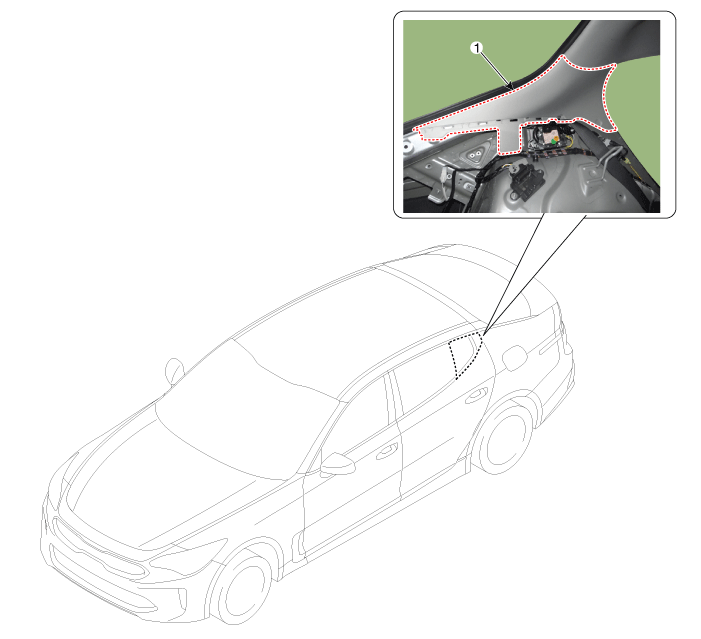
| 1. Rear pillar trim |
Repair procedures
| Replacement |
Put on gloves to protect your hands. |

|

| 1. |
Remove the rear seat assembly. (Refer to Rear Seat - "Rear Seat Assembly") |
| 2. |
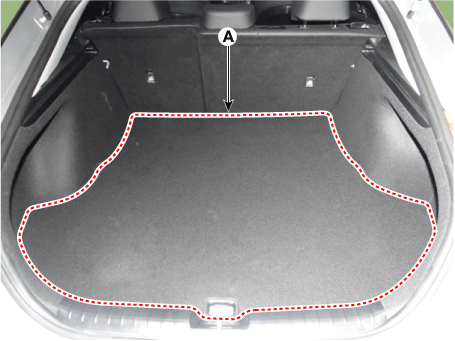
Remove the luggage covering mat(A).
|
| 3. |
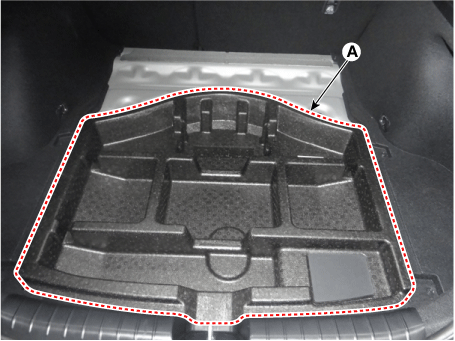
Remove the center tray (A).
|
| 4. |
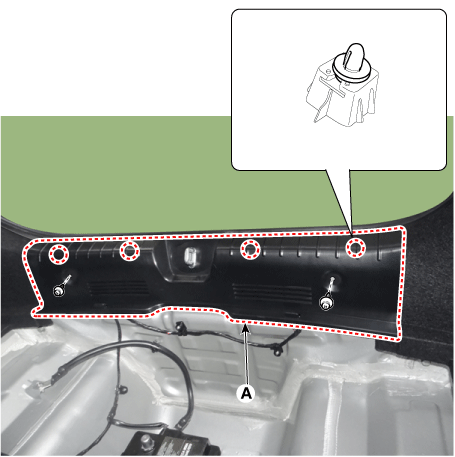
Remove the rear transverse trim (A).
|
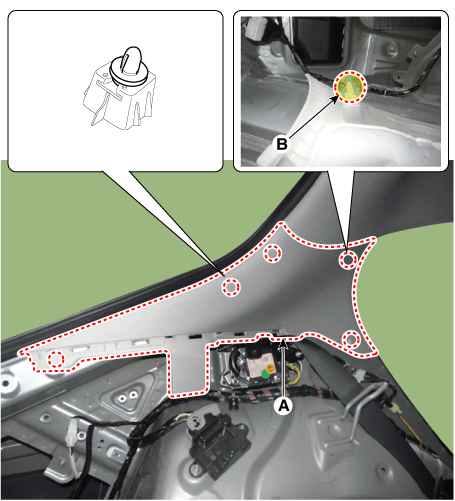
| 5. |
Separate the luggage side trim (A) after loosening the mounting screws.
|
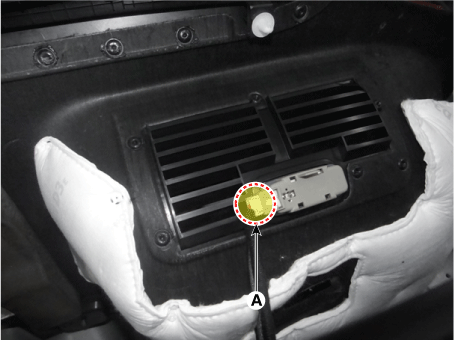
| 6. |
Remove the luggage side trim after disconnecting the luggage lamp connector (A).
|
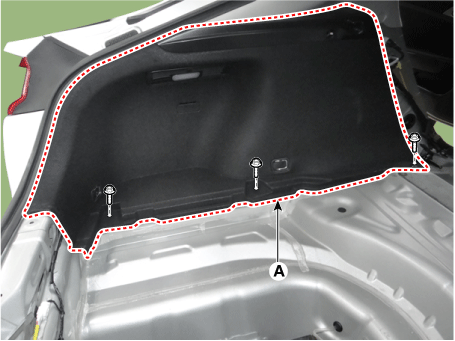
| 7. |
Remove the rear pillar trim (A).
|
| 8. |
Install in the reverse order of removal.
|
 Center Pillar Trim
Components and components location
Component Location
1. Center pillar lower trim
2. Center pillar upper trim
Repair procedures
Replacemen ...
 Rear Transverse Trim
Components and components location
Component Location
1. Rear pillar trim
Repair procedures
Replacement
...
Other information:
Kia Stinger CK 2018-2025 Service Manual: Rear Axle Assembly
Components and components location Components 1. Rear brake disc 2. Hub assembly 3. Dust cover 4. Rear knuckle Repair procedures Removal 1. Remove wheel nuts, rear wheel and tire (A) from rear hub. ...
Kia Stinger CK 2018-2025 Service Manual: Evaporator Temperature Sensor
Description and operation Description The evaporator temperature sensor detects the evaporator core temperature and interrupts compressor relay power in order to prevent evaporator from freezing by excessive cooling. Repair procedures Inspection 1. ...
