Kia Stinger CK: Roof Trim / Roof Trim Assembly
Components and components location
| Component Location |
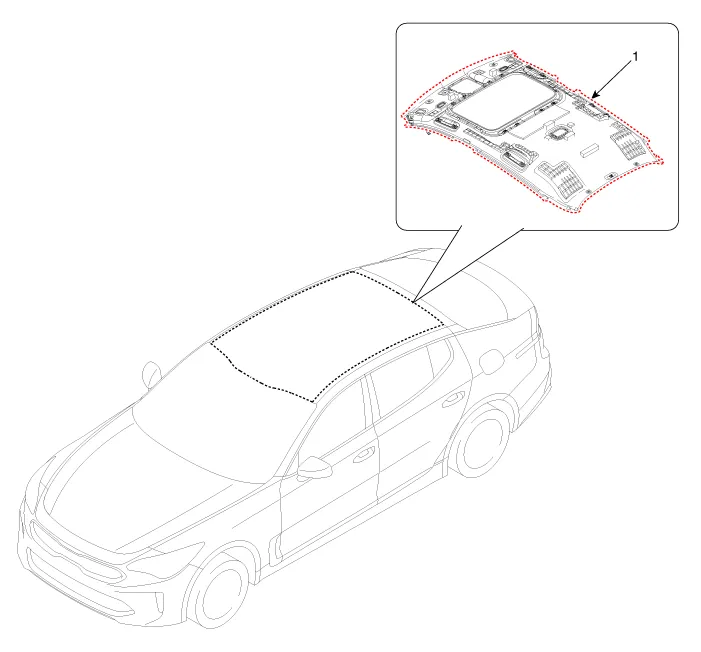
| 1. Roof Trim Assembly |
Repair procedures
| Replacement |
Put on gloves to protect your hands. |

|

| 1. |
Remove the front seat. (Refer to Front Seat - "Front Seat Assembly") |
| 2. |
Remove the rear seat. (Refer to Rear Seat - "Rear Seat Assembly") |
| 3. |
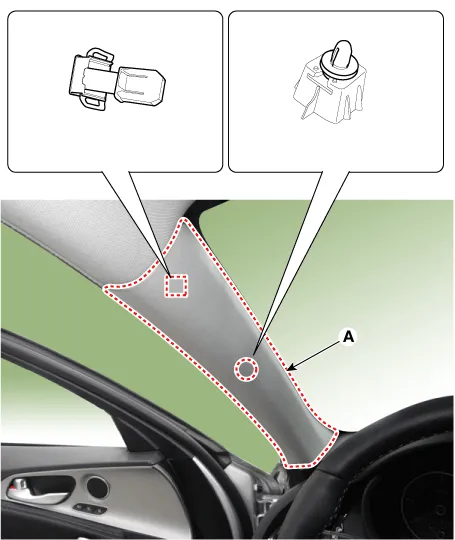
Separate the pillar trim and then remove the front pillar trim (A) by pushing the mounting clip in the direction of the arrow.
|
| 4. |
Remove the front door scuff trim (A) by using a remover.
|
| 5. |
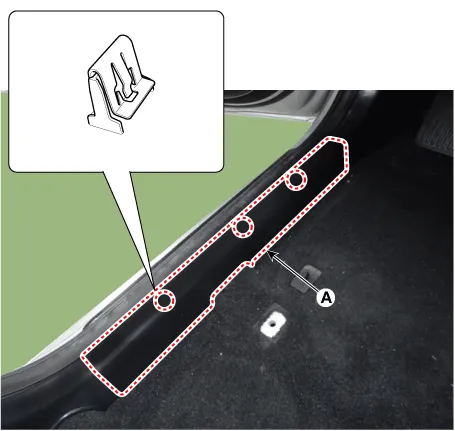
Remove the rear door scuff trim (A) after removing the mounting clip.
|
| 6. |
Remove the seat belt (B) from the EFD system (A) by using the SST (0K888-D4200).
|
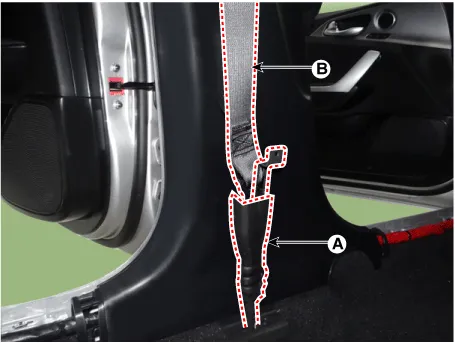
| 7. |
Remove the center pillar lower trim (A).
|
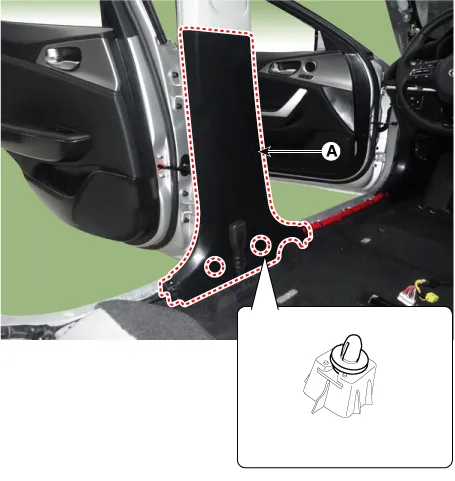
| 8. |
Remove the center pillar upper trim (A).
|
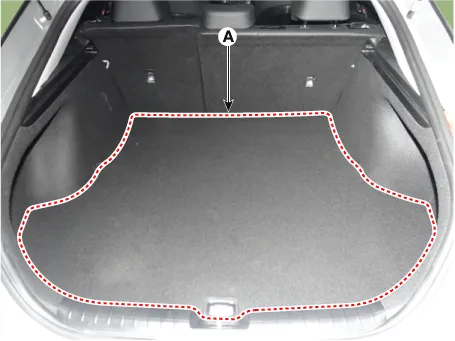
| 9. |
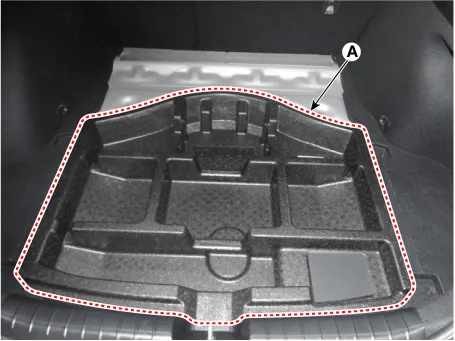
Remove the luggage covering mat(A).
|
| 10. |
Remove the center tray (A).
|
| 11. |
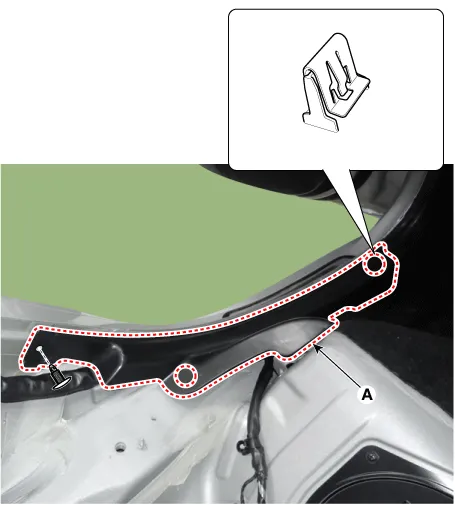
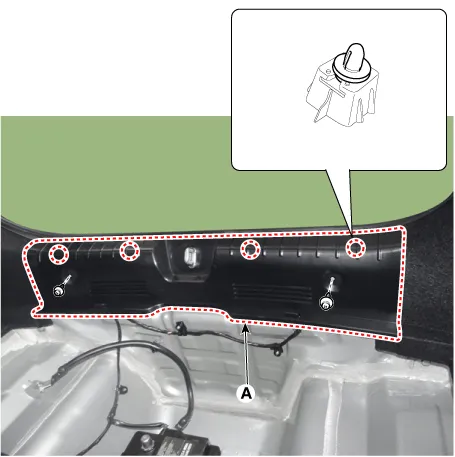
Remove the rear transverse trim (A).
|
| 12. |
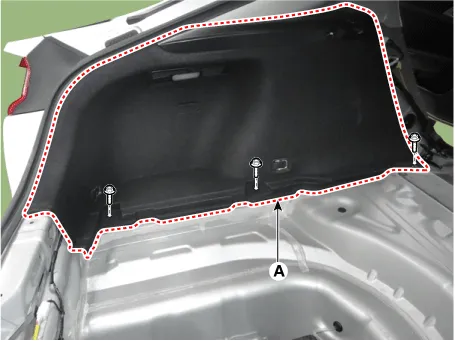
Separate the luggage side trim (A) after loosening the mounting screws.
|
| 13. |
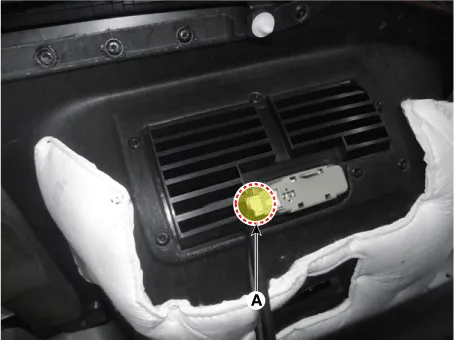
Remove the luggage side trim after disconnecting the luggage lamp connector (A).
|
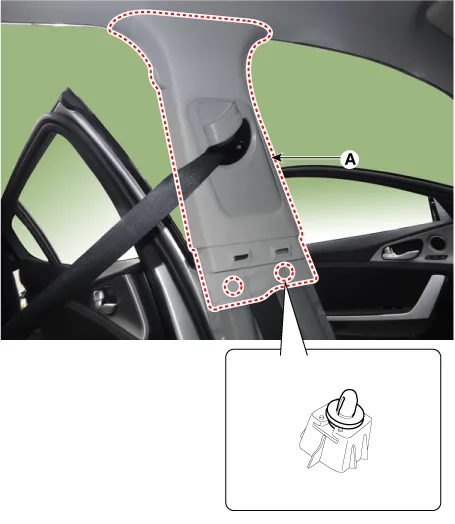
| 14. |
Remove the rear pillar trim (A).
|
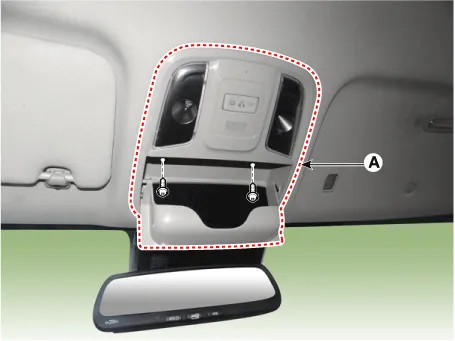
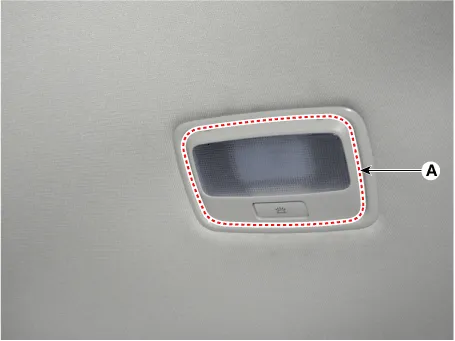
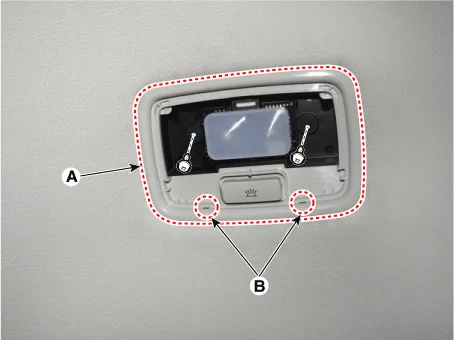
| 15. |
Separate the overhead console lamp (A) after loosening the mounting screws.
|
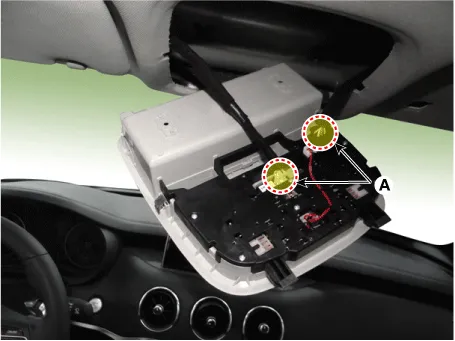
| 16. |
Remove the overhead console lamp after disconnect the connectors (A).
|
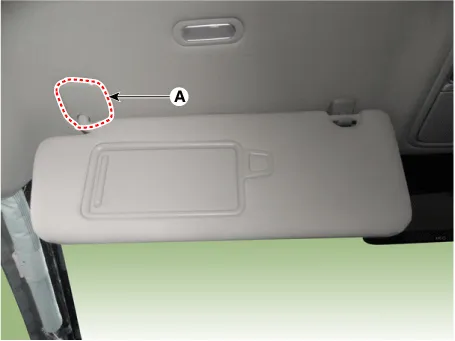
| 17. |
Separate the sunvisor cap (A).
|
| 18. |
Separate the sunvisor (A) after loosening the mounting screw.
|
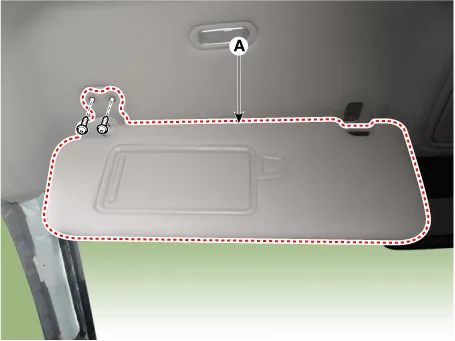
| 19. |
Remove the sunvisor after disconnect the connector (A).
|

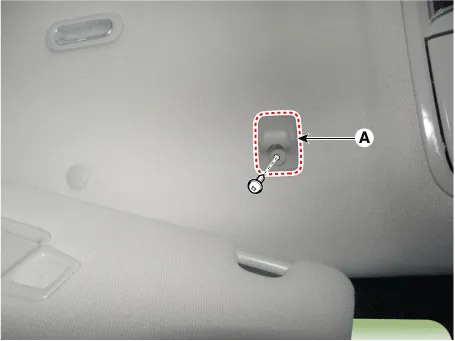
| 20. |
Remove the retainer (A) after loosening the mounting screw.
|
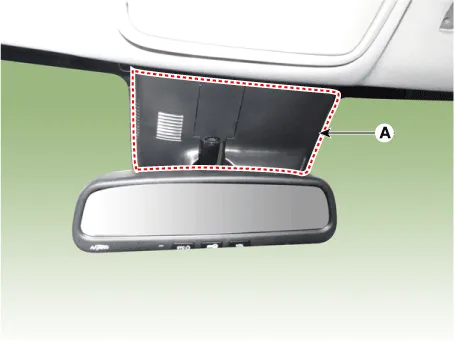
| 21. |
Remove the rain sensor cover (A) by using a remover.
|
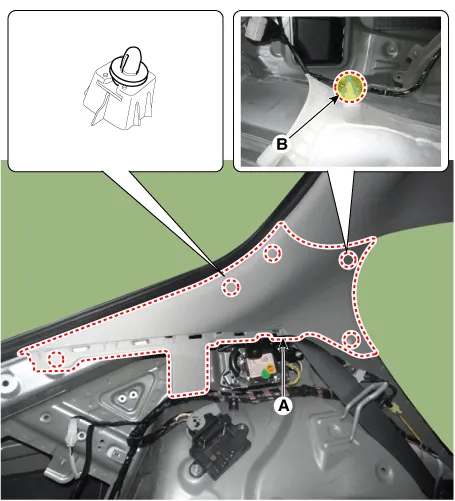
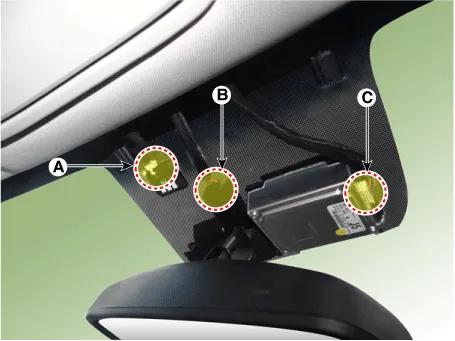
| 22. |
Disconnect the auto defogger sensor, ECM mirror sensor, LDWS (C) connectors.
|
| 23. |
Remove the room lamp lens (A) by using a remover.
|
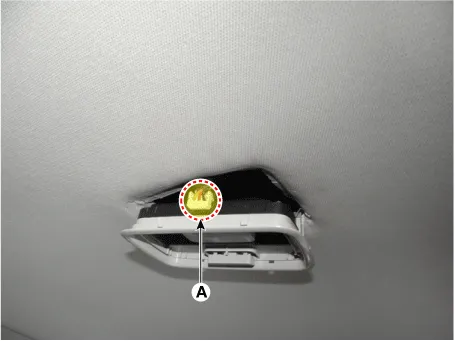
| 24. |
Separate the room lamp (A) after loosening the mounting screws.
|

| 25. |
Remove the room lamp after disconnecting the connector (A).
|
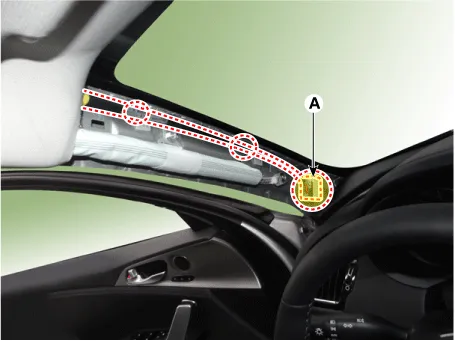
| 26. |
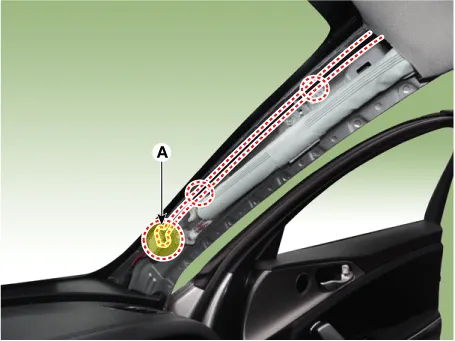
Disconnect the roof trim main connectors (A) and the mounting clips in the front pillar. [Driver's]
[Passenger's]
|
| 27. |
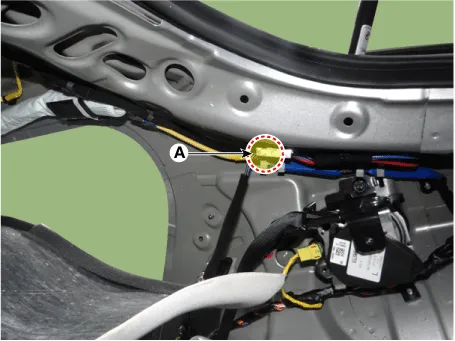
Disconnect the connectors (A) and the mounting clips in the rear pillar [RH].
|
| 28. |
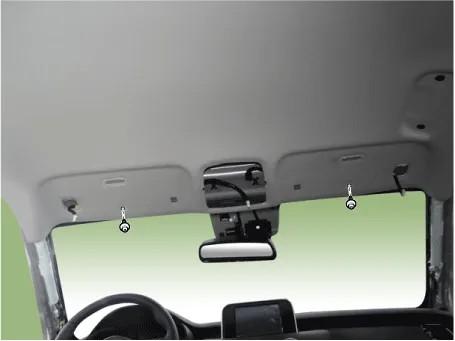
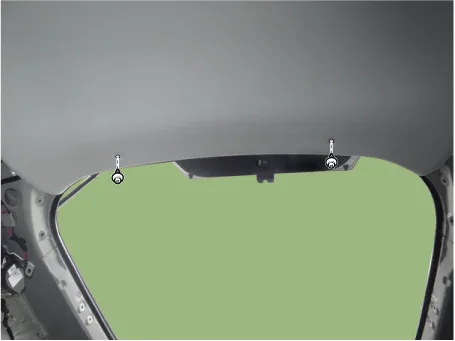
Remove the roof trim mounting clip and remove the roof trim assembly (A).
[Front]
[Rear]
|
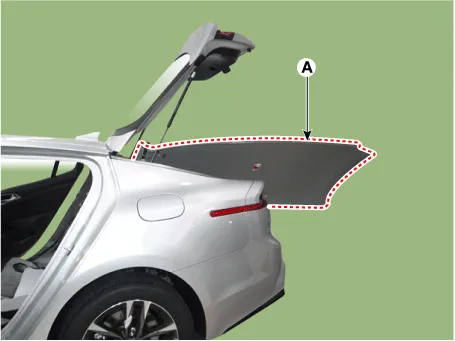
| 29. |
Remove the roof trim assembly (A) from the vehicle through the tail gate.
|
| 30. |
Remove the vanity lamp. (Refer to Body Electrical System - "Vanity Lamp") |
| 31. |
Remove roof trim wiring harness (A) from the roof trim (B).
|
| 32. |
Install in the reverse order of removal.
|


Other information:
Kia Stinger (CK) 2018-2023 Service Manual: Drive Belt Tensioner
Repair procedures Removal and Installation 1. Remove the drive belt. (Refer to Drive Belt System - "Drive Belt") 2. Remove the drive belt auto tensioner pulley (A). Tightening torque : 53.9 - 63.7 N·m (5.5 - 6.5 kg·m, 39.8 - 47.0 lb·ft) Tensioner pulley bolt is left-hands screw.Kia Stinger (CK) 2018-2023 Service Manual: FCA front radar / camera sensor
In order for the FCA system to operate properly, always make sure the sensor or sensor cover is clean and free of dirt, snow, and debris. Dirt, snow, or foreign substances on the lens may adversely affect the sensing performance of the sensor. ✽ NOTICE Do not install any accessories, such as a license plate bracket or bumper sticker near the sensor area.Categories
- Manuals Home
- Kia Stinger Owners Manual
- Kia Stinger Service Manual
- New on site
- Most important about car
