Kia Stinger CK: Rear Door / Rear Door Latch
Components and components location
| Component Location |
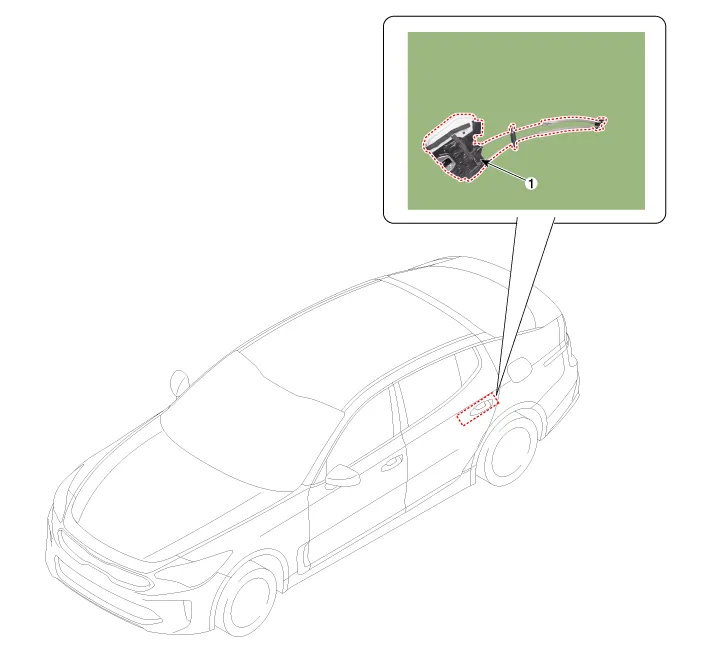
| 1. Rear door latch |
Repair procedures
| Replacement |
Put on gloves to protect your hands. |

|

| 1. |
Remove the rear door window glass. (Refer to Rear Door - "Rear Door Window Glass") |
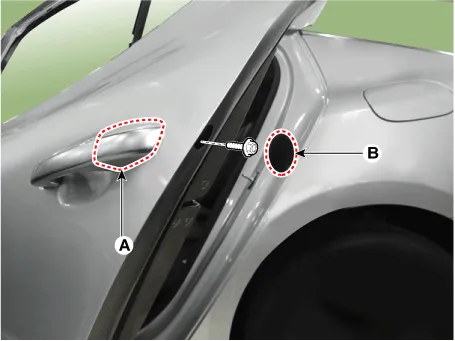
| 2. |
Remove the hole cap (B) and then remove the rear door outside handle cover (A) after loosening the mounting bolt.
|
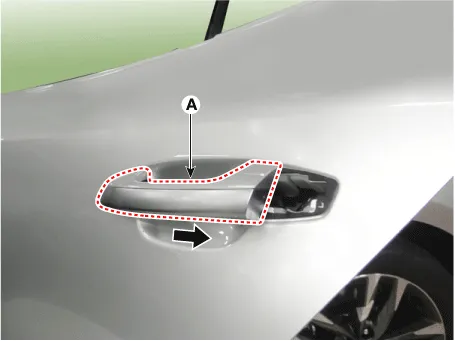
| 3. |
Remove the rear door outside handle (A) by sliding it rearward.
|
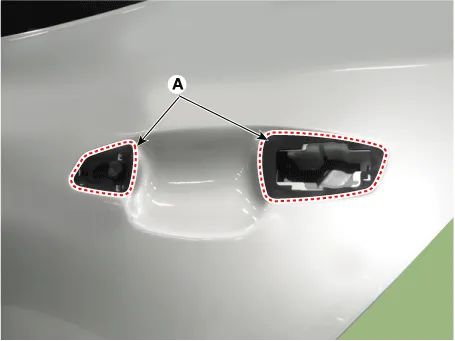
| 4. |
Remove the rear door outside handle pad (A).
|
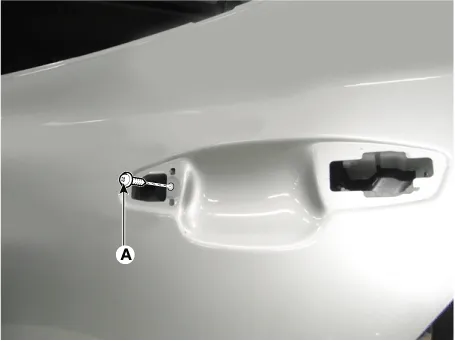
| 5. |
Loosen the rear door outside handle base mounting screw (A).
|
| 6. |
Disconnect the rear door main wiring connector (A).
|
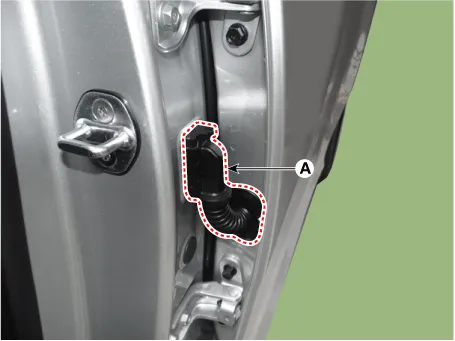
| 7. |
Loosen the rear door latch mounting screw (A).
|
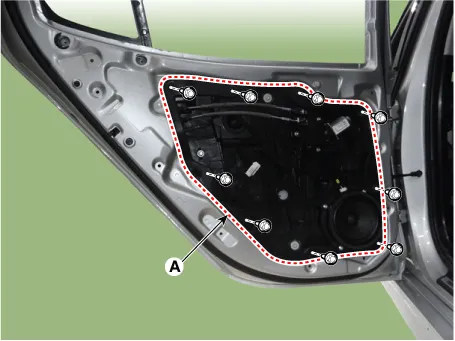
| 8. |
Remove the rear door module (A) after loosening the mounting bolts.
|
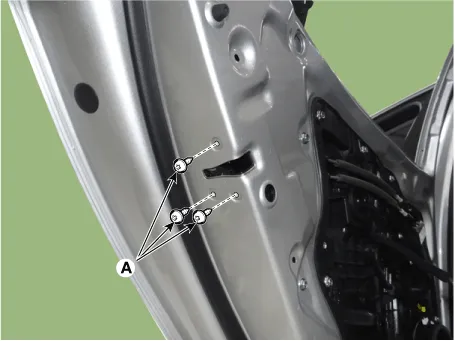
| 9. |
Remove the rear door channel (A) after loosening the mounting bolts.
|

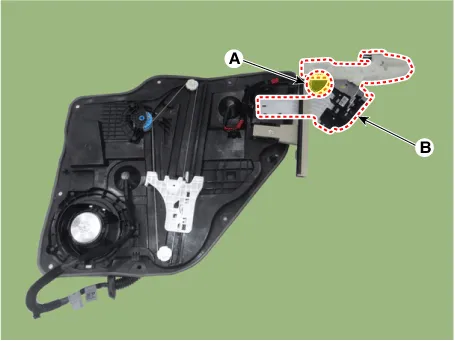
| 10. |
Remove the rear door latch (B) after disconnecting the latch connector (A).
|
| 11. |
Install in the reverse order of removal.
|


Other information:
Kia Stinger (CK) 2018-2023 Service Manual: TJ Joint
Repair procedures Replacement • Special grease must be applied to the driveshaft joint. Do not substitute with another type of grease. • The boot band should be replaced with a new one. 1.Kia Stinger (CK) 2018-2023 Service Manual: Mechanism Assembly
Repair procedures Replacement Put on gloves to protect your hands. • Use a plastic panel removal tool to remove interior trim pieces without marring the surface.Categories
- Manuals Home
- Kia Stinger Owners Manual
- Kia Stinger Service Manual
- New on site
- Most important about car
