Kia Stinger CK: Interior Trim / Cowl Side Trim
Components and components location
| Component Location |
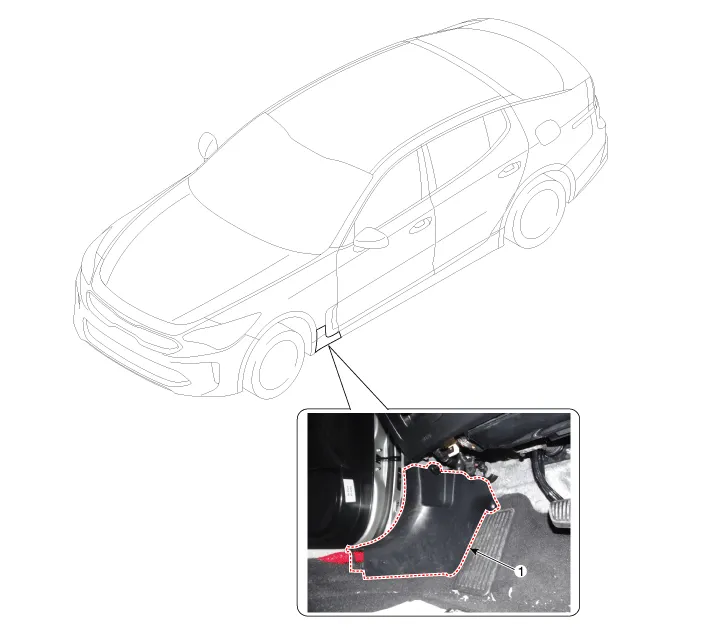
| 1. Cowl side trim |
Repair procedures
| Replacement |
Put on gloves to protect your hands. |

|

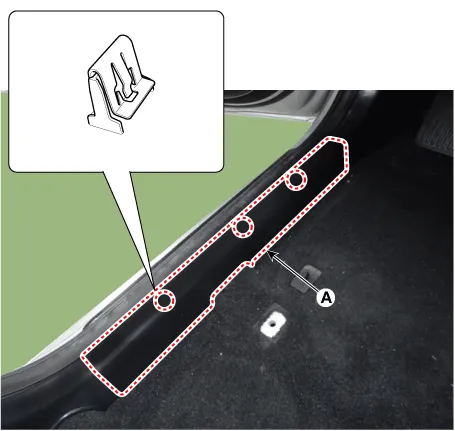
| 1. |
Remove the front door scuff trim (A) by using a remover.
|
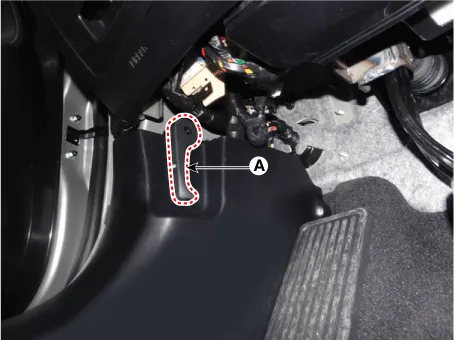
| 2. |
Remove the hood latch release handle (A).
|
| 3. |
Carefully remove the front door body side weather strip. |
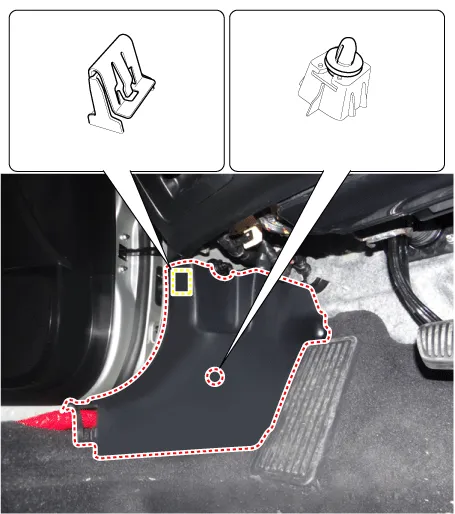
| 4. |
Remove the cowl side trim (A) by using a remover.
|
| 5. |
Install in the reverse order of removal.
|


Other information:
Kia Stinger (CK) 2018-2023 Service Manual: Smart Cruise Control (Stop & Go) (SCC) Switch
Components and components location Components 1. Left Remote Control Switch (Audio + Bluetooth + Voice) 2. Right Remote Control Switch (Trip Computer + ACC + SCC) Schematic diagrams Circuit Diagram [Audio + Bluetooth + Voice] [Trip + ACC] [Trip + ACC + SCC] Repair procedures Inspection 1.Kia Stinger (CK) 2018-2023 Service Manual: Disc Brakes and Pads
Repair procedures Inspection Check the pads for excessive wear, discs for run out and wear, and calipers for fluid leakage. Front Brake Front brake disc thickness check 1. Check the brake pads for wear and fade. 2. Check the brake disc for damage and cracks. 3.Categories
- Manuals Home
- Kia Stinger Owners Manual
- Kia Stinger Service Manual
- New on site
- Most important about car
