Kia Stinger CK: Hydraulic System / Line Pressure Control Solenoid Valve (LINE_VFS)
Specifications
| Specifications |
|
Item |
Specification |
|
Control type |
N/L (Normal Low) |
|
Control pressure kpa (kgf/cm², psi) |
0 - 519.75 (0 - 5.3, 0 - 75.38) |
|
Current (mA) |
0 - 850 |
|
Coil resistance (Ω) |
5.1 ± 0.3 |
Components and components location
| Components Location |
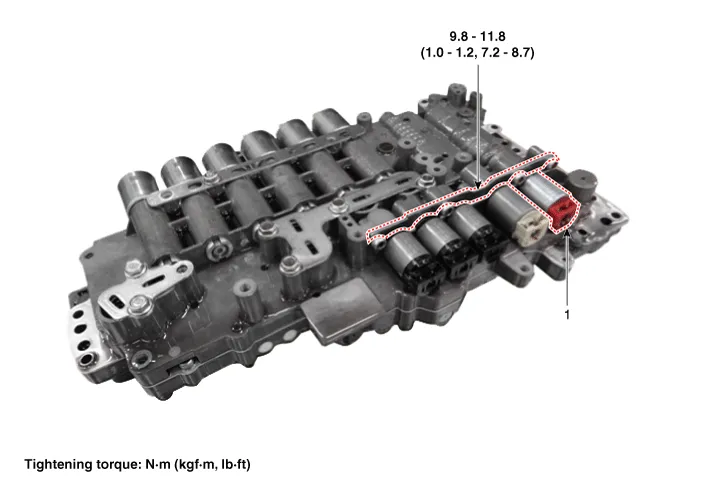
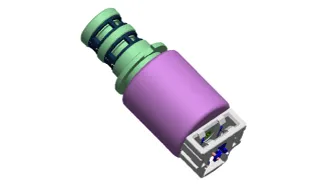
| 1. Line pressure control solenoid
valve |
2. Solenoid valve support bracket
|
Description and operation
| Description |
| • |
Line pressure solenoid valve is a Variable Force Solenoid (VFS) type. |
| • |
When TCM supplies variable current to solenoid valve, hydraulic pressure is controlled indirectly by solenoid valve. |
Schematic diagrams
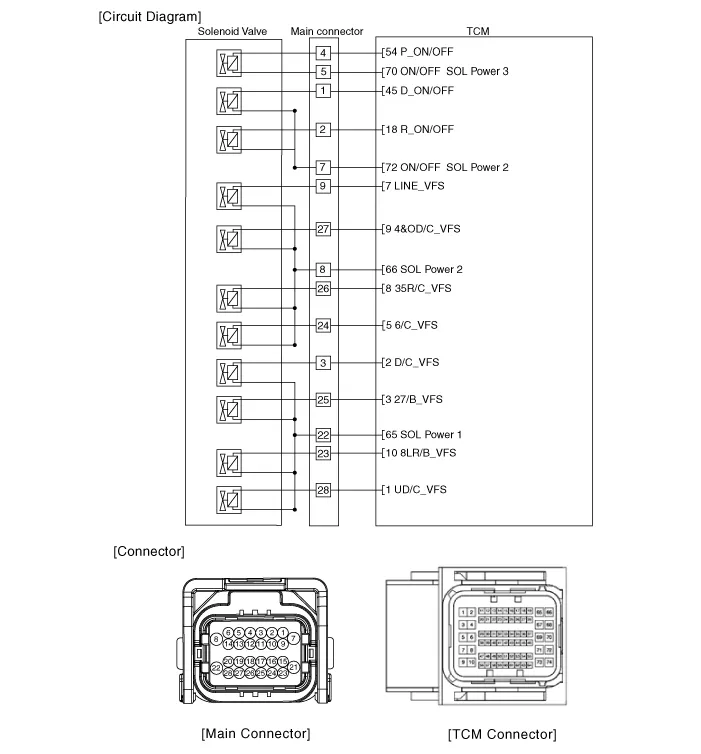
| Circuit Diagram |
Repair procedures
| Inspection |
| 1. |
Switch "OFF" ignition |
| 2. |
Disconnect the main connector (A).
|
| 3. |
Measure the resistance between power terminal (8) and signal terminal (9).
|
| Removal |
|
| 1. |
Remove the under cover. (Refer to Engine Mechanical System - "Engine Room Under Cover"). |
| 2. |
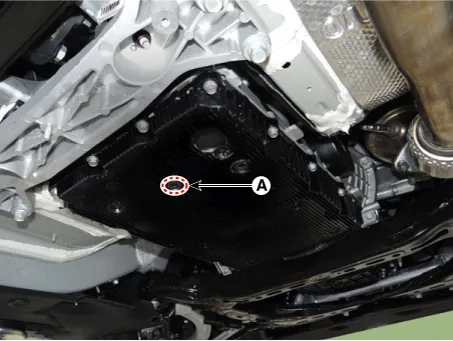
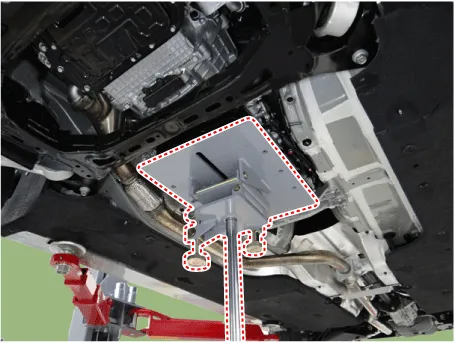
Remove the ATF drain plug (A), allow the fluid to drain out and then reinstall the drain plug.
|
| 3. |
Disconnect the main connector (A).
|
| 4. |
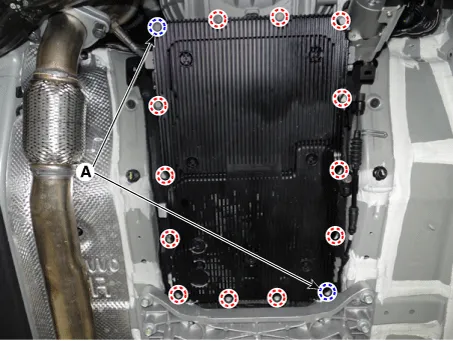
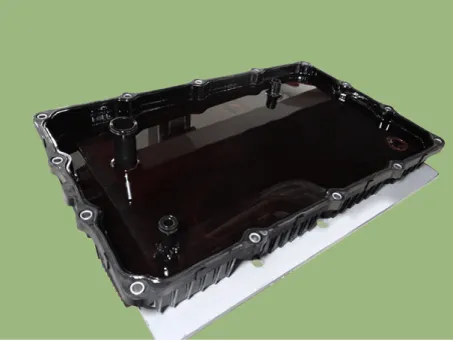
Remove the valve body cover.
|
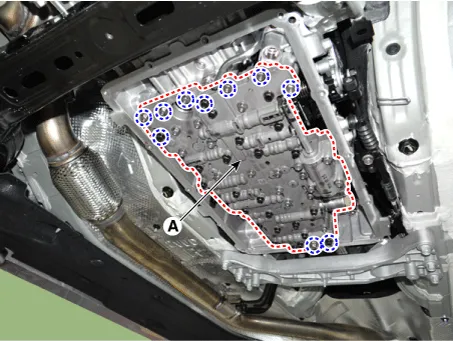
| 5. |
Remove the valve body assembly (A) after loosening the bolts.
|
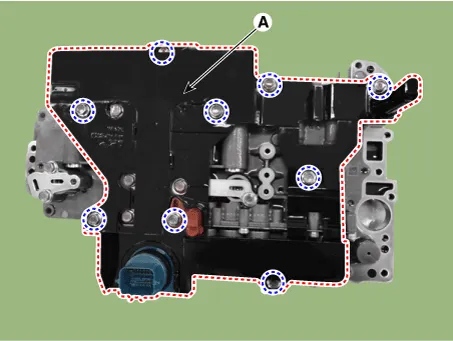
| 6. |
Remove the E-module (A) after loosening the bolts.
|
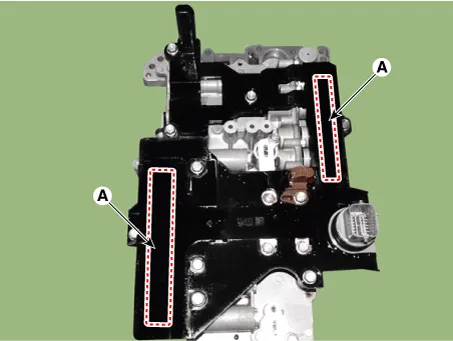
| 7. |
Remove the solenoid valve support bracket (A).
|
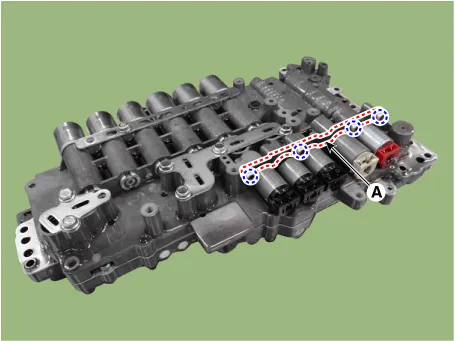
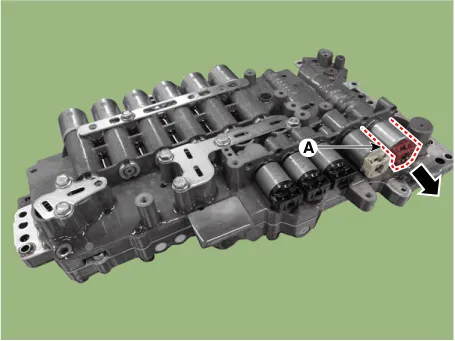
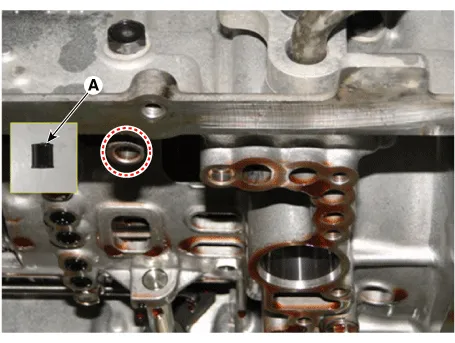
| 8. |
Remove the line pressure control solenoid valve (A).
|
| Installation |
| 1. |
Install in the reverse order of removal.
|
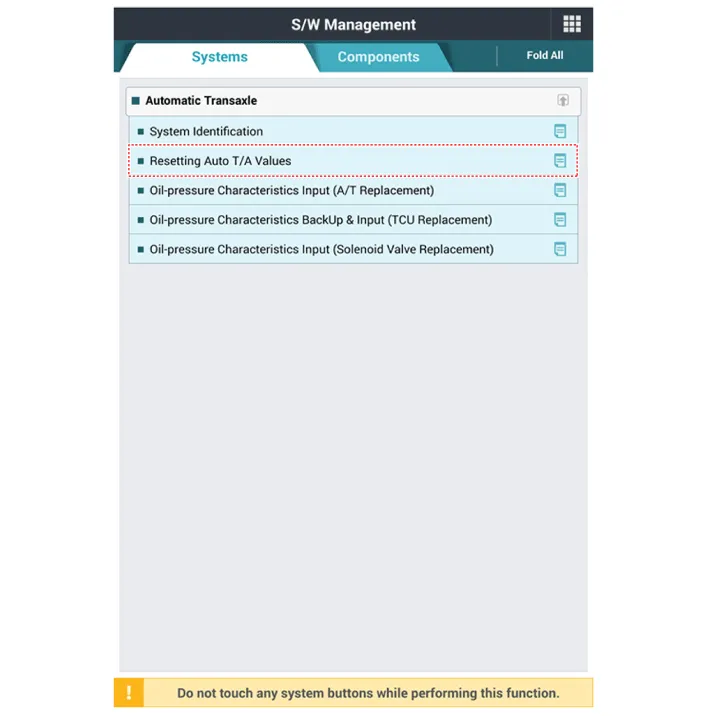
| 2. |
Perform the procedures below after installing.
|
Other information:
Repair procedures Removal 1. Turn ignition switch OFF and disconnect the negative (-) battery cable. 2. Remove the luggage side trim. (Refer to Body - "Luggage side trim") 3. Disconnect the ECS control unit connector (A). 4. Loosen the ECS control unit bracket nut and then remove the ECS control unit (A).Components and components location Components 1. Piston ring (#1) 2. Piston ring (#2) 3. Oil ring 4. Snap ring 5. Piston pin 6. Piston 7. Connecting rod 8. Connecting rod upper bearing 9. Cylinder block 10. Connecting rod lower bearing 11. Connecting rod bearing cap 12. Ladder frame 13.Categories
- Manuals Home
- Kia Stinger Owners Manual
- Kia Stinger Service Manual
- New on site
- Most important about car


