Kia Stinger CK: Maintenance / Power Train
Kia Stinger (CK) 2018-2023 Service Manual / Maintenance / Power Train
Contents:
- Air Cleaner Filter
- Battery
- Cooling System
- Drive Belt
- Engine Oil and Filter
- Exhaust System
- Fuel Filter (For Diesel engine only)
- Spark Plug
- Vapor Hose and Fuel Filler Cap
- Fluid (ATF)
Air Cleaner Filter ➤
Battery ➤
Cooling System ➤
Drive Belt ➤
Engine Oil and Filter ➤
Exhaust System
Repair procedures
| Inspection |
| 1. |
Visually check the pipes, hangers and connections for severe corrosion, leaks or damage. |
| 2. |
Check for unusual exhaust sounds or abnormal exhaust fumes. |
Fuel Filter (For Diesel engine only) ➤
Spark Plug ➤
Vapor Hose and Fuel Filler Cap
Repair procedures
| Inspection |
Vapor hose
| 1. |
Check all the clamps for tightness and the connections for leakage. |
| 2. |
Visually check the vapor lines and hoses for cracks, leaks, loose connections, or deformation. |
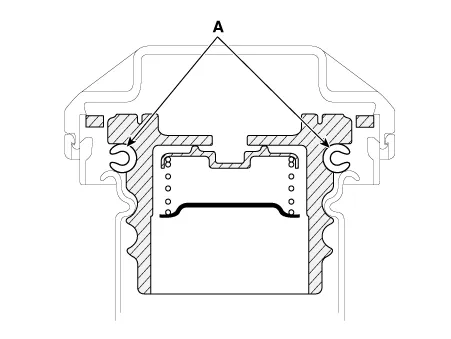
Fuel filler cap
| 1. |
Visually check that the fuel tank cap assembly and gasket (A) are not deformed or damaged.
|
Fluid (ATF) ➤


Other information:
Kia Stinger (CK) 2018-2023 Service Manual: Important - use of compact spare tire
Your vehicle is equipped with a compact spare tire. This compact spare tire takes up less space than a regular- size tire. This tire is smaller than a conventional tire and is designed for temporary use only. You should drive carefully when the compact spare is in use. The compact spare should be replaced by the proper conventional tire and rim at the first opportunity.Repair procedures Removal 1. Switch "OFF" the ignition and disconnect the negative (-) battery terminal. 2. Remove the rear-left wheel & tire and wheel house cover. 3. Remove the fuel tank air filter. (Refer to Emission Control System - Fuel Tank Air Filter") 4.Categories
- Manuals Home
- Kia Stinger Owners Manual
- Kia Stinger Service Manual
- Air Cleaner Filter
- Battery
- Cooling System
- Drive Belt
- Engine Oil and Filter
- Exhaust System
- Fuel Filter (For Diesel engine only)
- Spark Plug
- Vapor Hose and Fuel Filler Cap
- Fluid (ATF)
- New on site
- Most important about car
Contents

Copyright © 2026 www.kstinger.com 0.0102